


The brackets had to be enlarged for my lights.
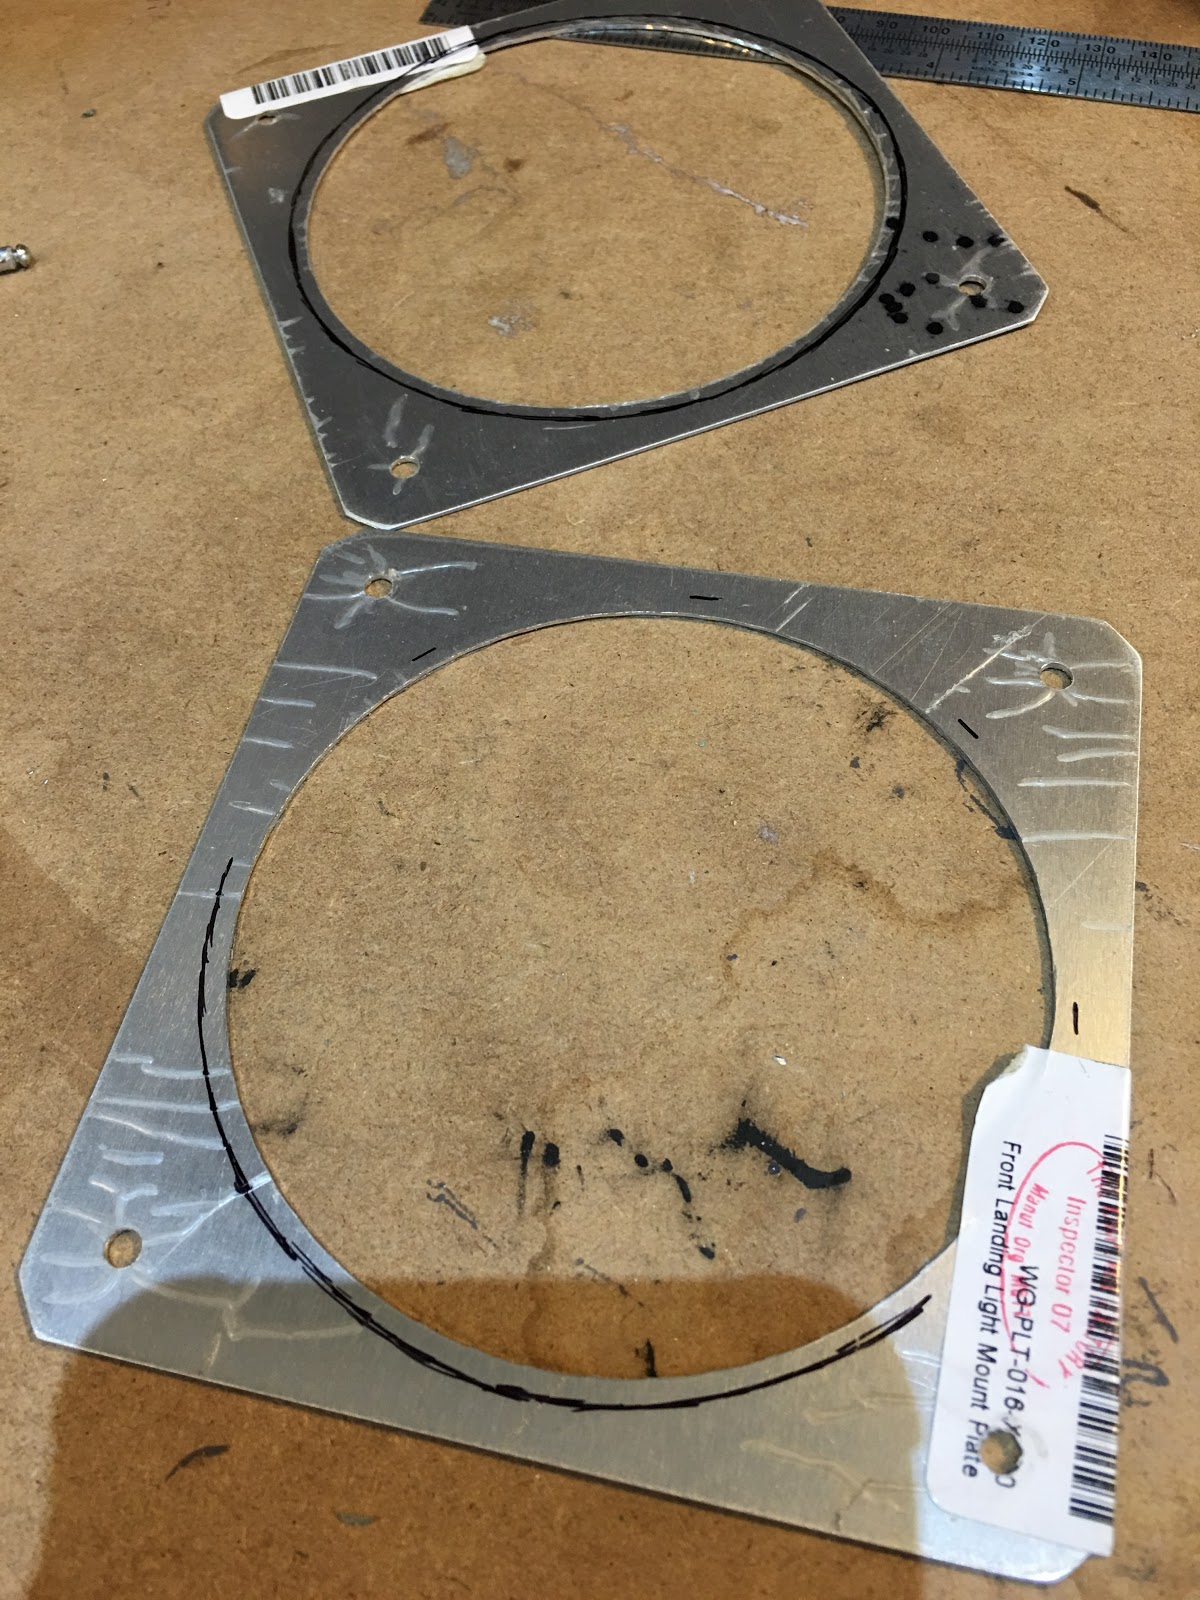
Using a grinding bit on the Dremel was better than using a nibbler.

Done.

Since the brackets float I had to temporarily tape them to hold them together while screwing them in.

The outer bolts in first. The order of parts from the outside: bolt, front plate, light, back plate, spring and then into the rivnut.

And they're in!

And they work! :-)

NEXT TASKS:
- Finish the bottom rivet filling (will try without flipping).
- Rivet the one on the step rib that needs special handling.
- End rib installed (Jig needs to come off).
- Wing tip assembly riveted on and light installation.
- Composite filler for join between wing tip and skins. Perhaps other seams can use some filler?
- Put the aileron and flap on the wing to check for straightness of the trailing edge (Thanks Peter, I saw that on your blog! ;-)). Based on what I'm reading online it seems likely that I'll need to re-rivet some of the aileron/flaps to line up the trailing edges... Wish I knew this before I had riveted them...
- Finish right wing.
- Finally finish one of the composite tips of the elevator.
- Fill rivets of elevator with Bondo.
- START ON FUSELAGE!
No comments:
Post a Comment