Subcribe to our RSS feeds Join Us on Facebook Follow us on Twitter Add to Circles

Categories

Friday, June 2, 2023

I haven't posted in a while, but I have been flying!  Sadie is a joy to fly!

Last weekend I took my daughter Julia to Jaffrey, NH to get some ice cream at Kimball Farm.  There's a closer one, but it's more fun to fly to one!

Cute airport in Jaffrey, NH!

Cherry Vanilla Chip - Yum!  Great ice cream at Kimball Farm!

Me and Julia

On approach into Jaffrey.

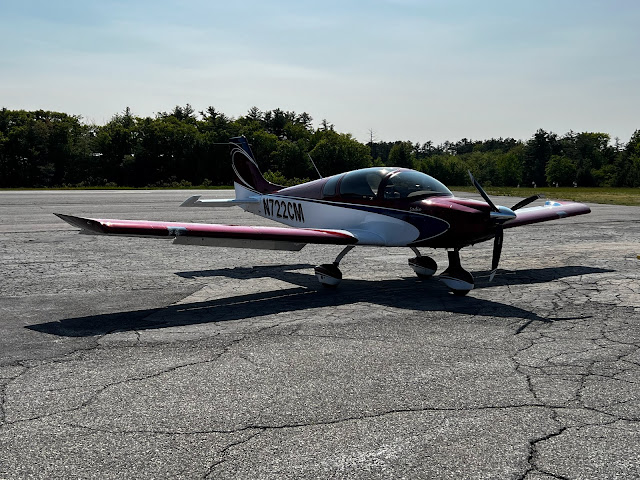
She waits on the ramp for our return flight.

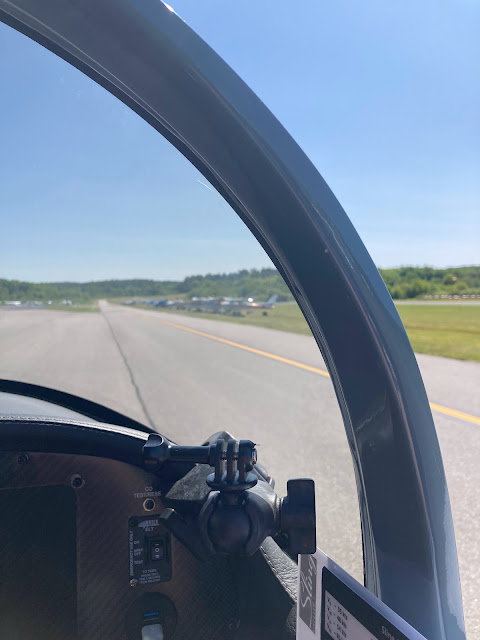
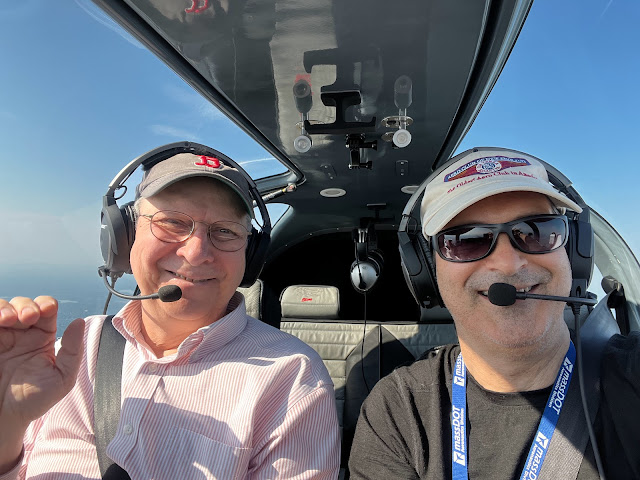
I took my friend Kerry up today.  He helped me a lot in the last stages of the build.  We flew up to Sanford, ME.

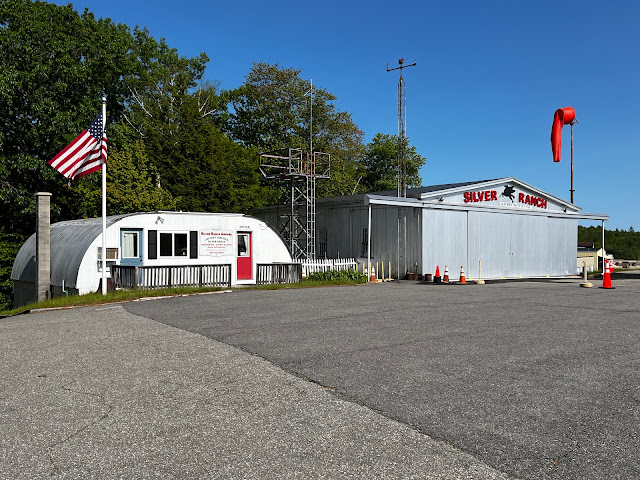
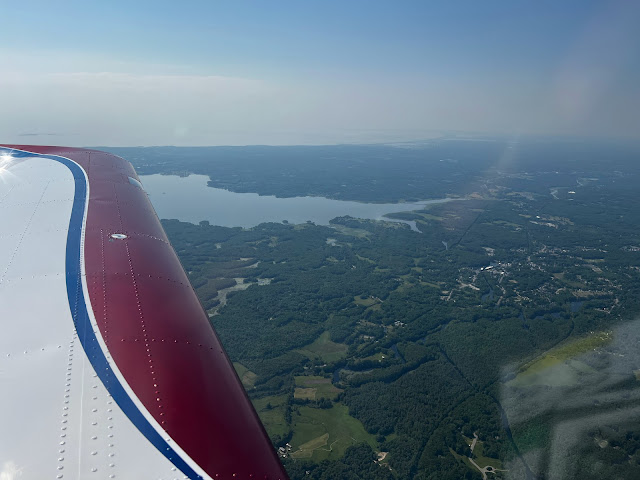
Pease.  This airport used to be fully Air Force but is now just part.  The runway is HUGE...

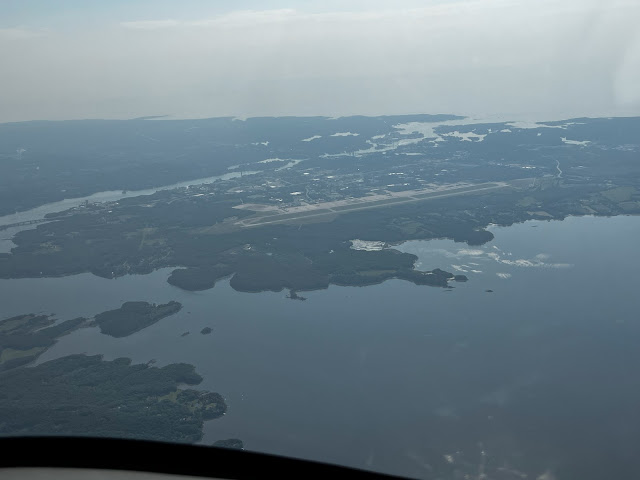
On the way back from Sanford.


Monday, January 23, 2023

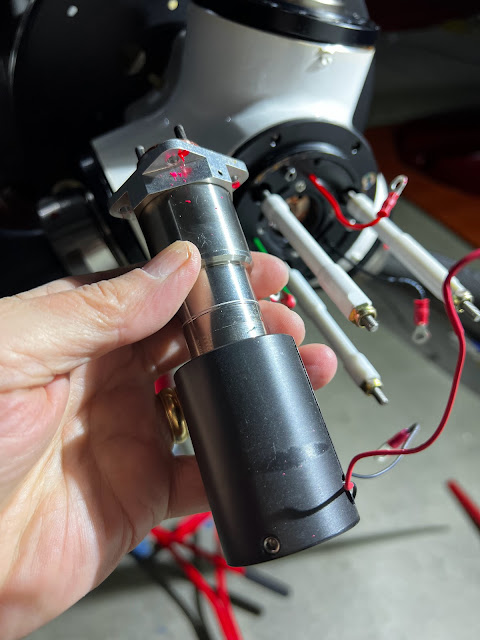
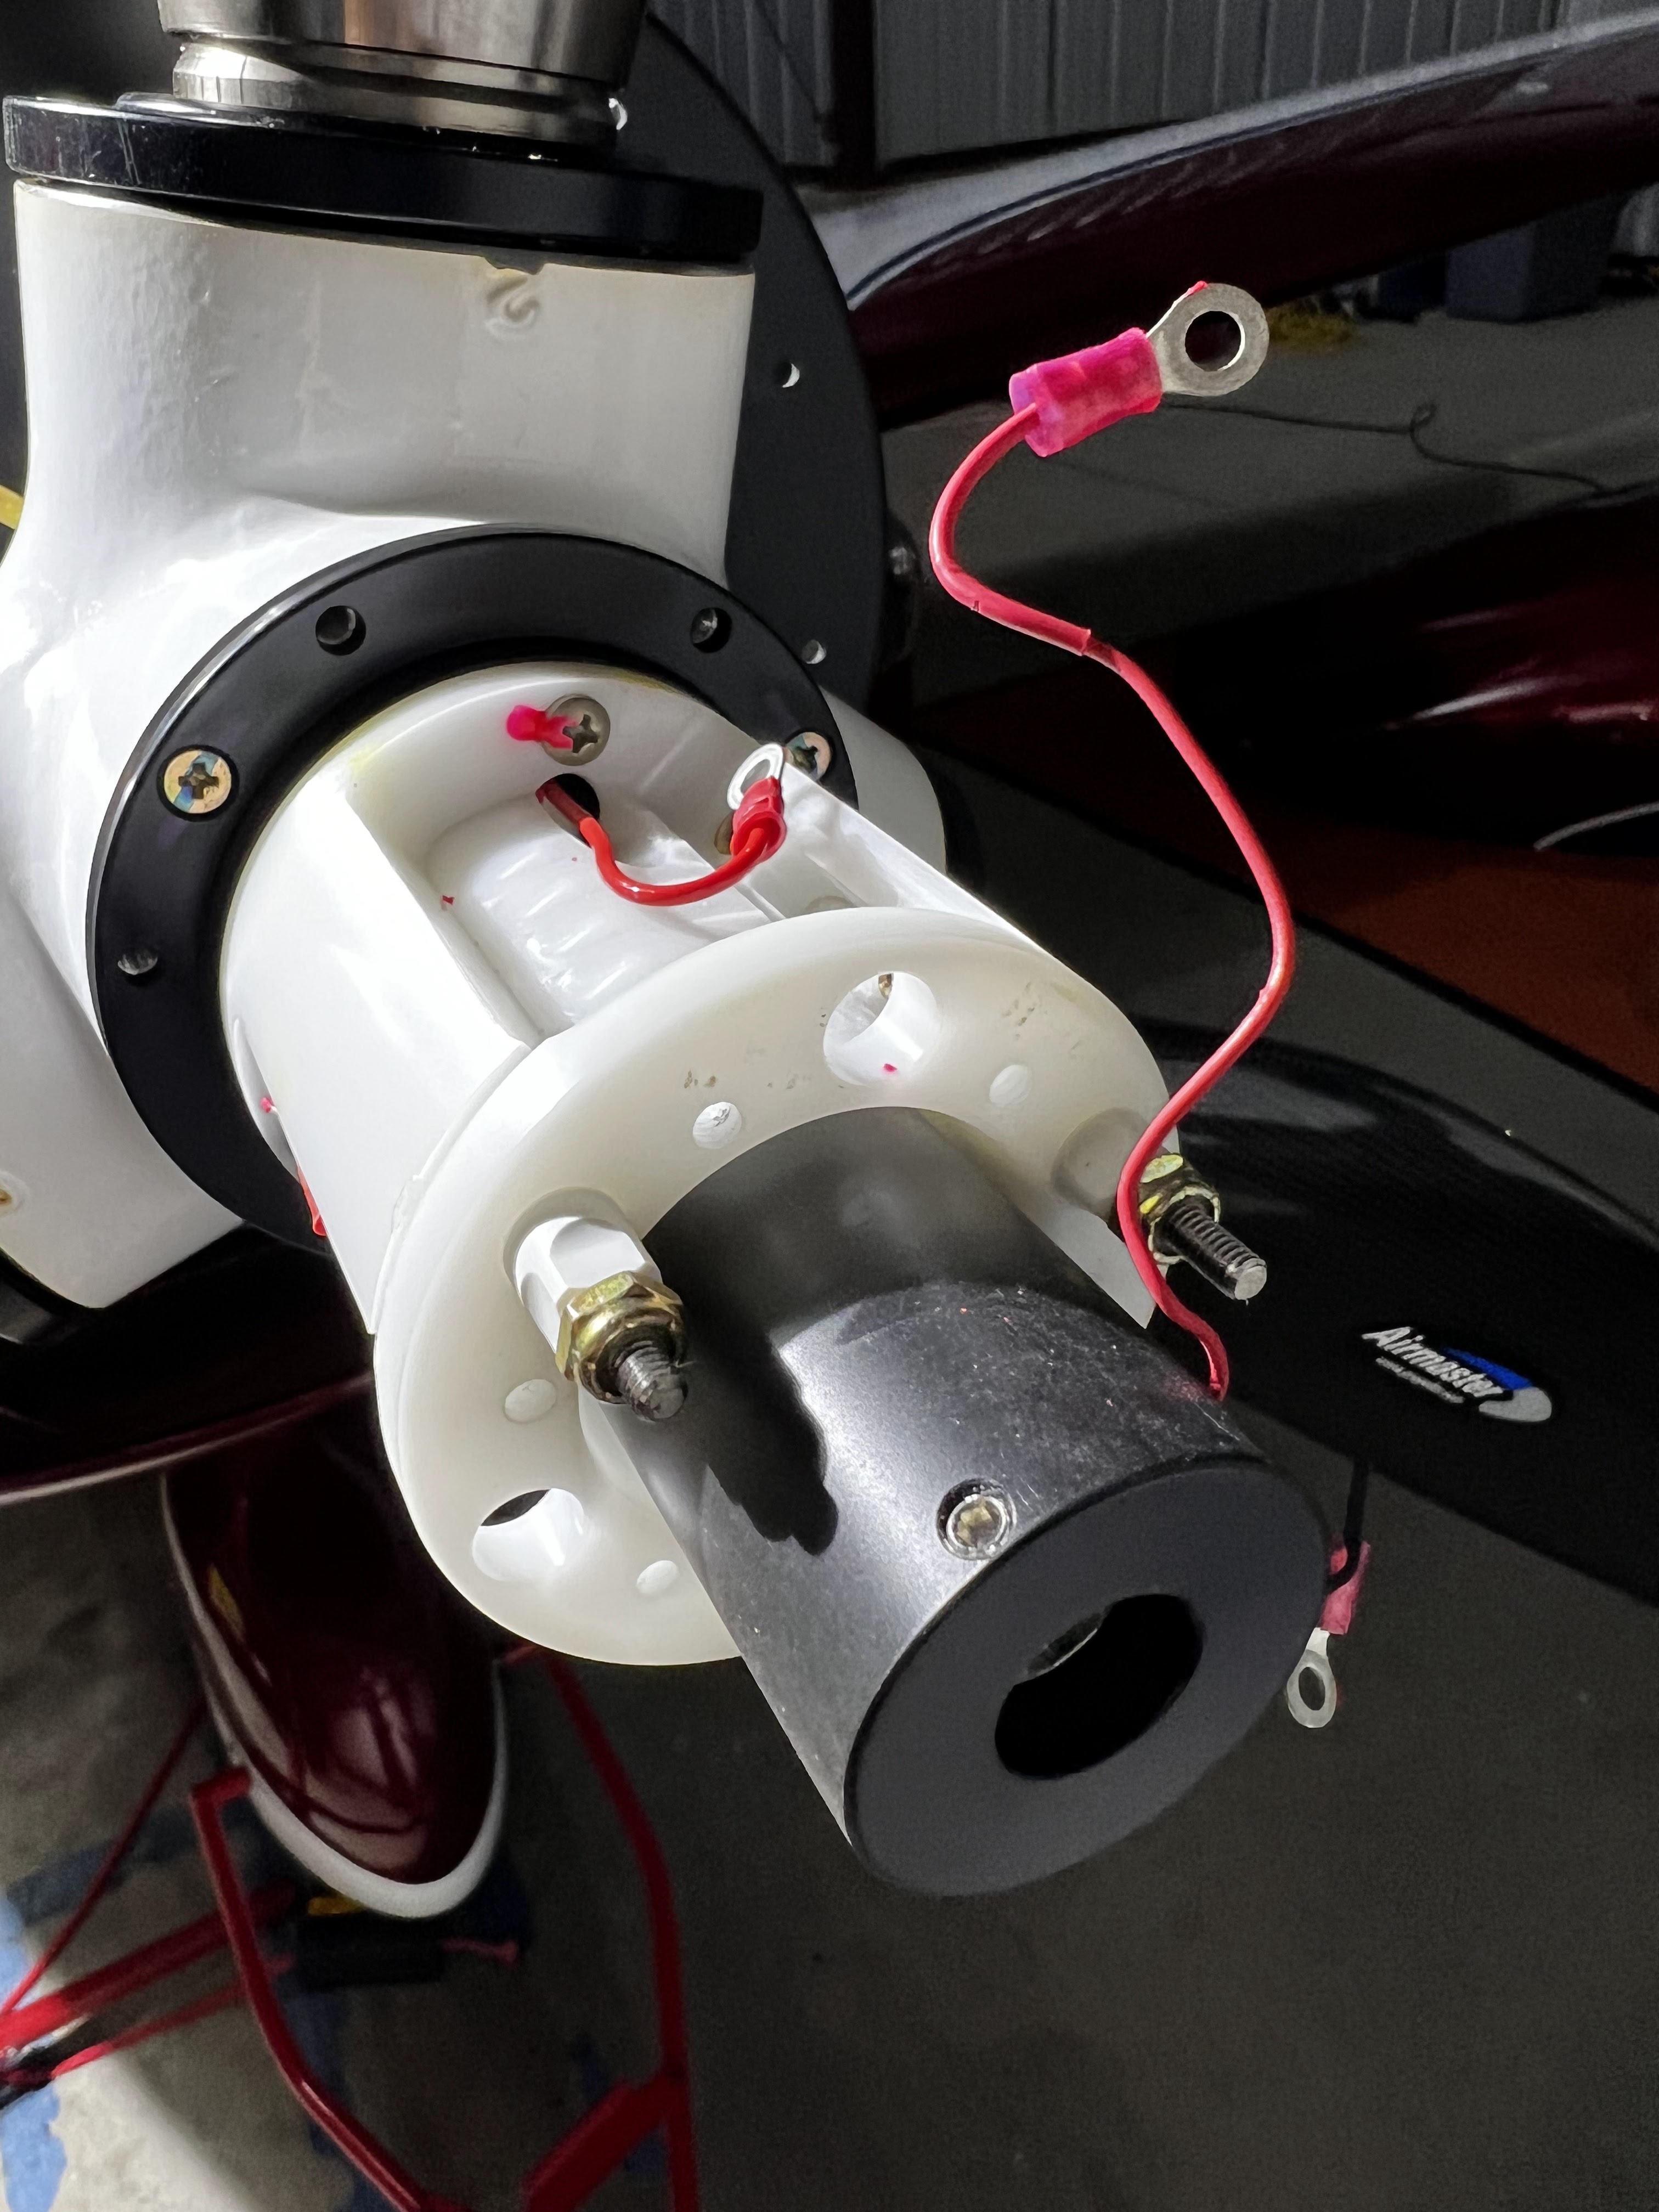
As readers of this blog know, a few months ago I got an open circuit indication on my Airmaster prop controller and it turned out to be a broken wire in the carbon brush assembly (a few hours of work, but not too difficult to replace). More recently, I got another open circuit indication and assumed that I had another broken wire (though it would seem strange that it would happen twice in a few months on a low-time airplane). A couple hours of work to disassemble the assembly and check it out and that was fine.
 
Further debugging and it looked like the pitch motor itself had failed. Voltage applied directly to the motor did not move the motor at all.
 
Turns out that the motors in Airmaster props older than a year (give or take) have a design prone to open circuit failures. So much so that they completely redesigned the motor and there are formal instructions for replacing the motor. The new motor is more robust and faster in changing the pitch too.
 
My new pitch motor arrives on Wednesday (thankfully covered under warranty). I'll have to update the controller parameters with this change and I've already got that file. I'll also update the controller firmware while I'm at it.

Photos show the disassembly of the hub to remove the pitch motor itself, which I'm holding in the last photo.


Sunday, December 25, 2022

Very useful video on rod end bearings and fire extinguishers from Vic Syracuse.

Monday, December 19, 2022

I don't have any pictures, but I wanted to pass along how my last flight went.  This was the first flight since installing the preheater and the back seat seal and both worked like a champ.

The day was quite cold (upper 20sF (about -2.7C)), so I had turned on the preheater the night before.  On startup, the oil temp was almost instantly about 90F and ran smoothly from the first crank.  My experience on prior cold starts was that it would run pretty roughly for the first few minutes.  Not this time at all.  Smooth as silk.

Up in the air, I found the cabin quite comfortably warm.  That's never happened before on cold days.  The draft from the back seat was quite strong and as far as I could tell from the front seat, that was totally gone.

Big wins for winter flying!


Monday, December 5, 2022

I've been doing some winterizing of Sadie.  I wanted to install an engine pre-heater so I can avoid cold starts, which are hard on engines.  This is the system I chose (lowest wattage is fine).  Turn it on the night before, put a thermal blanket over the cowling, and in the morning it'll be nice and toasty, ready to fly.

The other thing I wanted to do was reduce/eliminate the draftiness of the rear seat.  Lots of cold air comes from underneath the rear seat and it makes it pretty uncomfortable in the cabin.  The solution there was to copy what another Sling builder did and install a cover under and behind the rear seat.

Putting the special epoxy on the heater which attaches underneath the engine case.

There's also a band that goes around the oil tank to heat the oil there.

A nice flat spot under the engine for the heater.

Pressed into place and duct taped to let it cure.

Under the oil tank is a thermostat.  Attached that with the epoxy, strain-relieved the wire with RTV and taped it to cure.

All installed with the plug zip-tied in place.  I'll have it connected to a remotely controllable outlet, so I can turn it on from home the night before a flight.  Sweet!

The piece that will go under the rear seat.  Measure twice, cut once... ;-)

Cut and bent to size with cutouts for the seat belts.

Bottom installed (BTW, I put a thin (1/16") adhesive-backed rubber sheet on the underside of the sheets.  It helps in sealing the edges and provides some extra insulation.  I installed 8 M4 rivnuts for the bottom (5 in back and 3 in front) and 4 rivnuts for the back.

All done!  Hopefully, much less cold air will come in!


Friday, November 11, 2022

I got my shipment of the new brush (actually I ordered 3 in case of future failures) from New Zealand.  3 days door-to-door.  Not bad.

The assembly before starting.  I had already desoldered and removed the wire from the center pad.


Now, this step threw me off...  The instructions for replacing the brushes say to curl the lead 3 times around a small screwdriver.  That seemed so specific that I assumed that was an essential part of the finished assembly.  So, I threaded the lead up the channel and through the hole and soldered it with that curl in place.  Turns out that's not how it's supposed to be.  The instructions actually say, in the next step, to pull it taut.  But, my brain kind of skipped that because of the previous instructions to curl it.  After it was already soldered in and partially assembled, it dawned on me that that had to be wrong (because the brush was easily falling out).  So, I desoldered it again and did it without the curling.  Now it looked like the other 2 brushes.  I've asked Airmaster support why that instruction is there, but haven't heard back yet (they wanted feedback on the instructions).

This photo was taken when the curl was still there...

Soldered in place.

Assembled and ready to be put back on top of the sliprings.  You have to compress the brushes into the assembly nearly all the way to get it on top of the sliprings and attached to the gearbox.  Tricky maneuver...


Sunday, November 6, 2022

On my last couple of flights, I saw a failure indication on the Airmaster prop controller.  3 Flashing red lights, which means there's an open circuit to the prop.  It was intermittent, but I grounded the plane until it was figured out.

First I checked the sliprings behind the gearbox on which the triple carbon brushes ride.  They seemed fairly smudgy so I cleaned them gently with a Scotchbrite pad.  Nope, that didn't make a difference.

Then I looked behind the panel on both sides to look for any loose wires and didn't find anything (I was also searching for loose grounds that might be related to the audio static).

Since nothing turned up it was time to take a look at the brush assembly since I've heard of others having issues with those.

As soon as I loosened the assembly and angled it up.... The center one just fell out.  A broken wire, which apparently others have seen.  Time to get a replacement (actually ordering 3 for future failures...) shipped ASAP from New Zealand.

A photo I took at 6B6 this past week right before an EAA Chapter meeting.

A bit earlier than the previous photo.

Before a recent night flight.  Flying into 6B6 at night is intense... A tiny runway barely lit surrounded by pitch blackness, which includes tall trees and hills.  Good thing I have insanely bright landing and taxi lights that illuminate the trees a bit before I get to them.

Those tiny small lights you see - that's what outlines the runway.