Subcribe to our RSS feeds Join Us on Facebook Follow us on Twitter Add to Circles

Categories

Monday, September 29, 2014

1 hr starting prep of rudder and VS parts.


Put the elevator up (that sounds funny) to make room for the next step.

Noticed these stamp-like divots on one of the ribs - is this a problem?

Sunday, September 28, 2014

1 hr. trying out filling the rivet divots (say that ten times fast!) with body filler.... Didn't go well...  I made a jig to only apply the filler to the divots, but some still managed to get through and go on the skin.  Not good because it's hard to get off.

Then, after just a few rivets, the filler was too hard to use.  This isn't going to work.  Fail.

This was the jig I made to fill.  So beautiful, now it won't be used..

Saturday, September 27, 2014

2 hrs' today trimming/filing one of the elevator end caps to fit, drilling the holes and riveting.  The other end cap will have to wait for the replacement from SA.

Inserted 15mm in.


A lot has to come off to make it fit.


Fits and it's ready for drilling.


Starting to drill.  Kept moving the cleco to hold the plastic up so it can be drilled.
 Done!


Thursday, September 25, 2014

1 hr. to finish the HS.  Next tasks are doing one elevator end cap as per the company directions (draw a line 15mm in from the edge and that's what lines up with the aluminum) and then filling the rivet divots with body filler (for appearance).  After that it's on to the rudder and VS.


The elevator lined up with the HS. :-)  Nice fit!

Monday, September 22, 2014

1 hr. finishing up the riveting of one side of the horizontal stabilizer.

Had an issue with one of the flanges being bent down.  Fixed that with a long rod stuck in the backside to bend it back up.


One side all riveted!

Other side with cleco's and rivets ready to go!

Sunday, September 21, 2014

2.5 hr's working on the horizontal stabilizer.  One side almost completely riveted.


The flange under this leading edge rivet became bent down while trying to push in the rivet.  I'll have to get a long rod to put in the backside to bend it back up.

Saturday, September 20, 2014

3.5 hrs. today continuing work on the horizontal stabilizer.

Drilled out the missing holes in the spar.


Trim control wire installed.  As per the instructions the holes needed to be upsized to fit the grommets.  Drilled them to 3/8" and also used some LocTite to keep the grommets in place.


Should I put the skins on this way?  I decided against it as it seemed too wobbly, so I just followed the instructions and laid them down.

A view inside after one side was cleco'ed.
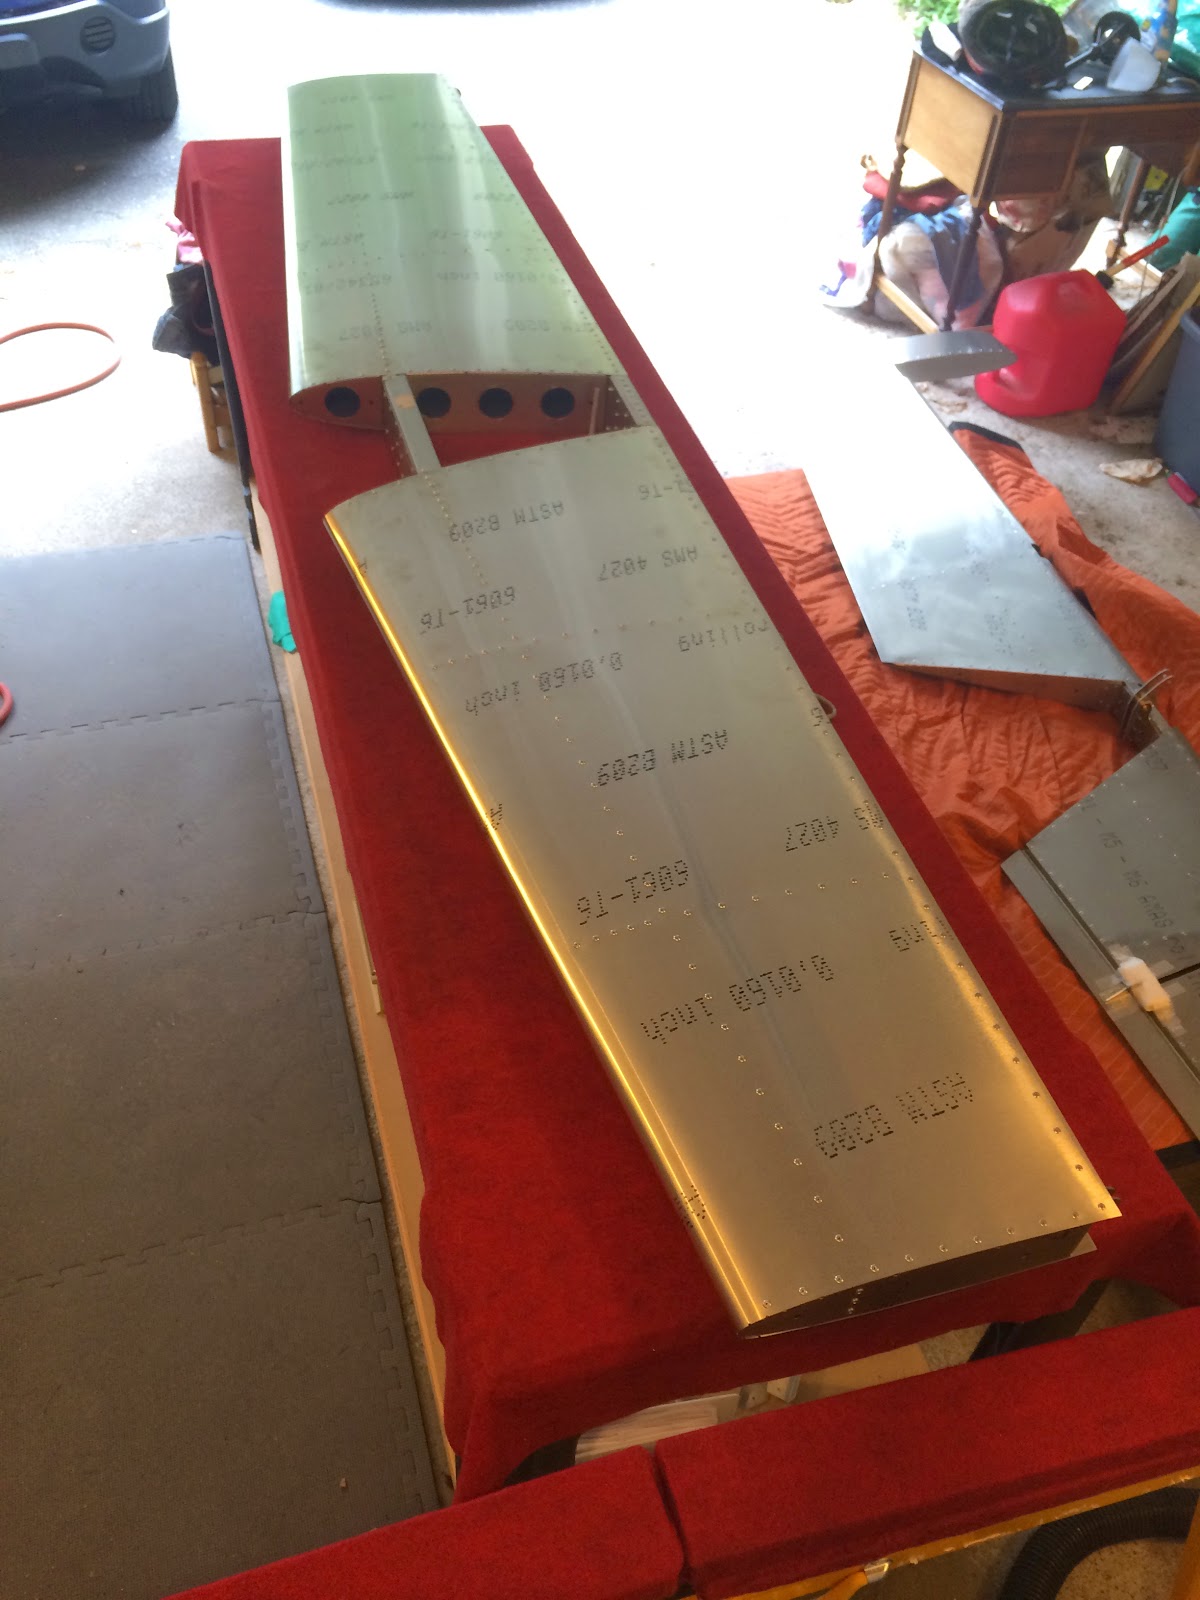
 All cleco'ed and ready to be riveted!

Sunday, September 14, 2014

3.5 hrs. today working on the HS.  Did a test fit of the skins and started riveting the internal structure.

Saturday, September 13, 2014

4 hrs. today prepping and priming the new channel spar and skins for the horizontal stabilizer.  Removed the defective spar and replaced it with the new one.  All set now to test fit the skins tomorrow!


Friday, September 12, 2014

1 hr. trying to trim and fit the composite end caps on the elevator.  I fear I may have over-trimmed the one I was working on.  I don't know how far out they are supposed to stick out from the elevator, so that makes it difficult to know how to trim them.

Before trimming (note how flattened the end is, which would clearly not fit in the sharp trailing edge):

After I trimmed it by filing the end to be more pointed (that was not enough to get it to fit in the trailing edge of the elevator) and then clipping off the corner.  Did I cut too much?  I really would like guidance from the factory on how much it should stick out and how to trim it to achieve that spec.  Also why was the original end cap (much shallower) not correct?  I think I cut too much off and will need one new end cap...
 

How the elevator will fit into the HS:


Wednesday, September 10, 2014

1 hr. finishing up the elevator (other than the end caps, which must be trimmed, fitted and riveted).  New rivet gun is way better than the last one!


Do need to be careful with the new gun though...  I think my finger got pinched between the trigger and the silver part just below it.

Sunday, September 7, 2014

3 hrs. today working on the top-side of the elevator.  Would have finished the riveting except I managed to bust my rivet gun....  Grrr...

Putting some cushioning between the trim tab control horn and the elevator skin was recommended by Peter Calley to protect the skin from damage.  Recommend you do the same!


Here are the rivnuts for the access port.  I put LocTite around each rivnut for extra security.


Monday, September 1, 2014

3 hrs. today working on the elevator.

Ready for riveting...


Riveted the bottom of the elevator!


Have a question as to whether the 4 holes to the trim servo tray are riveted or will be screwed to hold the servo (I'd guess riveted now, but I don't like guessing...).