Subcribe to our RSS feeds Join Us on Facebook Follow us on Twitter Add to Circles

Categories

Saturday, June 30, 2018

2 hrs. misc.

Drilled the holes for the two GPS antenna coax cables.  9mm holes worked just right for these grommets (your mileage may vary).

Almost forgot that I have to drill a hole for the AN5 bolt that will go through the grounding bus.  I'll be using the top one.

I'm going to locate it horizontally below the battery box.

Hole drilled and AN5 bolt test fitted.  I'll wait to drill the other, smaller, hole when I have the block in hand.

I don't seem to have the hinge described in the manual, so I went ahead and fabricated one.

All set.

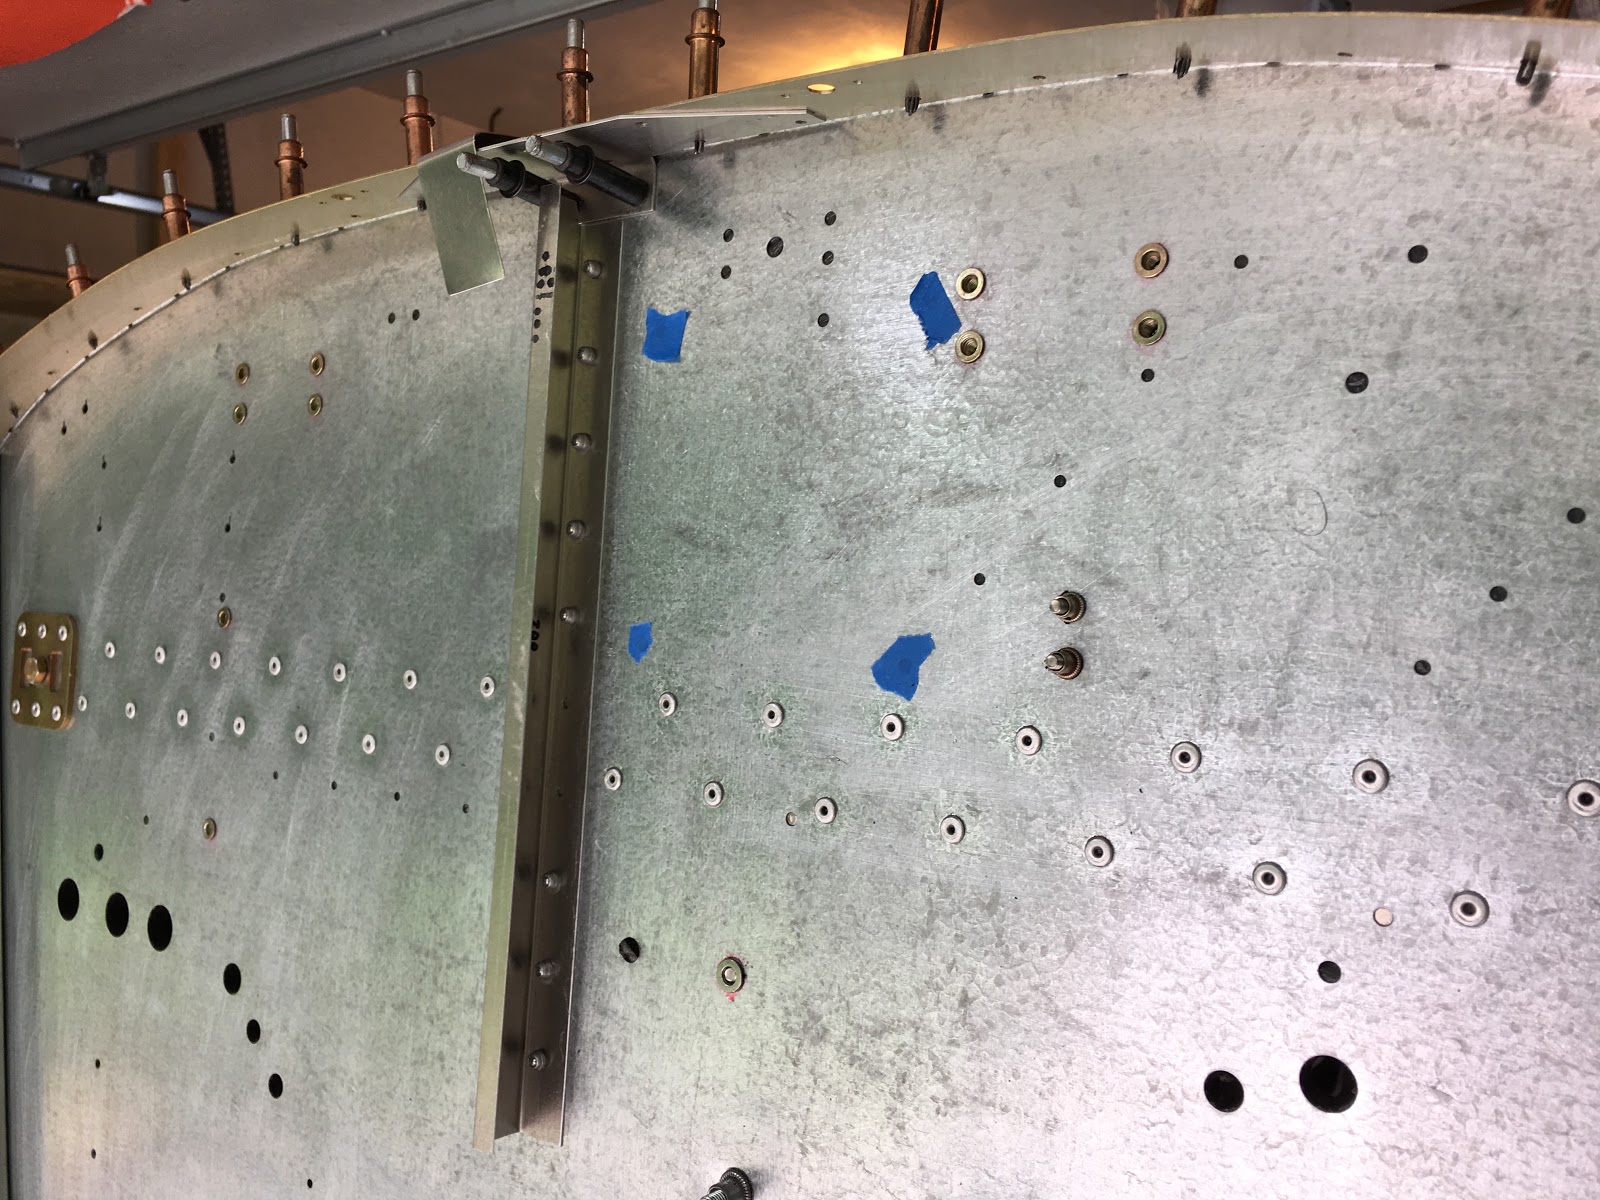
Hmm...  The manual seems to show it on top of the main assembly, but that can't be right...

See how it shows it above it.  That's wrong.  I know because the assembled diagram also on this page clearly shows it under it.

Cover riveted on.  Orientation matters.

The foam material test fitting to cut out for the angle.

And riveted on.

Goes like this...

Match drilling the hinge.

And it's done.  You don't rivet the bottom because it will all get attached to the firewall through those holes.

Goes here.

Friday, June 29, 2018

2 hrs. misc.

It was suggested I may need to replace my inner tube with one that has more threads on the valve (tube end).  Need to figure out how you order these things...

More of the type labeling.

Painted another layer of the fire-resistant paint.  I'll make a version of this that shows what everything is.

 Started the heat splitter box.  Bent out the tabs...

And started drilling the matching holes based on sighting and measurements.

Like JimP noted, I'm not sure how you cleco or rivet the one facing the flange.  JimP, did you find out?

Made a video using this cool device recommended by BobZ.  Trying to understand why the Dzus is not catching on one of the rear seat attachment points.  Looks misaligned.

Thursday, June 28, 2018

Quick half hour on a couple of things.

So I took the nose wheel hub off so I could measure things.  The threads extend out about 7mm from the tube.  I measured the hub thickness as 3.5mm and the washer thickness as about 1.5mm (which is what I filed it down to), for a total of 5mm.  So, that leaves 2mm (best case) of threads for the nut to screw on to, which is about half the nut's thickness.  What am I doing wrong here??

Finished up all the used and unused holes on the firewall.  Tomorrow I will apply another coat of the paint (at least 1 more, maybe 2), then I will take a photo of the result and put some notes on the photo to identify each and every hole and fastener.  Then it will finally be time to put on the heat shield.

Wednesday, June 27, 2018

1 hr. on the tire and firewall.

Today at Intel we had a "Maker Faire" to show off our hobbies, so you can imagine I wanted to show off my Sling project!  My table.  Huge reception!  Most people's reaction was like "What???  I never heard of someone building their own airplane!  That's crazy..." :-D  or "The other stuff here is toys, but this is the real deal.  Amazing!"

Another project on display was this robot keyboard player.  Pretty cool.

I ground down the shoulder washer by easily half, but it still didn't easily allow the nut to catch.  Tomorrow I'll try inflating the inner tube somewhat to see if that helps.

Half gone...

BobZ recommended using aluminum tape to cover over all the unused holes on the firewall.  I bought this.

Need to double check if the holes here without rivnuts are needed in this area.  I don't think so, but I'm not certain.  Anybody know?

Tuesday, June 26, 2018

Didn't work on the plane tonight as I was preparing for a fair tomorrow at Intel that I'm participating in where people show off their hobbies.  As part of that I created a video tour of my garage, so I might as well share that here too.

Monday, June 25, 2018

2 hrs. on the nose wheel and rear seat.

I sprinkled tire talc in the tire (don't use talcum powder as it has an additive that can degrade rubber) (I also wore a mask when sprinkling it in - you don't want to breathe that stuff), rotated the tire to spread it around and then put the inner tube in with the valve lined up with the red dot.

It's a little bit twisty to get the valve through the hole and slot...

...But, with the shoulder washer in place there doesn't seem to be enough threads to capture the nut...  OK, I'll put this aside for now.  Tomorrow I'll need to grind down the washer to expose some threads.  I actually saw this on another blog.

Instead I'll put in the Dzus fasteners in the read seat.  Grommet in...

Special tool required...  First step is to slightly flare the grommet, just enough so it won't fall out.

Slightly flared...

Insert the fastener...

...and with different attachments on the clamp, you crank it down until it's fully flared and flush with the sheet metal.

And it's in!

Other side view.

Test fit of the rear seat.  Got the upper two in fairly easily, but the bottom one has yet to catch.  I'll try again tomorrow.

Like!

Thursday, June 21, 2018

1 hr. painting the 2nd coat of the fire resistant paint on the firewall.

A couple of holes to drill for the GPS coax cables then it will be time to put on the heat shield.  Though before that I'll probably paint the strip around the edge (that will hold the CamLocs) gray to clean it up.

Wednesday, June 20, 2018

1 hr. painting the first coating of the fire resistant paint.  No exciting picture...

But, in other news, I WILL be going to OSH this year!  It wasn't looking good, but I got the OK from the brass and I'll be there!  I will arrive Monday afternoon and depart at the end of the day on Wednesday.  I'll be spending a good amount of time at the Sling booth, so if you want to meet up let me know.  Maybe I'll set a specific time that I'll be there and whoever wants to meet can come then.  I'll let you all know.

Can't wait!

Tuesday, June 19, 2018

1.5 hrs. on the firewall.

I decided that I'm not going to put the TCU, turbo servo and pressure sensor on the cabin side.  It will just be too difficult to install it or get to it once the front top skin on.  So, I went ahead and put the rivnuts in for those items.

As I mentioned the other day, I found a tool I had for doing larger rivnuts.  In this case M5 rivnuts.

Here's a video I made on how to install an M5 rivnut with that tool.


I think I have all the fasteners on that I can put on at this point.

Close-up of the fasteners for the cabin heat box (?) on the cabin side.

Monday, June 18, 2018

Haven't been able to work on the plane the past couple of days, but I did have a great Father's Day on Sunday! :-)

Was surprised with a boat trip on the Charles River (separates Boston and Cambridge).  Perfect day!

Cruising past Harvard University.

After the cruise we did a great brunch at Loyal Nine restaurant in East Cambridge and then followed that with the amazing ice cream at Toscanini's.

Should have some time on the plane tomorrow.


Saturday, June 16, 2018

4 hrs. on the firewall.

Cutting out the soundproofing from the holes that need to be open.

M5 rivnuts were supposed to go here (2 holes in middle), but they're oversized (which I failed to notice...), so the rivnut spins... :-(.  I'll drill a couple of new holes just below those.

Putting in lots of rivnuts!  You can see here the 4 for the battery holder and down below are the 6 for the fuel pump cover.

Battery holder test fit.

4 holes drilled and M4 rivnuts inserted for the Garmin GPS bracket.

Test fit.  I need to drill a hole for the GPS coax to pass through.

4 more on the other side (symmetrically placed).

My initial thought was to put the 914 TCU on the cabin side of the firewall at the same location it would have been on the engine side, but I'm concerned about access once the top front skin is riveted here.  The only access to install and service will be from below which could be very difficult.  Any thoughts?

On the right is the cabin heat control, which I need to assemble.  On the lower left is the bracket for the fuel pump.  The manual says these are connected to the firewall with M5 rivnuts, but is that really necessary?  The holes there are smaller than M4 and M5's are a royal pain to pull...  Thoughts?