Subcribe to our RSS feeds Join Us on Facebook Follow us on Twitter Add to Circles

Categories

Sunday, December 31, 2017

1 hr. tying up the COM coax and fashioning a spacer.

Put up a second layer of tarp over the garage door.  Managed to get the garage temp up to 42 F (5.5 C), which, with a few layers on, I was able to do some work.

Put a couple of small holes in the channel along the top to tie up the COM coax.

My supplemental instructions say a spacer is needed here, which makes sense.

Blank cut to size.

Taped down to mark off the holes.

And the holes line up!

Dimpled the holes and we're all set!

Saturday, December 30, 2017

As much as I've wanted to work on the plane, it's just been way too cold here.  A real cold snap...

7 deg F outside....  I did get another tarp to drape over the garage door, so I'll try that tomorrow to see if my heaters can get it to at least 50-ish...

I did buy some more cable ties.  I wanted to get some thin ones to minimize the holes I have to drill in the channel.  Once I can work on the plane again, I'll show you where I need to do this.

Wednesday, December 27, 2017

Umm, nope...

3.6 F (-15.8 C) outside and 31.6 F (-0.2 C) inside (without heaters).  The heaters couldn't get that above mid 40's with that outside temp....  :-(

Tuesday, December 26, 2017

1.5 hrs. on misc rear fuselage items.  Not shown below is that I vacuumed out and wiped down the rear fuselage in preparation for putting on the rear fuselage skins.

Brrr..  20.5 F (-6.4 C) outside and 47.8 F (8.8 C) inside...  Just barely acceptable to work in for me...

I think it's safe to rivet the tray to the parachute box now.

Checking that all the flanges are lined up with each other.

A little bit of faceting in the tight turn on the last rib at the back of the fuselage.

We can fix that.

Riveted (triangular piece that I'm not sure of the part number) this piece to the rib.

It's thick metal so I countersunk those holes that will be covered by the blowout sheet.

Some more holes dimpled and I might be close to having them all.  We'll find out when I put the skins on.

I decided I'm going to put some insulation on these vertical surfaces since that's exposed to the back of the fuselage which is not insulated.  The rear passengers legs will be here, so warmer would be better.

Sunday, December 24, 2017

2.5 hrs. fixing the elevator pushrod passthrough and more dimpling on the rear skins and ribs.

Towel down to keep the area clean during the surgery.

Drilled out, so now we're ready to trim down the channel so it doesn't touch the pushrod.

Using a Dremel the bottom has been ground down.

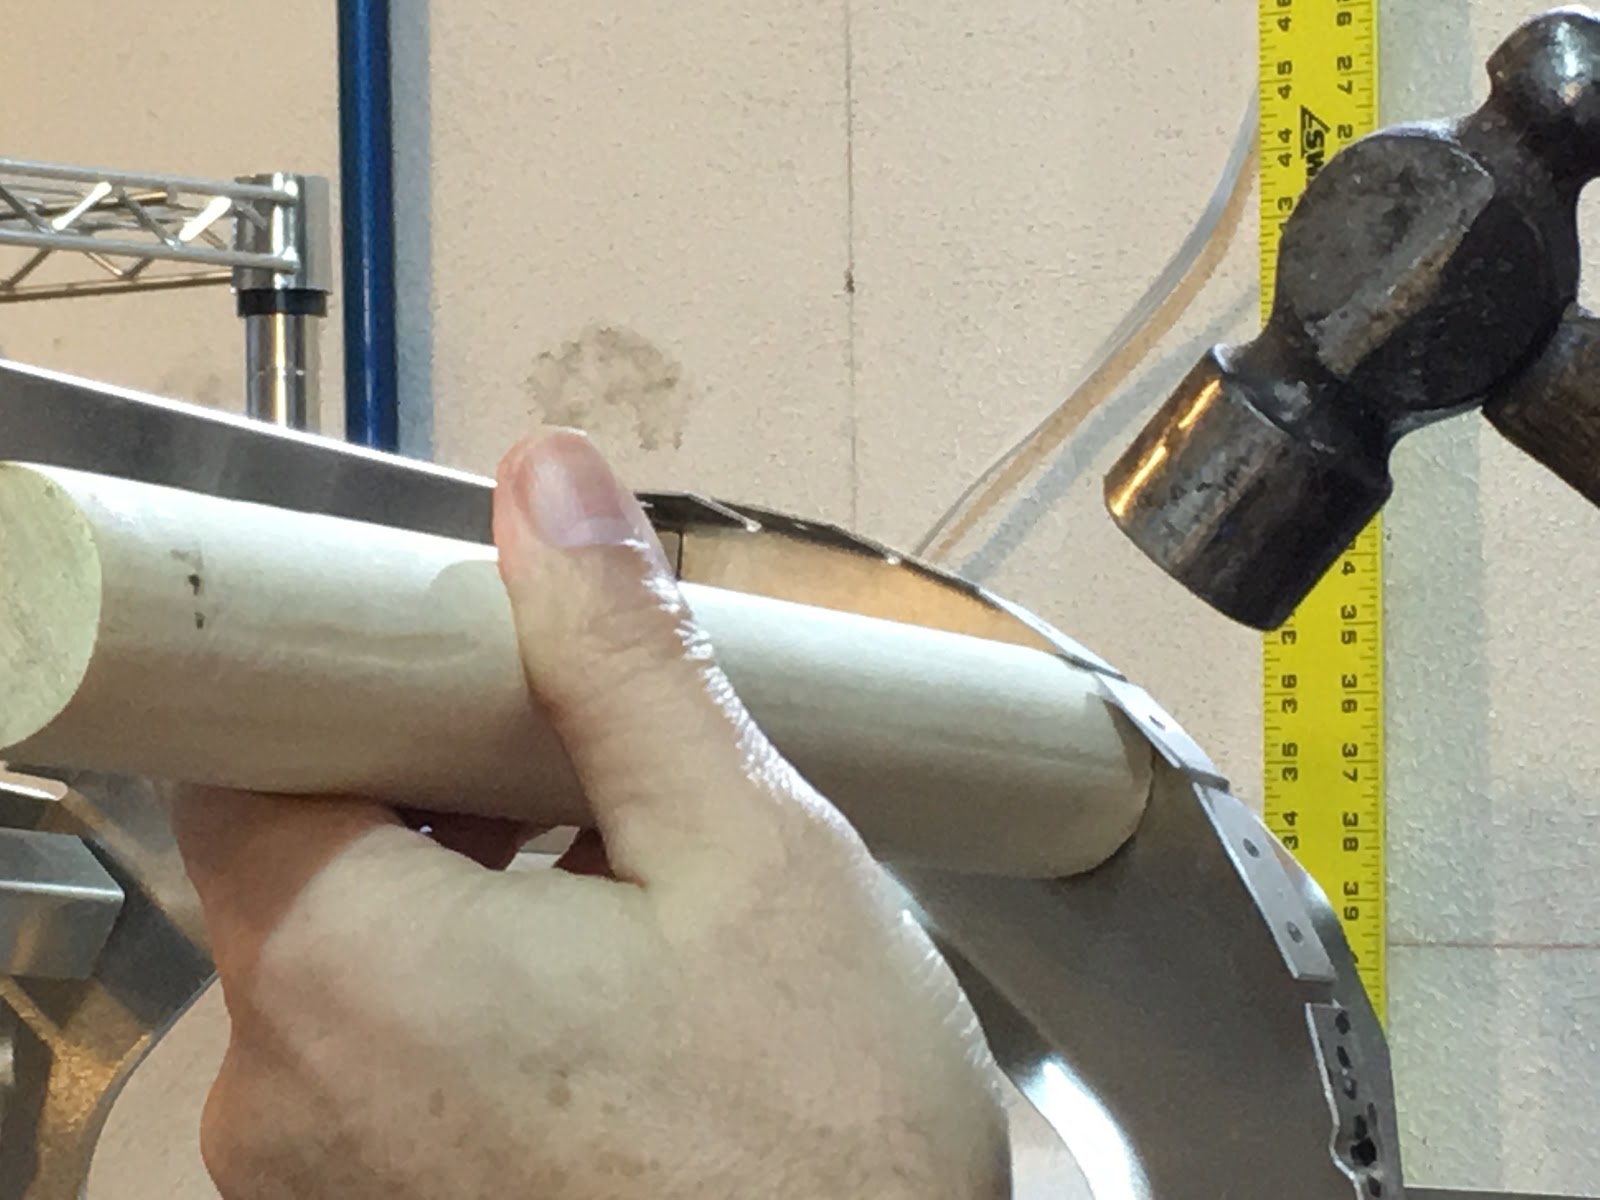
With the bottom riveted back in place (using larger, 4.8mm rivets) I use a thin strip of sandpaper to round and smooth the plastic.

Much better!  Now, even without any grease, no more screeching (and almost no friction) when I move the joystick.

With the grease on it's smooth as silk.  Nice!

Time to figure out more dimples...  I lined up both rear top skins to help figure out what needs dimpling.

The parachute blowout skin in place.  All rivets under that skin must be countersunk.

The edges marked off.

Placing the blowout skin on the ribs it's apparent that more holes are dimpled than necessary (despite the factory photos).

I flattened a few out.

More dimpled now, but there are some holes that I'm not even sure what they get riveted to.

Thursday, December 21, 2017

Well, I was going to work on the plane tonight, but my daughter got a job and that overrode all other plans.

I have several days off coming up so I'll have plenty of time to make good progress.  Over the next two weeks I want to get the rear top skins and center side skins on.  I think it's do-able.


Tuesday, December 19, 2017

.5 hrs. in the still too cold garage just doing some organizing and locating parts.

I've been receiving and gathering the parts I'll be sending to Stein for the panel build.

The parts I'll be sending:
  • VPX Pro 
  • 11 On-Off Switches 
  • AC-200S Prop Controller and manual switch 
  • Stratus USB Port 
  • Artex ELT Switch
BTW, Stein told me that the real carbon fiber panel covering is the same price as the hydro-dip imitation carbon fiber material, so I'm going for the real!

Monday, December 18, 2017

There was an incident in the UK in July of this year in which a Sling 4 lost a passenger door in flight because it's latches were not fully closed.  When I get to the point of installing my canopy I'm going to see what can be done to prevent such an incident with my plane.

Supposed to be warmer tomorrow, so I hope to get into the garage then.

Saturday, December 16, 2017

Still too cold to work in there, but I did take a quick look at the channel pass-through for the elevator pushrod.

You can kind of see (I can feel it) that the pushrod rubs up against the metal channel and not the plastic that it should.  This is not acceptable since the grease which must be applied will just get scraped off.

The plan: I'll de-rivet the plastic piece, move it away and file down the aluminum enough so that it will never touch the pushrod, only the plastic.  I'll also round-off the plastic a bit so that there's less friction (and scraping action) with the greased pushrod.  Note that the factory has redesigned this channel pass-through so this isn't an issue with newer kits.

If you haven't checked, I've extensively updated my Task List to reflect my plan to get the top rear skins on as soon as possible.

Thursday, December 14, 2017

Way too cold to work in the garage tonight..  Well, at least I got some parts over the last few days to gaze at.

Got my K4 switches that I'll be using in my panel.  These were installed on a Sling at OSH and they had a really nice solid feel to them.  Got them here.  Needed 11 of them...

Got my Stratus Dual USB Port.  If you know someone that will also need one, buy two for the price of one just this month!  Get it here.

Also received my battery box for the EarthX Lithium battery I'll be using.  I think the ETX900 is the right size and you can see that hereThis is the battery box I got.

Tuesday, December 12, 2017

1.5 hrs dimpling and changing a light bulb ;-).

I saw on Amazon some mega-LED bulbs and decided I wanted more light in my workspace.  You can never have too much light!  This is a photo of before the change (the bulb to be changed was on the ceiling, not the bulb seen in the photo).

Much better with the new bulb!

Here's the old mega-florescent.

And here's the new mega-LED bulb (330W equivalent, but only uses 50W).  This is the bulb.  I mean, look at that thing!

Time to start dimpling...  These were a little tricky because there's not much room to insert the dimpler.  Just bending up the flange a bit to get it in did the trick.

More to go, but most done.

And the corresponding holes on the skin done too.  Well, except the front edge, which I think need to be sized up to 4mm.

Monday, December 11, 2017

Got some pics today from the factory that better show what holes need to be dimpled.  I'll post these to the factory photos page too.

Basically, any rivets under the cover must be dimpled and riveted with countersunk rivets.


Sunday, December 10, 2017

I saw on Jim's blog that he greased the elevator pushrod in the rear fuselage where it passes through a channel.  There's no mention of that in the manual, but it certainly rubs against the bottom of the hole and makes an awful racket.  Is it really supposed to rest on the bottom of the hole?  Seems like the grease would quickly rub off.  Maybe I'm wrong?


Saturday, December 9, 2017

1 hr. trying a test fit of the left rear top skin..

I've been reluctant to try the test fit because I know that I have to dimple a whole bunch of holes on the skins and ribs.  Since the manual doesn't tell you much about which holes to dimple I've asked the factory for a diagram or photo.  I know other builders have figured this out, but I'm too lazy to have to "figure it out."  Frankly, I shouldn't have to figure it out...  It should be in the manual...

When they get back to me I'll post it here (and on the factory photos page), so other builders don't have to figure it out...

Anyway, my brief attempt to fit it didn't go great as it buckled up along the bottom edge.  I'm hoping a more methodical cleco'ing strategy will result in a better fit...  Maybe from the center out will work better.  I'll try tomorrow...

Thursday, December 7, 2017

1 hr. scoping out the parachute box and rear top skins assembly.

The manual indicates that the holes in the bulkhead attaching the tray to it need to be drilled.  It says to tape it to the bulkhead and drill, but I think it would be better to cleco the top skins on to make sure the skin and tray holes line up before committing to any drilling.

Looking forward.

The manual only indicates that the line of holes on the tray need to be dimpled, but I know looking at other blogs (and some fuzzy photos in the manual) that many more need to be dimpled.  I know I can figure it out, but does anybody have a good photo showing all the holes that need to be dimpled in this area?

Better not forget to put longerons 2R and 2L in place before putting the skins on...

Other side.  Pretty excited to get these skins on finally!  After these I'll get the center side skins on and it will look way more airplane-like. ;-)