Happy New Year everyone! May you and yours have a happy, healthy and prosperous 2016!!
With a bit of plastic tubing you can make nice standoffs between two lines.

NEXT SESSIONS:
- Inspection of both wings by EAA Tech Counselor.
- Cleco leading edge back on. I'll also test fit the fuel tank.
- Build boxes or stands to lift up the wing higher to enable installation of the pitot. I'll use these with the fuselage too.
- Finish installing pitot air and electrical lines.
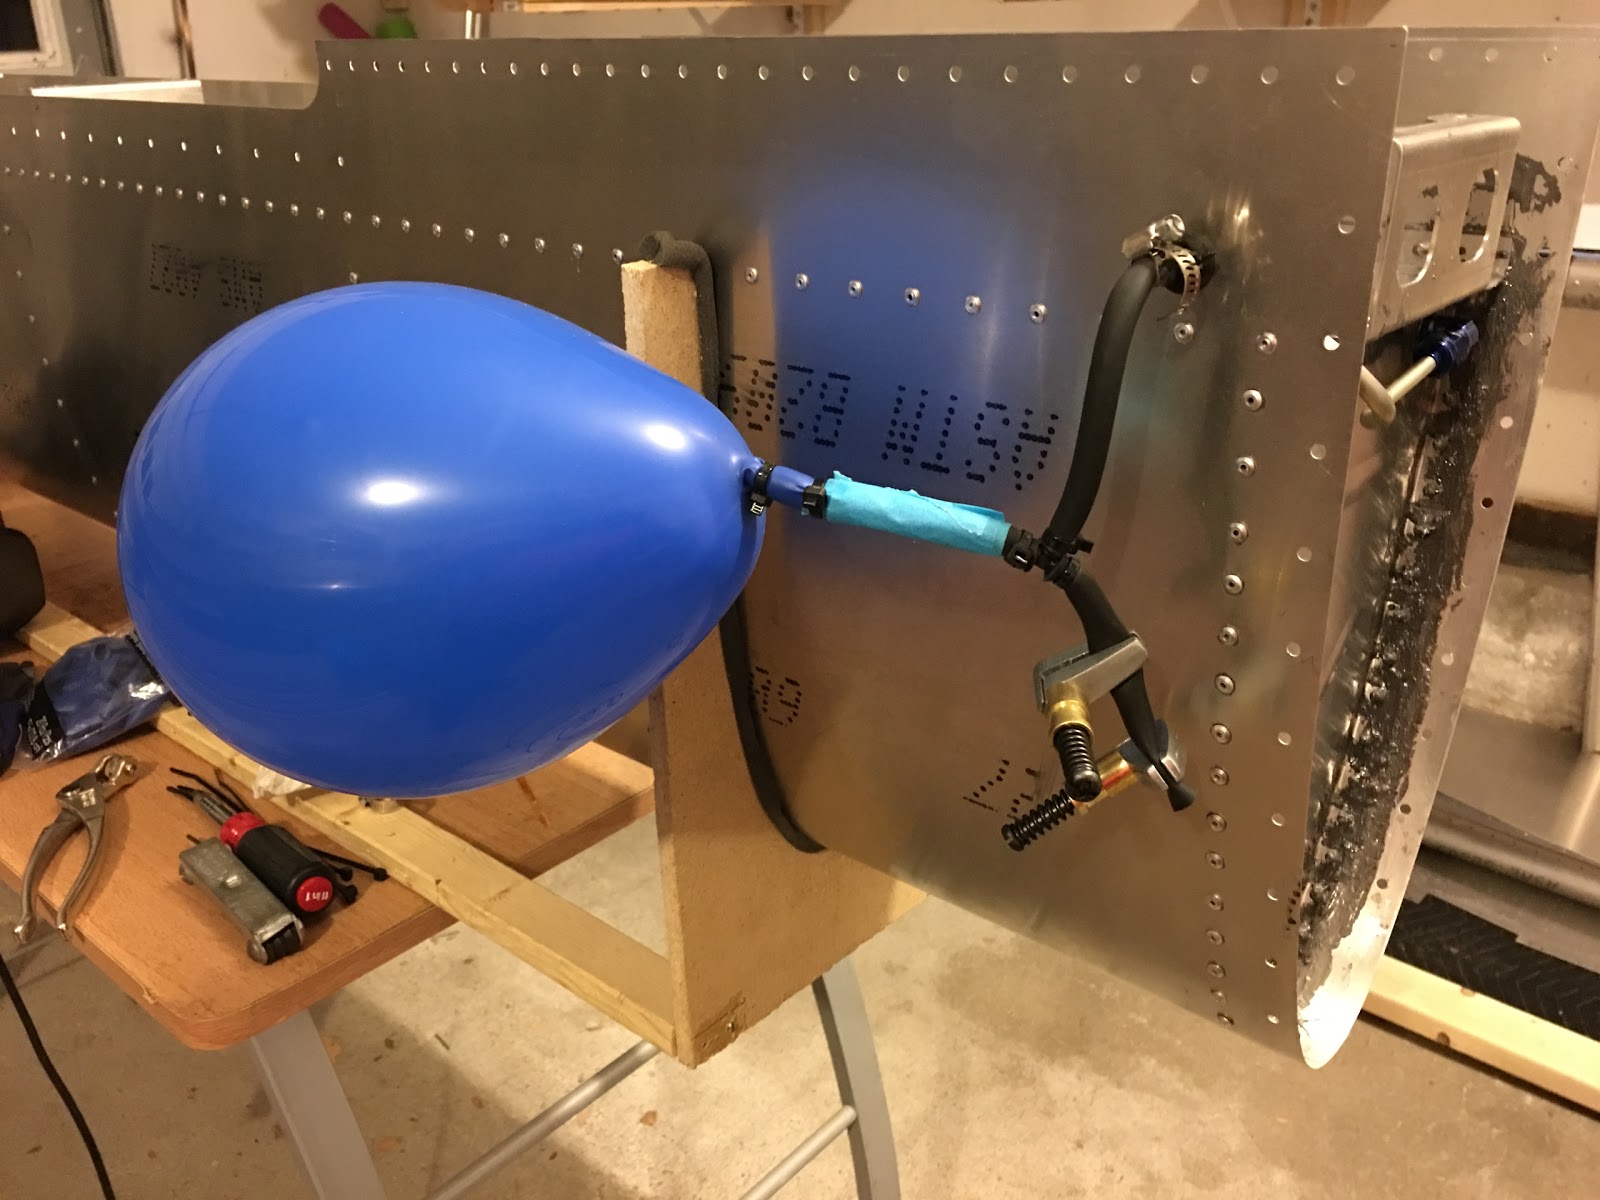
- Fitting and final sealing of left wing fuel tank. Tank off and test for seal.
- Fuel tank on. Just bolted at this point.
- Top skins riveted on (STRINGERS!). Top skins of left wing need priming. Fill rivets with Bondo.
- Leading edge riveted on (STRINGER!). Fill rivets with Bondo.
- Rivet fuel tank on. Fill rivets with Bondo.
- Wing tip assembly and light installation.
- Finish sanding of left wing bottom rivet heads.
- Finish right wing (6,7,8,9,10).
- Finally finish one of the composite tips of the elevator.
- Fill rivets of elevator with Bondo.
- START ON FUSELAGE!