


Test fitting of the fuel cap fittings. Spent an hour grinding down the inner ring so that the cap would lie flush with the skin....

LOTS of sealant on all the parts and it's done!

The inside. Note that I had put painters tape around the fuel cap itself so that when I inserted it it wouldn't get covered with sealant. Here the painters tape has been removed and you can see the nearer part of the cap is clean.

If you recall from the right tank the 3.2mm holes of the drain flange and skin had to be drilled out to 4mm to accommodate the longer 4mm sealed rivets.

Inside view before drilling. I needed to be careful reaming it out because I didn't want to damage the fuel pickup, so I put a small piece of sheet metal between the pickup and the holes so the reamer wouldn't hit it.

Also had to be careful reaming the holes because I knew they would end up close to the large hole. Held and angled the reamer to ensure there would still be some metal.
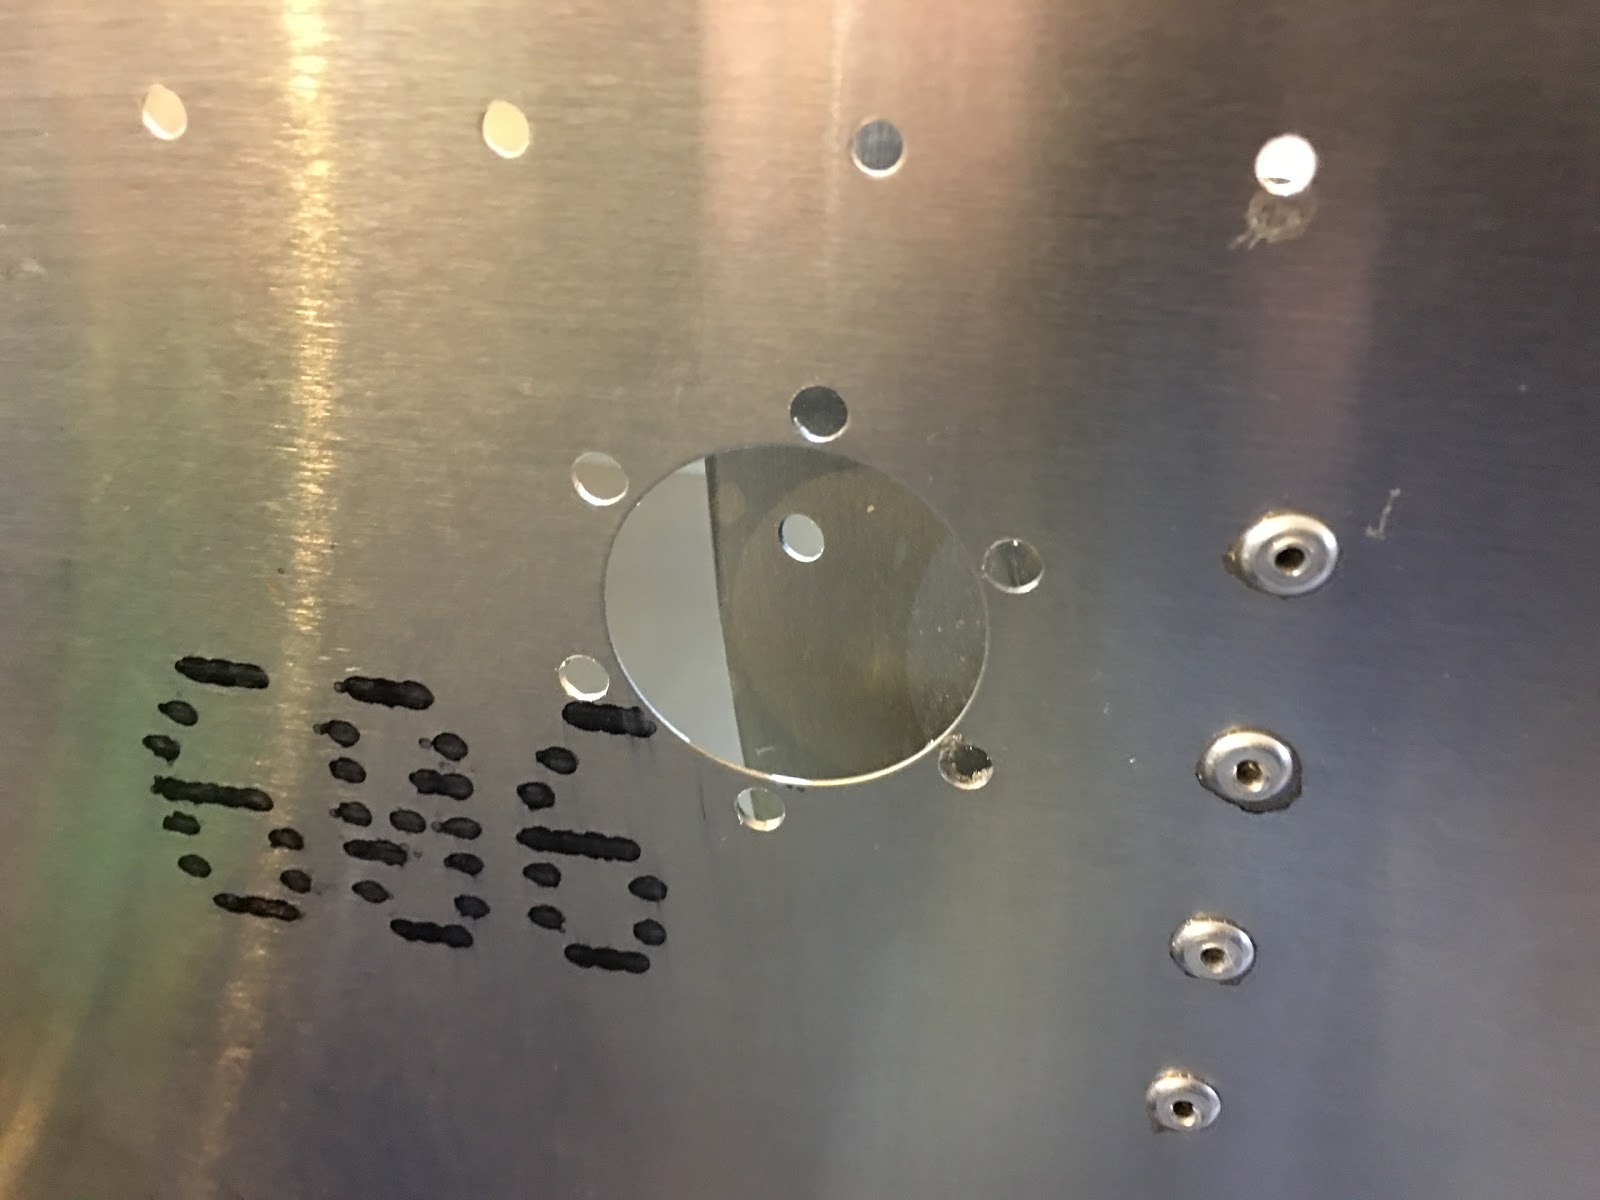
And it's done!

Inside view. Not pretty, but does the job.

NEXT SESSIONS:
- Apply the more liquid sealant (some spots it may make more sense to use the thicker sealant because the liquidy version can drip) to all internal seams and rivet heads.
- When I get the Loctite 290 seal the fixture and retest when set.
- Right wing down and start on the left wing!!
No comments:
Post a Comment