


You can see the misalignment here. First I used a small drill bit to open the hole a bit toward the center of the hole underneath (I did this by putting the bit in the hole and applying pressure toward the center). That way when I used my chucking reamer bit it would center itself to the hole beneath. If you don't do that it will drill into the metal layer below and you don't want that, you only want the skin above to be re-drilled.

Here the reamer bit is in opening the skin to line up with the hole below (I just put the bit in skin deep and pressure it toward the lower hole). The two closer holes are already done.

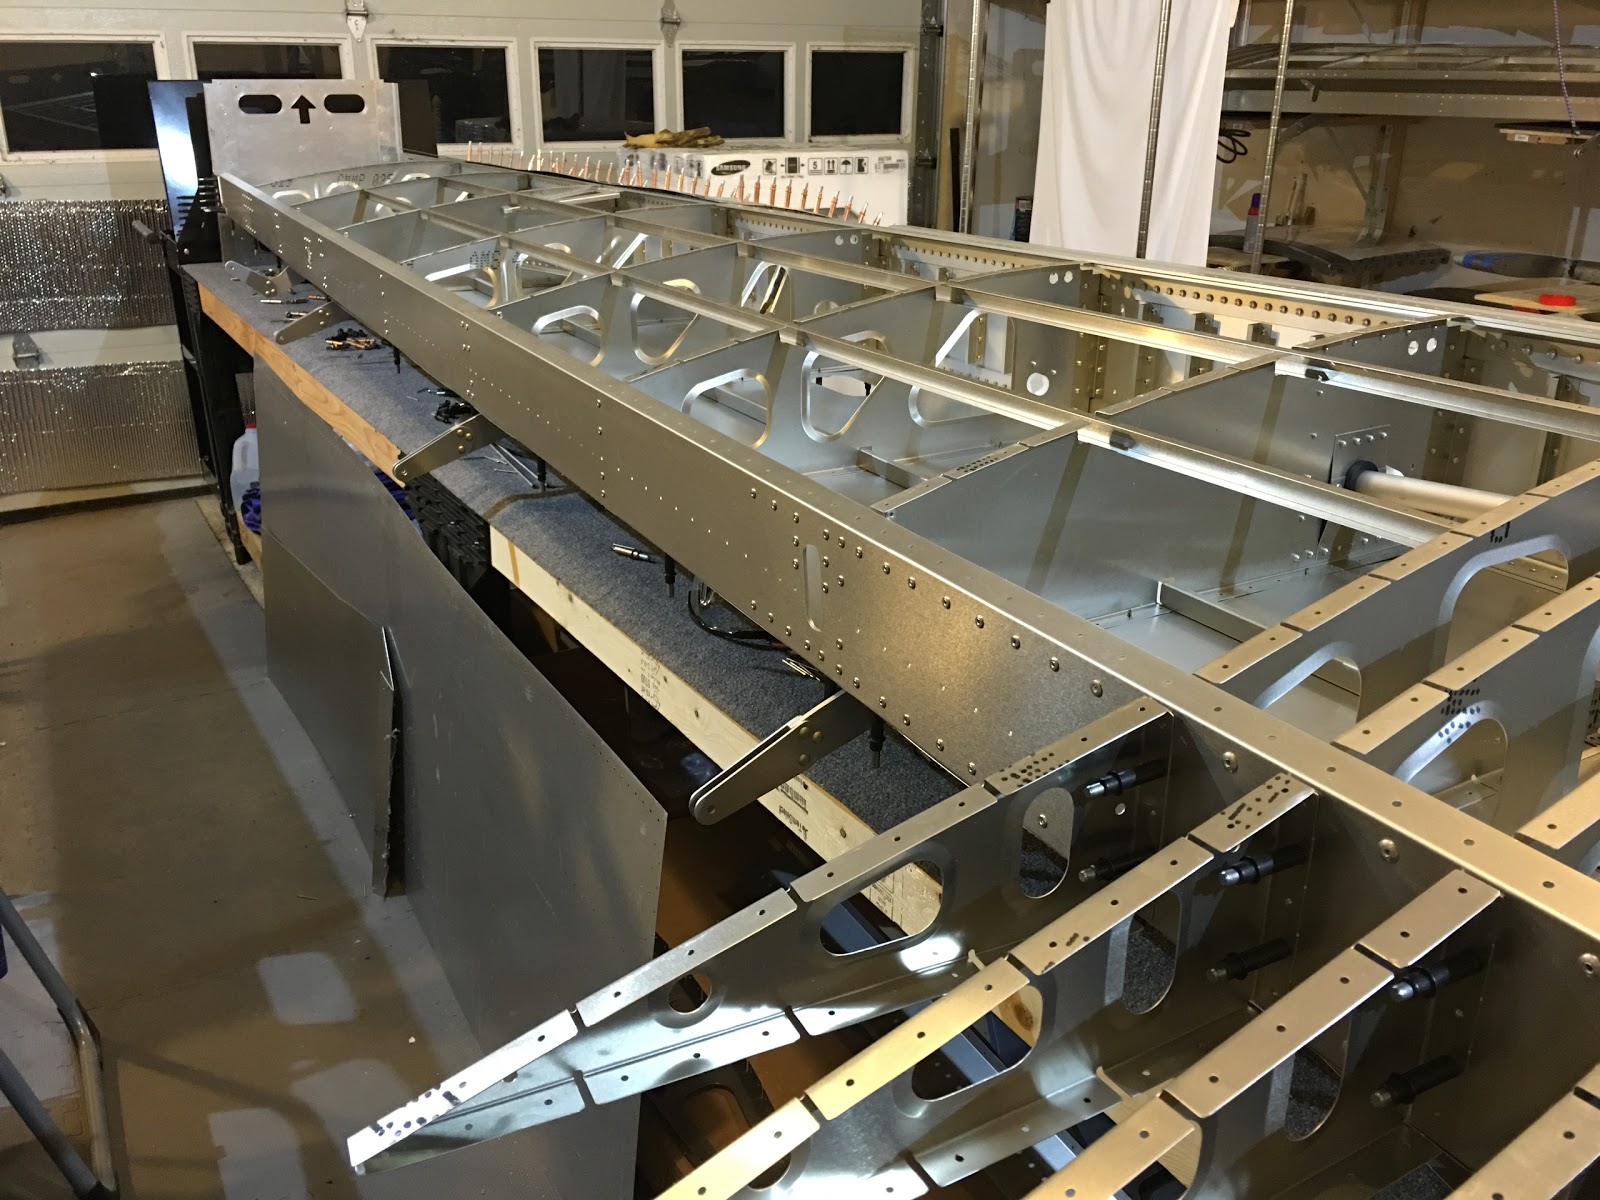
Starting to rivet the ribs to the spars. I put orange stickers on the holes that shouldn't be riveted yet (those holes are for the rear skin support channel).

Rear spar rib riveting done (except for the step ribs which have to be drilled out to 4.8mm). Except for where the leading edge is and the step ribs, the main spar rib attachments are riveted too.
NEXT SESSIONS:
- Remove leading edge skin and rivet those front rib connections.
- Drill out step rib holes where they connect to main spar.
- Rivet step ribs.
- Flip to bottom.
- Rivet bottom skins (STRINGER!). Fill rivets with Bondo.
- Flip to top
- Wiring in.
- Landing lights in and tested. Test wing tip lights.
- Air lines in.
- Fitting and final sealing of left wing fuel tank. Tank off and test for seal.
- Inspection of both wings by EAA Tech Counselor.
- Fuel tank on. Just bolted at this point.
- Top skins riveted on (STRINGERS!). Top skins of left wing need priming. Fill rivets with Bondo.
- Leading edge riveted on (STRINGER!). Fill rivets with Bondo.
- Rivet fuel tank on. Fill rivets with Bondo.
- Wing tip assembly and light installation.
- Finish right wing (12, 13, 14, 15, 16). Also Bondo for bottom skin of right wing.
- Finally finish one of the composite tips of the elevator.
- Fill rivets of elevator with Bondo.
- START ON FUSELAGE!
Date Are you building a plane? If so, what? Pilot?
| 12/10/2015 12:21:01 | No, but I'm considering it | Yes | |
| 12/10/2015 13:31:47 | Yes | Sling 4 | Yes |
| 12/10/2015 14:00:12 | No, but I'm considering it | Van's RV-xx | Yes |
| 12/10/2015 14:40:08 | Yes | Sling 2 | No |
| 12/10/2015 14:40:59 | Yes | Sling 2 | Yes |
| 12/10/2015 16:57:28 | No, but I'm considering it | Yes | |
| 12/10/2015 18:28:14 | No, but I'm considering it | Sling 4 | Yes |
| 12/10/2015 18:36:41 | Yes | Sling 2 | Yes |
| 12/10/2015 19:58:43 | No, not planning to | Yes | |
| 12/11/2015 2:58:18 | No, but I'm considering it | Yes | |
| 12/11/2015 8:14:46 | Yes | Sling 2 | No |
| 12/11/2015 16:56:10 | No, not planning to | Yes | |
| 12/11/2015 16:58:24 | No, not planning to | Yes | |
| 12/11/2015 21:52:24 | No, but I'm considering it | Yes | |
| 12/12/2015 1:49:18 | No, but I'm considering it | Yes | |
| 12/12/2015 14:46:15 | No, but I'm considering it | No | |
| 12/13/2015 5:51:38 | Yes | Sling 4 | Yes |
| 12/13/2015 16:07:43 | Yes | Sling 2 | Yes |
| 12/15/2015 15:54:33 | No, but I'm considering it | Yes | |
| 12/15/2015 16:52:47 | No, but I'm considering it | Yes | |
| 12/22/2015 13:33:29 | No, but I'm considering it | Yes |
No comments:
Post a Comment