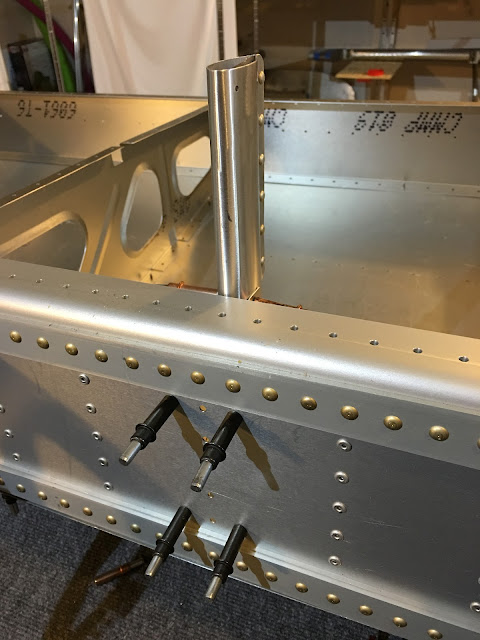
Pitot assembly cleco'ed in.
Turns out I don't need to cut the hole for the pitot, it's already in the skin. Ahh...
Bottom skins fit nice.
Time-lapse video of working the leading edge skin around the ribs.
And the leading edge skin fits too.
NEXT SESSIONS:
- Forgot this: Just like the right wing there are holes along the main spar that don't line up with the bottom skin, so those need to be drilled.
- Flip to top
- Remove top skins and leading edge skin and rivet ribs and pitot assembly.
- Flip to bottom
- Rivet bottom skins (STRINGER!).
- Flip to top
- Wiring in.
- Landing lights in and tested. Test wing tip lights.
- Air lines in.
- Fitting and final sealing of left wing fuel tank. Tank off and test for seal.
- Inspection of both wings by EAA Tech Counselor.
- Fuel tank on. Just bolted at this point.
- Top skins riveted on (STRINGERS!).
- Leading edge riveted on (STRINGER!).
- Rivet fuel tank on.
- Wing tip assembly and light installation.
- Fill rivets with Bondo.
- Finish right wing (14, 15, 16, 17, 18, 19, 20).
- Finally finish one of the composite tips of the elevator.
- Fill rivets of elevator with Bondo.
- START ON FUSELAGE!


No comments:
Post a Comment