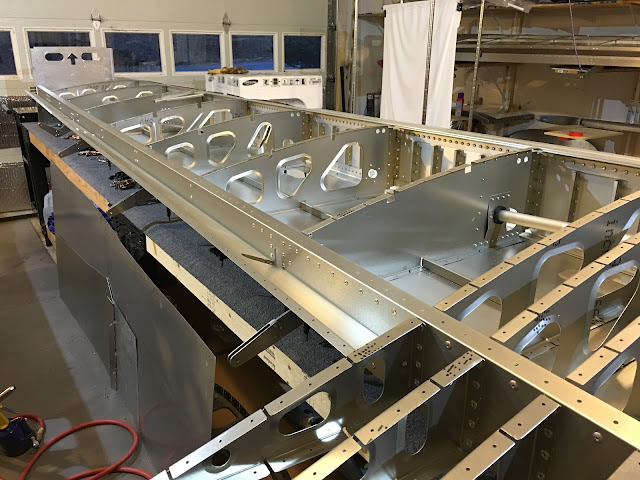
Just like the right wing one of the ribs didn't line up very well with the main spar. Had to angle in the cleco's to shoehorn in it. Still required some reaming though.
Drilling out the step rib holes in the rear spar to 4.8mm.
With a few layers of thick aluminum to go through you can see how much debris that reaming out produces. Have to clean all that out and deburr all the holes from both sides. Took awhile...
All cleaned and deburred.
Some of the main spar rivets for the step ribs require manual riveting because you can't get the rivet gun in there. Here's a video of what that's like.
All done!
Rear support channel riveted on!
NEXT SESSIONS:
- Rivet bottom skins (STRINGER!). Fill rivets with Bondo.
- Flip to top
- Wiring in.
- Landing lights in and tested. Test wing tip lights.
- Air lines in.
- Fitting and final sealing of left wing fuel tank. Tank off and test for seal.
- Inspection of both wings by EAA Tech Counselor.
- Fuel tank on. Just bolted at this point.
- Top skins riveted on (STRINGERS!). Top skins of left wing need priming. Fill rivets with Bondo.
- Leading edge riveted on (STRINGER!). Fill rivets with Bondo.
- Rivet fuel tank on. Fill rivets with Bondo.
- Wing tip assembly and light installation.
- Finish right wing (8,9,10,11,12). Also Bondo for bottom skin of right wing.
- Finally finish one of the composite tips of the elevator.
- Fill rivets of elevator with Bondo.
- START ON FUSELAGE!


No comments:
Post a Comment