Subcribe to our RSS feeds Join Us on Facebook Follow us on Twitter Add to Circles

Categories

Tuesday, October 31, 2017

.5 hr trying the wire loom and starting work on the GMU-11 mounting bracket.

Starting to the thread in the loom....

Hmmm...  VERY Little room in this area for something that thick to pass through....  Do the wires REALLY go through here??  After all that research I'm going to have to determine whether it's worth using it at all...  Maybe just in sections - but clearly not in this area...  I'll look at again tomorrow - maybe there's another way through here (above the rudder cables?).

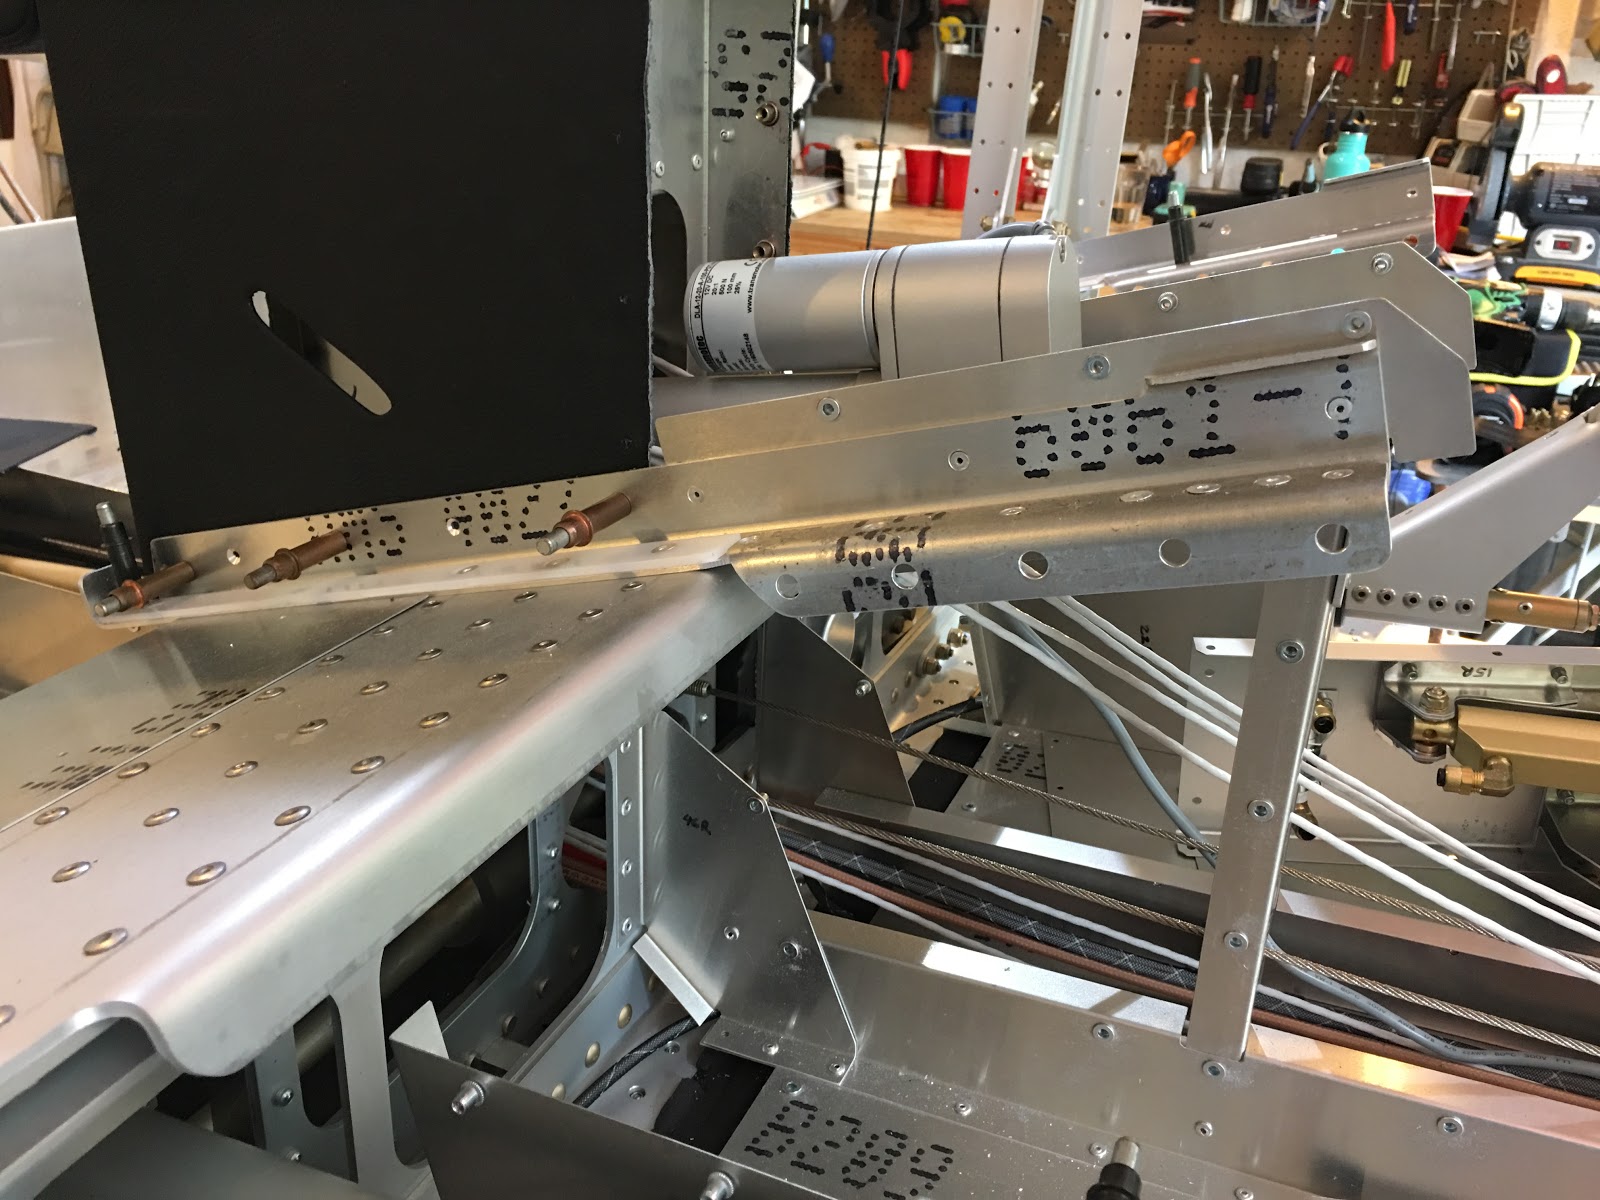
Now I know why Peter C installed a backing plate for the GMU-11 mount..  The rivnuts are very loose fitting.  I had forgotten he did that (and no info from the factory on doing that).  The non-magnetic rivnuts they give you crush very easily, so be careful not to overdo it.

I'm hoping with the high-strength 277 Red Threadloc and my green wicking Threadloc that it will hold just fine.  We'll see tomorrow.

Monday, October 30, 2017

I see we have a new Sling 4 builder up in Canada!  Welcome!

I added the link to my links page.  If there are any other Sling builders out there with build logs, please let me know and I'll add a link!

Sunday, October 29, 2017

1 hr. fiddling with the wiring support plan and sanding filled rivets.  With the parts coming Monday and Tuesday I'll be able to pick up the momentum again.  I really want to put on the top rear skins and side skins.

Support will go here, but I'm not going to rivet it down until I have the wire looms and I'm assured clearance with the rudder cables.

Sanded off the remain rivet heads on the left rear side.  10-15 minutes to sand them all.  Looks good!

Friday, October 27, 2017

Haven't been able to work on it much this week, but have been doing research and planning.

My two missing parts are coming on Monday: The proper COM1 antenna backing plate (I had an old revision) and the new GMU-11 Mounting Bracket.  Also coming early next week is the wiring loom.

Meanwhile I've been gathering the necessary documentation to figure out the wiring between the servos, pitch trim motor and magnetometer (the end of the CAN bus in my setup).  Once I figure that out then I can start to build the complete wiring harness for those components, which are the last things to wire up through the fuselage.

Once that's done (including installing the loom wrap) then I can start to close up the fuselage a bit more: rear top skins and center side skins.

Thursday, October 26, 2017

Got a couple of pics from the factory showing the routing of stuff toward the front of the center console.  So it's clear that the wire bundles head up before the forward upright (not surprising).  I'll plan accordingly.  I should have my split wire looms next Monday.


Tuesday, October 24, 2017

After much research and advice I decided to go with the 1" Flame Retardant Polypropylene Split Wire Loom (I got 100' - I'll probably use some in my house too).  It's got the widest operating range, it's flame retardant and it's even more flexible than nylon (I've got some tight curves, so that will help).

I figure that if I have some electrical short that causes a flame in the wire bundle, with this material I can be guaranteed that the flame will go out once I cut the current.  Those other materials make no such guarantee.

I don't know if the smoke from it would be worse than nylon, etc.(though I don't think so), but if it's exposed to continuous flame in the center fuselage under my seats...  I've got bigger problems than smoke...

Do I overthink things? ;-)

EDIT: When it arrives I will take a chunk of it and subject it to continuous flame and if it smokes heavily, I'll send it back and go for the nylon version.

EDIT2: I contacted the manufacturer about the smoke potential of their flame retardant material and got this back:

"We know that the smoke from this product when it burns is substantially less than the smoke that emanates from the non-flame-retardant products."

Works for me!  Plus I'll still do the test when I get it.  Stay tuned!

Monday, October 23, 2017

I was advised that some other materials (e.g. nylon) have a wider temp range than polyethylene, so I did some research and right now I'm thinking about flame retardant polypropylene for the wire loom.  Info here.  It's got a wider temp range than nylon (which is wider than polyethylene) and will self-extinguish.

Available on Amazon here.

I'll let you all know about my final decision.

Sling 2 builder (and now flyer!) Bob Zaleski recommended this wiring loom to help with the organizing.  That will definitely help to neaten it up!  Just need to figure out the pass through under the center console/main spar area and the final pass through around the upright near the rudder pedals.

Thanks Bob!

EDIT: I did find that these are available on Amazon.


Sunday, October 22, 2017

2 hrs. contemplating fuselage wiring.

Mess-o-wiring that needs to be organized.  How about supporting the bundles with some supports that cross the center console?

I fabricated some supports...

Test fit near the main spar looks good.

I'll space them out like this...  With the wires on top of course..

Good clearance under the rudder cables at the front end....

...But I'm not really sure how the wires get routed down at this end, so I'll check with the factory.

This is the messiest I'll let my workbench get...  I thoroughly cleared it after this photo... :-)

I added a link in the Other Stuff menu above to the simple method of filling blind rivet heads.

In case you don't think I thoroughly tested the robustness of the material, here's a pic of my test piece after I had frozen it, heated it in a toaster oven to 150 degrees, cooled it with cold water and refroze it. :-)

Saturday, October 21, 2017

2 hrs. contemplating wire bundle routing and filling rivets on the rear fuselage.

Continued experiments with the spackle filling.  I think a quick sanding after gives a slightly better result (though I may still try to figure out to get the equivalent result without sanding).  Filled this side in less than 10 minutes (not including the sanding, which I think will just be another 10 minutes).

Hmm...  How to route and secure these bundles through without rubbing against anything or interfering. View looking back.

View looking forward.

Tight squeeze....

Tried putting a stringer through but that doesn't seem to work because of various things in the way.

Too tight with the stringer.  More thought needed....

Wednesday, October 18, 2017

1 hr. misc.  I'm being slowed down a bit because I'm waiting for some rear fuselage parts to arrive from South Africa...

I made a test piece for some further testing of my spackling method of rivet filling.  This piece has 3.2mm and 4.0mm rivets.

Applied with the applicator on the right and wiped off with paper towel (maybe I'd get a slightly better result wiping off with something less absorbent?).  After it's thoroughly dry I'll sand off 1 of each size to see if it makes any visible difference when I prime paint it.  I'm thinking little visible difference.  Right now it's in the freezer overnight.  Tomorrow I'll put it in the toaster oven and see how it fairs.  Am I taking this testing too far? ;-)  Did I mention no mixing and probably no sanding!! :-D

I've tried various edge grommet materials I had on hand and recently bought and none fits well for lining the seat belt opening...  Anybody have any pointers to something that worked for them?  It's roughly between 1/8" and 1/4" thick that it needs to fit over and it needs to be able to make a sharp bend.

Sunday, October 15, 2017

I declare my testing of the spackle approach to filling rivets a total success!

My smear of the spackle on the skin surface was totally immovable after it dried.  I then sprayed primer on that and the rivets on my test piece.  Most of these rivets were shot yesterday at the airport open house and were not shot with the correct sized head, hence the ridge on them.  The one on the right of course has no fill, so that's what it would look like without the fill.

This one was shot today with the correct size head, so minimal ridge and the fill looks great.  If you want it even flatter you could quickly sand it after the spackle is dry.  Maybe I'll try that tomorrow before I make my page for the method.

1.5 hrs. misc.

Further testing on using spackle for filling rivet heads.  I spread some spackle on uncleaned aluminum to see how it adheres.  I asked the manufacturer why the container says not to use on metal or plastic and they said it was simply because they hadn't tested it.  Well, I'm testing it. ;-)
Later, when it's dry, I'm going to see how it adheres and spray some primer over the rivets and see how it looks.  If this all checks out (and I think it will), then this will definitely be the easiest and quickest way to fill rivet heads.  No mixing, No sanding!!!

Testing the mechanical strength of the front seat jacks.  All good!

The underside with mic and headphone plugs in.

Tying up the wires so they stay out of the way of the seat belts (and keep them from moving around).

Back in place and looking good!

Side view showing the wires coming down over the main spar.

Saturday, October 14, 2017

My local airport (6B6) had it's open house today and I had a table there with info about my build and the Slings.  Great turnout and lots of fun conversations.

My setup before the crowds arrived.  The plane and the hanger behind me are for a A&P school located at the airport.

Thursday, October 12, 2017

1 hr. finishing up the front seat headset jacks

All labeled up!

Labeling the center console holes.

And they're in!  Hard to tighten....

Top view.

Can someone tell me what these parts are?  I thought I saw these in someone's build photo's in the rear seat floor area, but it's not clear what they're for.

Wednesday, October 11, 2017

1.5 wiring up the front seat headset jacks.

Glad I hadn't riveted in the center console yet since the wiring is way easier on the bench.  The holes for the jacks are already there.  Just have to drill through the leather.

Looking at the diagram on Stein's I labeled the connector lugs on the microphone and headphone jacks.  Here are Ring and Barrel.

Barrel and Tip.

I noticed that this diagram from Stein's was different from the previous one I posted, which was also a Stein's diagram.  I'll go with this one since this the more official looking diagram shown with the parts.  Note that the microphone and headphones have the tip and ring wiring swapped.

My collection of shrink tubing.

Starting the mass production of the 4 3-wire cables.

Heat shrink on, it's time to solder the wires to the lugs.

All soldered and shrink tubing shrunk.  Nice!  I'll install them tomorrow.

Tuesday, October 10, 2017

Wasn't sure where the headphone jacks go for the front seat in the 4, so I asked the factory and got back these photos of the locations, including the back.

Look in the center console cubby.

Close up.  I don't know what the center hole is for, so I've asked the factory.  I'll update this when I hear back.

Rear seats they're up on the pillar.