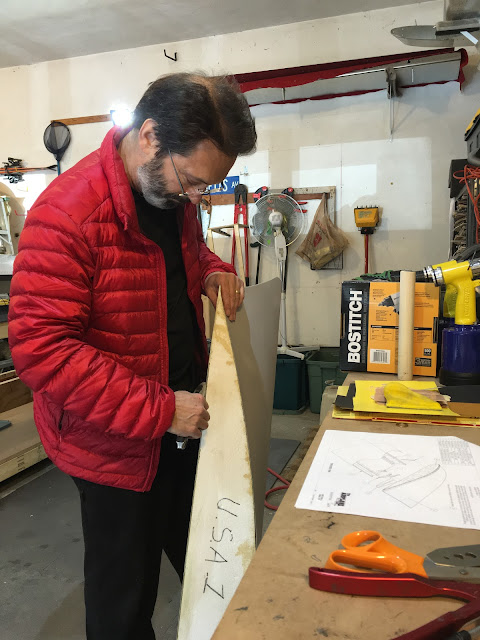
Oops, need to drill out that rivet (and one on the bottom)...
Need to take out the Styrofoam insert from the tip (which is glued in...). Carefully using a utility knife to get between the foam and the fiberglass.
And it's out...
Sanded off any left-over styrofoam and glue and wiped it down with a wet paper towel.
Seems to fit reasonably well.
Want to make sure that the tip is consistently angled between each wing.
Angle brackets riveted in!
End rib cleco'ed in place.
Put in a wire tie to hold up the wire off the bottom skin.
And it's all riveted in place!
Head scratcher: The post, wire bundle and mounting hole in the light do not line up with the backing plate which goes on the inside of the tip. Hmmmm..... And I didn't see any mounting bolt in the box the lights came in. More hmm....
NEXT TASKS:
- Rivet the one on the step rib that needs special handling. OK, I've been putting this off..
- Light installation after I figure out the above "hmmm's"...
- Tip fitting (probably need to sand the trailing edge to get it to fit) and riveting.
- Composite filler for join between wing tip and skins. Perhaps other seams can use some filler?
- Put the aileron and flap on the wing to check for straightness of the trailing edge (Thanks Peter, I saw that on your blog! ;-)). Based on what I'm reading online it seems likely that I'll need to re-rivet some of the aileron/flaps to line up the trailing edges... Wish I knew this before I had riveted them...
- Finish right wing.
- Finally finish one of the composite tips of the elevator.
- Fill rivets of elevator with Bondo.
- START ON FUSELAGE!


No comments:
Post a Comment