


Since I was feeling a bit adrift as to what to do next I decided to extensively update and expand my task list (link above). I feel better now. ;-)
I'll get back to actual plane work tomorrow.
Friday, November 11, 2016

Thursday, November 10, 2016
1 hr. on the center console.
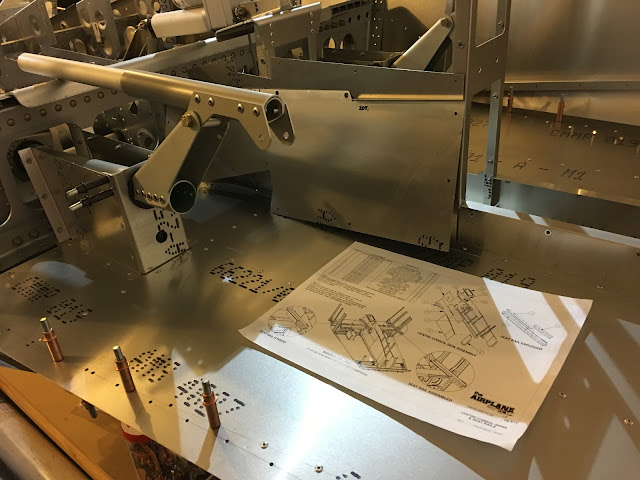
Starting to assemble this, um, thinga-ma-chigy. ;-) Part of the center console.

Trying to figure out the jigsaw puzzle...

I'll need to trim this part of the skin back as it seems to be jamming up against the bottom of the main spar causing it to bend.

Panorama shot of the center console.

Close-up.

Starting to gather the seat rail parts...

Starting to assemble this, um, thinga-ma-chigy. ;-) Part of the center console.

Trying to figure out the jigsaw puzzle...

I'll need to trim this part of the skin back as it seems to be jamming up against the bottom of the main spar causing it to bend.

Panorama shot of the center console.

Close-up.

Starting to gather the seat rail parts...

Monday, November 7, 2016
2 hrs. more work on test fitting the left side skin, etc.
I made a video showing all the spacer and gusset arrangements on the center fuselage side skins since it's not clear in the manual. Sorry for the poor framing at the beginning of the video. ;-)
Also installed a few more rivnuts.

Starting to gather the covering skins for the center console.
I made a video showing all the spacer and gusset arrangements on the center fuselage side skins since it's not clear in the manual. Sorry for the poor framing at the beginning of the video. ;-)

Big view of the left side skin. 

Starting to gather the covering skins for the center console.

Sunday, November 6, 2016
2 hrs. testing fitting the right side skin of the center fuselage.
Before the fitting.

Skin up...

This is looking forward on the left side. I assume I'm going to need to bend up that lower edge?

This part, CF-ANG-047 is connected to CF-CHL-007. This isn't shown in the manual.

That assembly in place.

Some questions:
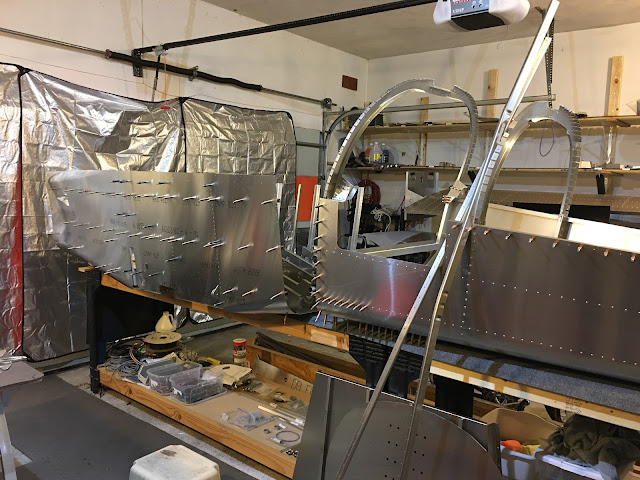
Before the fitting.

Skin up...

This is looking forward on the left side. I assume I'm going to need to bend up that lower edge?

This part, CF-ANG-047 is connected to CF-CHL-007. This isn't shown in the manual.

That assembly in place.

Some questions:
- Before this is riveted in place I assume it's wise to do pg. E11, the center console skins and seat rails?
- And also do the joystick mount assembly (specifically riveting to the main spar)?
- I understand it's a good idea to not do the outer seat rails until much later, true?
- At what point is it a good idea to join the center and rear fuselage? Really wait for the work of pgs E13 (Firewall assembly) and E14?

Thursday, November 3, 2016
3 hrs. on the rudder pedal assembly.
Back in place and ready to start...

The pieces fit.

Bushes in place.

The closing brackets are a tight fit.

Got my new luggage cross brace and it fits well.

The stops in place, but I'll hold off on tightening things until the cables are ready to be attached here.

Had these parts with my collection of hardware for the pedals, but I don't know what they're for...

Had to take it all back off to rivet the brackets and floor part down. The line of holes across the middle of the picture were not drilled through the floor, so I did that.

Done riveting it to the floor.

And back on it all goes...

Cleco'ed.

And all done! Time for a margarita! :-)

Back in place and ready to start...

The pieces fit.

Bushes in place.

The closing brackets are a tight fit.

Got my new luggage cross brace and it fits well.

The stops in place, but I'll hold off on tightening things until the cables are ready to be attached here.

Had these parts with my collection of hardware for the pedals, but I don't know what they're for...

Had to take it all back off to rivet the brackets and floor part down. The line of holes across the middle of the picture were not drilled through the floor, so I did that.

Done riveting it to the floor.

And back on it all goes...

Cleco'ed.

And all done! Time for a margarita! :-)

My article in the Sunday Boston Globe will be in this weekend's edition, Globe West section.
Here it is online. Enjoy!
Here it is online. Enjoy!


Subscribe to:
Posts (Atom)