Subcribe to our RSS feeds Join Us on Facebook Follow us on Twitter Add to Circles

Categories

Thursday, September 7, 2017

1hr. misc.

Formally hired SteinAir to do my panel!  They have a large backlog, so it will actually be a few months before I'll see that panel.  Which is fine since I have a lot to do before then...

These are the right tools for labeling your wiring and tubing.
Label Maker: http://amzn.to/2wMTCEC
Label Tape: http://amzn.to/2eKjVke

Time to connect the rudder tensioners (I had forgotten the springs go there... ;-)).  Attach the bolt end first...

...then the cable end.  Bolts tightened and marked with torque paint.  The brackets are not screwed down until the very end when you're rigging the rudder.  EDIT: I'll have to redo the bolt end since I forgot the washer that should go over the spring hook...  Ugh...

Time to do some better labeling of wires that I hadn't labeled properly yet...

... and even the tubing.

I'll put these back on for now, even though they go on the outside of the seat fabric.

Wednesday, September 6, 2017

I've updated my likely panel arrangement.  I'm liking this:


Monday, September 4, 2017

1 hr. doing the 2nd coat on the seats and misc. other things.

And how does that tail of the rudder cable reach the M5 bolts on the divider?  Why do I get the feeling I didn't thread that cable correctly?...  The bolts aren't in this pic, but the M5 rivnuts are.

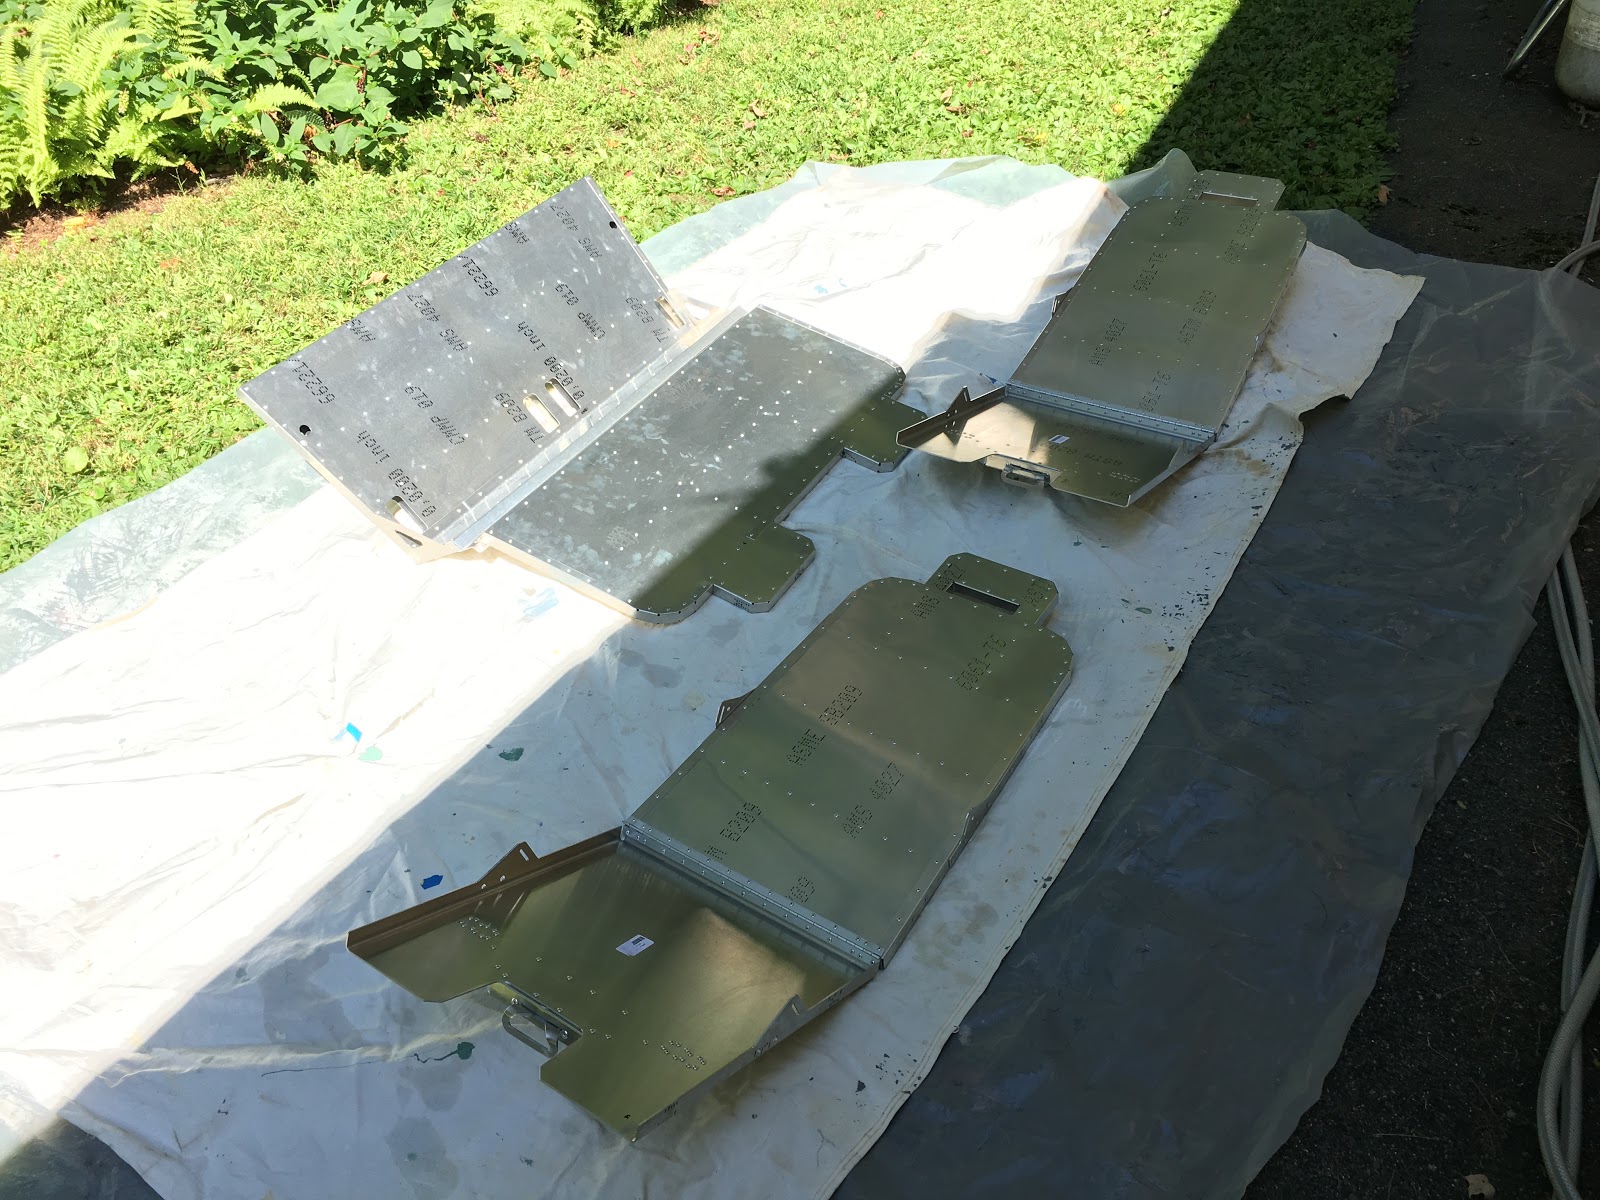
2nd coat (waited 48 hours as per the instructions) done.

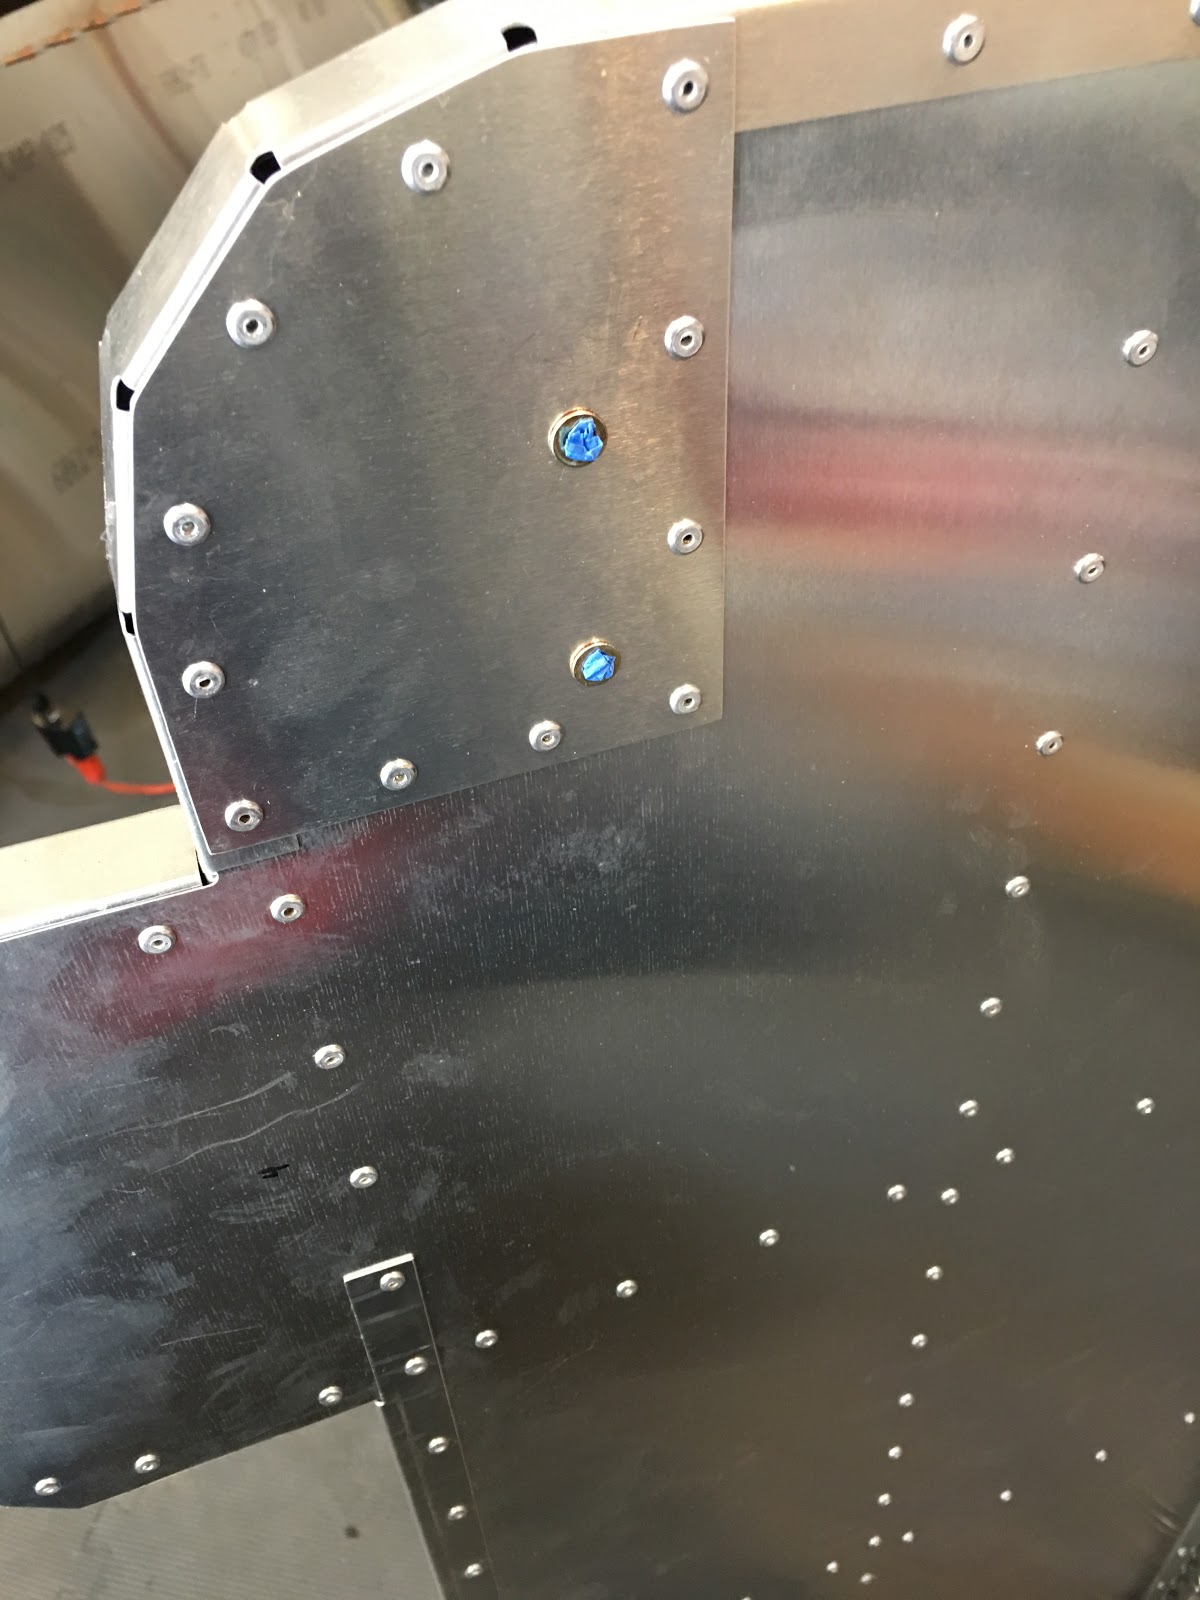
Checking that the big M10 bolts thread through the holes here and.....

...here.  And they do.  I've heard it's much harder to get them to all line up....  I'm probably at least 2 months from trying that.

Saturday, September 2, 2017

2 hrs. painting the seats.

This is the industrial-strength paint I'm using (thanks JimP for the pointer!).  You won't find this in Home Depot...

Makes it way easier to paint with cans.

Plug these holes so that I don't get paint in there.

Washed and ready to paint.

First coat done.  You have to wait at least 48 hours before doing another coat.

Thursday, August 31, 2017

What do people think of this arrangement for my panel?  I saw this kind of arrangement on a new Sling 2 just out of the factory and I kind of like it.


Here's the original one for reference

Wednesday, August 30, 2017

1 hr. putting a wrap around the stick wires and extending the flap wires to the panel.

Wrapped the stick wires in a protective nylon sheath.

The wire for the flap motor is not long enough to reach the panel, so time to extend it.

Using a 3-wire #22 and a 2-wire #22 to do the job.  Here they're striped and have the shrink wrap tubing on, so it's ready to shrink once the wires are soldered.

I use a lineman's splice to connect the wires.  Here they're already soldered.

The shrink wrap for the individual wires are done.

And the outer shrink wrap is done!  Now it reaches to the panel (with enough spare length).

Today I ordered 2 connector kits for the Garmin GSA 28 servos and one of the GMU 11 magnetometer install kit here.  The GMU 11 Install Kit is number 11-15066 and the GSA 28 kit is number 11-12171.

The magnetometer kit can be hard to find if you just search for it, so the above is the only way to get to the right place to order it.