5 hrs. on misc.
2 hrs. of it were cleaning/organizing the garage since it was starting to get disorganized by my standards (it was also a bit disorganized because of the move on to the wheels).
With the new holes the spat covers now fit. I need to order something before I can easily locate the bracket holes, so once I have that I'll get back to this and show you my plan.
I think I found my missing nose wheel pushrod bushings in this unlabeled package. Look right?
I decided to try and figure out why I couldn't get the 3rd Dzus fastener in on the rear seat. I found that the rear seat has a rivet tail out near the end of the seat....
... that was not matched by a hole in the cross brace in the fuselage. All the other rivet tails have matching holes except the end ones. But, after measuring I could see that the necessary hole would be too close to that rivet on the end (left side)...
... So for now I just drilled out that rivet to test the theory that the rivet tail was preventing the seat from going back far enough to engage the Dzus fastener....
...and voila, it worked! :-)
I saw that JimP had elongated the seat belt guides, but I misunderstood what he was talking about. It is not these slots, it is the guide/slot in the fiberglass of the canopy. So, when I get to that point I'll note it here.
Starting to read up on and gather parts for the canopy install. I did note that this page indicates riveting the canopy, but then mentions in a later step to use Sikaflex before riveting... Um, I'll guess that's a mistake and I'll apply the Sikaflex before riveting... Advice from others: Use LOTS of painter's tape on all the surfaces near where you'll be using the Sikaflex, wear clothing you intend to throw out and have ready lots of latex gloves to keep the Sikaflex (evil stuff!) off your skin.
And the necessary chemicals have arrived and with all good expiration dates.
Categories
ailerons
(16)
avionics
(141)
electrical
(180)
elevator
(23)
Empennage
(55)
firewall forward
(222)
flaps
(12)
fuel cells
(68)
fuselage
(596)
horizontal stabilizer
(14)
instructions
(3)
interior
(104)
paint
(36)
Painting Planes
(3)
panel
(67)
propeller
(3)
rudder
(16)
seats
(5)
ServiceBulletin
(1)
shop
(33)
Sling Central
(23)
tools
(41)
vertical stabilizer
(20)
video
(37)
welcome
(22)
wheels
(44)
wings
(147)
Saturday, September 8, 2018
Thursday, September 6, 2018
1 hr. on spats and other misc. items.
Covering the backside so I can fill some holes.
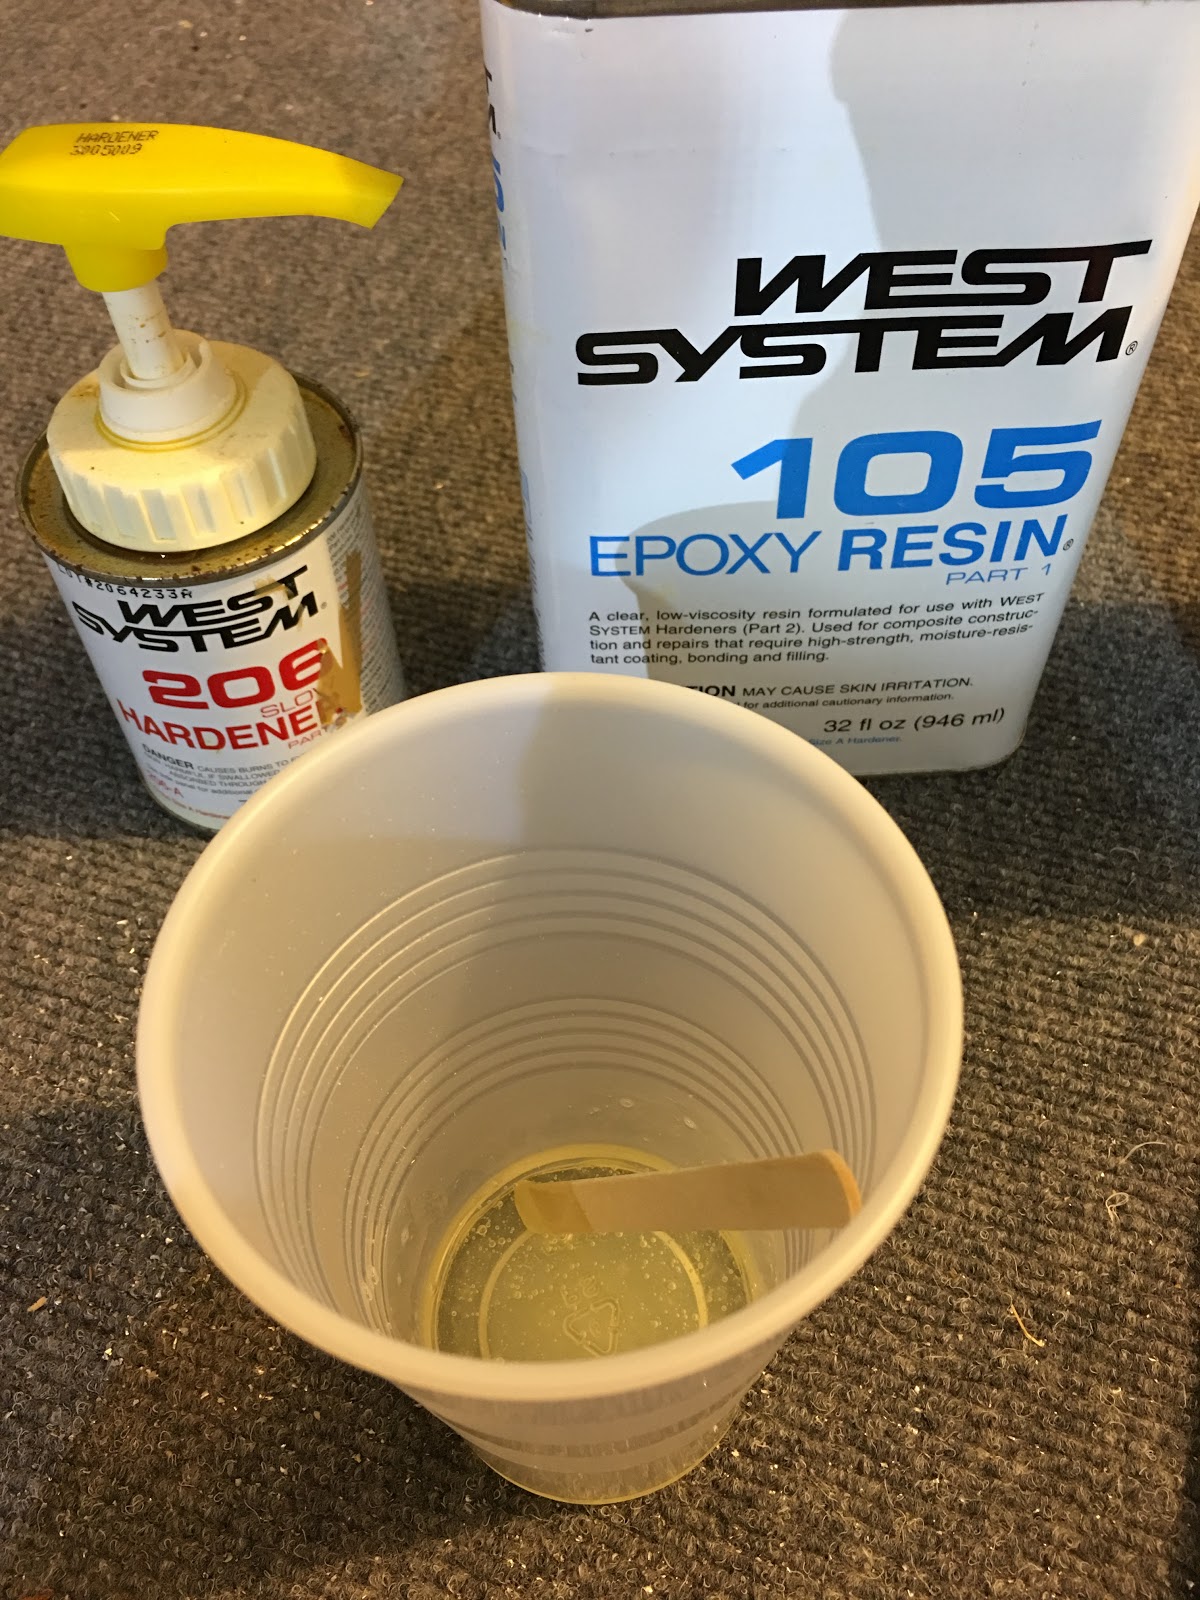
My epoxy mix.
Mixing in the filler.
...and filling the holes. Let those harden overnight.
I do believe this goes here.
Cut through the soundproofing for two holes. Upper right for the flap torque tube and I think the lower left one is for the fuel line (?).
Time to cut the hole for the OAT. The hole needs to be 5/16" by my measurement.
This looks good... Not too close to the side so I'll have room to insert it and hold the nut.
And we have a 5/16" hole ready to go.
Got my order of plastic washers. This should cover most (all?) cases of use.
Covering the backside so I can fill some holes.
My epoxy mix.
Mixing in the filler.
...and filling the holes. Let those harden overnight.
I do believe this goes here.
Cut through the soundproofing for two holes. Upper right for the flap torque tube and I think the lower left one is for the fuel line (?).
Time to cut the hole for the OAT. The hole needs to be 5/16" by my measurement.
This looks good... Not too close to the side so I'll have room to insert it and hold the nut.
And we have a 5/16" hole ready to go.
Got my order of plastic washers. This should cover most (all?) cases of use.
Wednesday, September 5, 2018
1 hr. on wheels
Installed the proper split pins. I had had a minor panic before the moving event when I thought the holes weren't lined up to put the pin through. Turns out there are two holes in the black part and I had the nut lined up with the wrong one. Once I tightened it further to line up the other hole, the pin dropped in. Whew...
Right way to bend this?
In order to have a tight fit (but not impossible) I need to relocate the two holes shown here without screws in them. I will fill the holes with epoxy with micro-balloons and re-drill when hardened. Once all the screws are in and tightened then I can locate the bracket rivnuts and drill for those. When doing that I want to make sure the spat is symmetrically positioned around the wheel and of course not touching the wheel.
Installed the proper split pins. I had had a minor panic before the moving event when I thought the holes weren't lined up to put the pin through. Turns out there are two holes in the black part and I had the nut lined up with the wrong one. Once I tightened it further to line up the other hole, the pin dropped in. Whew...
Right way to bend this?
In order to have a tight fit (but not impossible) I need to relocate the two holes shown here without screws in them. I will fill the holes with epoxy with micro-balloons and re-drill when hardened. Once all the screws are in and tightened then I can locate the bracket rivnuts and drill for those. When doing that I want to make sure the spat is symmetrically positioned around the wheel and of course not touching the wheel.
In anticipation of putting on my canopy in the next few weeks it was time to order my Sika products. They have a short shelf life, so you don't want to order them until you're ready to use them.
I found that EMI Supply had the best prices for 3 of the products, but only had the last product I needed by the case, so I just ordered that one from Amazon (the other products are available on Amazon, but I found that there was a big difference in the prices vs EMI Supply). Here are the links to the products:
Sika Aktivator (Cleaner) 205
Sika Primer 206 G+P
Sika Primer 209D (replaced the 209N specified in the manual)
Sikaflex 295 UV Black
I'm guessing I'll want to wear a mask when using these...
I found that EMI Supply had the best prices for 3 of the products, but only had the last product I needed by the case, so I just ordered that one from Amazon (the other products are available on Amazon, but I found that there was a big difference in the prices vs EMI Supply). Here are the links to the products:
Sika Aktivator (Cleaner) 205
Sika Primer 206 G+P
Sika Primer 209D (replaced the 209N specified in the manual)
Sikaflex 295 UV Black
I'm guessing I'll want to wear a mask when using these...
Monday, September 3, 2018
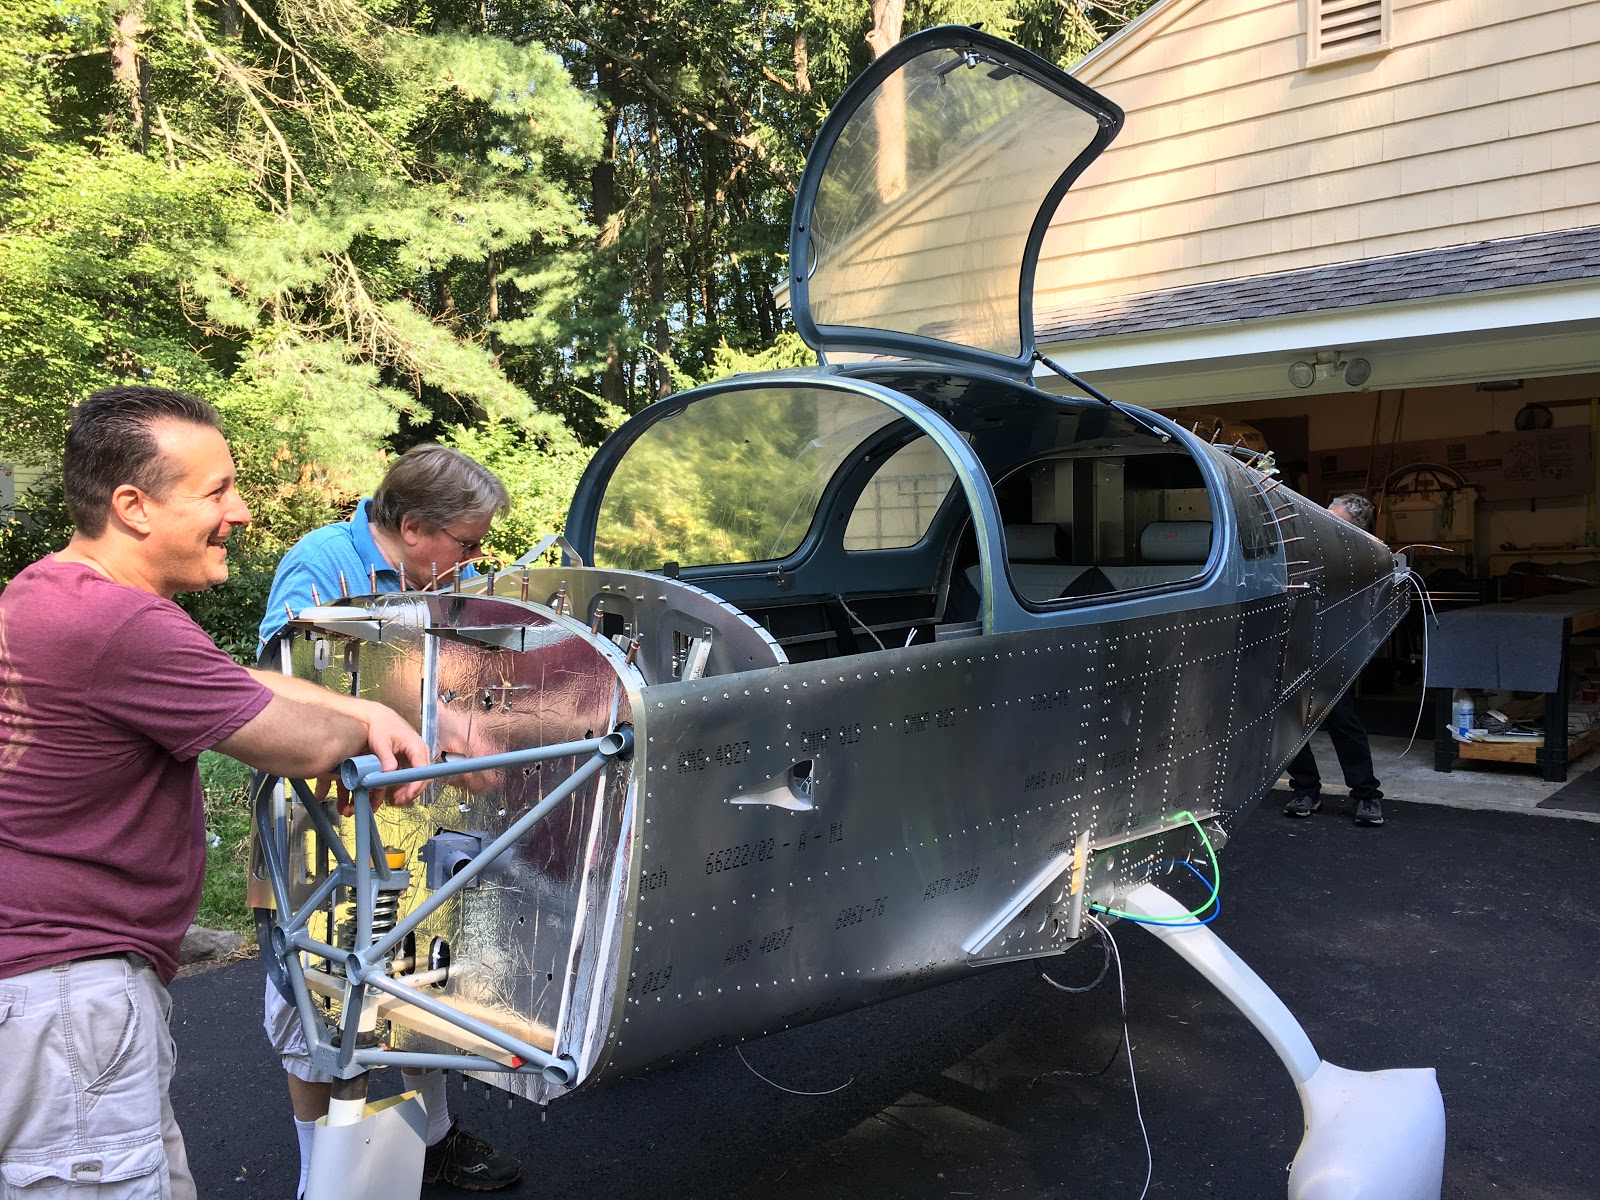
2 hrs. today with the help of lots of friends and family to put the plane on its wheels!! :-D
Lift! Probably had more people than necessary to lift the plane, but better to have more I figured (and I had lots of volunteers!). Fairly light with this many people.
Here she comes!!
Coming down...
And it stands!! Pretty balanced, but I still put a weight near the rudder pedals and with that it's firmly down on its nose.
A quick test fit of the canopy.
Perfect!
I got the quick build of the canopy, so my doors and windows are already done (except the windscreen). Happy I did that.
Back in its home for the next several months.
Much easier now to reach inside the cockpit. :-D
Video of the move
Lift! Probably had more people than necessary to lift the plane, but better to have more I figured (and I had lots of volunteers!). Fairly light with this many people.
Here she comes!!
Coming down...
And it stands!! Pretty balanced, but I still put a weight near the rudder pedals and with that it's firmly down on its nose.
A quick test fit of the canopy.
Perfect!
I got the quick build of the canopy, so my doors and windows are already done (except the windscreen). Happy I did that.
Back in its home for the next several months.
Much easier now to reach inside the cockpit. :-D
Video of the move
Video of the canopy test fit
Sunday, September 2, 2018
2 hrs. on wheel spats and engine mount.
The 2nd page of the main wheel spat instructions indicate that this bolt is a AN5-6A, which if you look here, seems too long. Looking back to the 1st page says it's a -5A, which is the right size.
Since this hole is a fixed location I will drill this first.
The manual shows that a penny washer goes on both sides of the spat, but I have no idea how I'd hold the inside one in place while I put the bolt through...
So, I decided to glue it in place. Don't see anything wrong with that.
While that was drying I torqued the lower engine mount bolts to 24nm (17.7 ft-lbs). NOTE: This value is not correct. See this later blog post regarding the correct value.
My gluing worked perfectly and was easily able to put the bolt in.
Inside view. Now, how to locate where to drill the holes for those 4 rivnuts on the brackets...? Note that there are 4 dimples on the cover which the manual indicates is where you drill the holes. Those do not line up with the rivnuts, so don't do that...
Maybe I can spy it with my boroscope...
Well, I can certainly look through it, but that experiment failed to produce a viable way to locate those holes. I've come up with another way, but will have to either order something or jury rig something. Stay tuned.
Hmmm... Seems like trying to screw in all 6 screws is quite problematic since the cover has to bend around the brackets (which I think stick out a bit too far) so it makes it difficult to get in the last one or two screws.
In this case, one is basically impossible to screw in as it's too far off. What to do?? I may need to relocate that hole. :-(. Any other thoughts?
You can kind of see here how the bracket seems to stick out too far IMHO.
Close up of the last impossible-to-screw-in holes. A bridge too far...
The right side is actually worse. Well, other than doing those last 4 bracket holes (and the misalignment issue), it's ready to go on its wheels...
The 2nd page of the main wheel spat instructions indicate that this bolt is a AN5-6A, which if you look here, seems too long. Looking back to the 1st page says it's a -5A, which is the right size.
Since this hole is a fixed location I will drill this first.
The manual shows that a penny washer goes on both sides of the spat, but I have no idea how I'd hold the inside one in place while I put the bolt through...
So, I decided to glue it in place. Don't see anything wrong with that.
While that was drying I torqued the lower engine mount bolts to 24nm (17.7 ft-lbs). NOTE: This value is not correct. See this later blog post regarding the correct value.
My gluing worked perfectly and was easily able to put the bolt in.
Inside view. Now, how to locate where to drill the holes for those 4 rivnuts on the brackets...? Note that there are 4 dimples on the cover which the manual indicates is where you drill the holes. Those do not line up with the rivnuts, so don't do that...
Maybe I can spy it with my boroscope...
Well, I can certainly look through it, but that experiment failed to produce a viable way to locate those holes. I've come up with another way, but will have to either order something or jury rig something. Stay tuned.
Hmmm... Seems like trying to screw in all 6 screws is quite problematic since the cover has to bend around the brackets (which I think stick out a bit too far) so it makes it difficult to get in the last one or two screws.
In this case, one is basically impossible to screw in as it's too far off. What to do?? I may need to relocate that hole. :-(. Any other thoughts?
You can kind of see here how the bracket seems to stick out too far IMHO.
Close up of the last impossible-to-screw-in holes. A bridge too far...
The right side is actually worse. Well, other than doing those last 4 bracket holes (and the misalignment issue), it's ready to go on its wheels...
Saturday, September 1, 2018
4.5 hrs on one of the main wheel spats and the engine mount.
The right side spat needed a bit more encouragement to line up.
Rivnuts in.
And it fits. Got a note from Bob Zaleski recommending nylon washers for the spats as they're easier on the paint. Get them by the bag here.
Time to trim off this excess.
Marked off. Then cut with a small hand saw.
Quick test fit. Tight around the wheel... Attaching the spats tomorrow will not be easy...
I found that the bottom holes of the mount were 1/4" closer together than the firewall. Given how stiff you can imagine the mount to be... it was a major pain to get it to spread out just the right amount.
Once the bottom two were in, getting one of the top ones in wasn't too hard. It was that 4th one that was another major struggle.
Here you can see how the 4th hole was off. Doesn't look like much, but it was difficult.
After 3 hours of battle, all 4 bolts are in. I still want to check with the factory though to confirm it's OK to have stretched the mount to make this happen.
The nuts on the top two bolts are just temporarily tightened (with extra washers) since I still have to attach the parachute cables and that doesn't happen until after the canopy is on.
The right side spat needed a bit more encouragement to line up.
Rivnuts in.
And it fits. Got a note from Bob Zaleski recommending nylon washers for the spats as they're easier on the paint. Get them by the bag here.
Time to trim off this excess.
Marked off. Then cut with a small hand saw.
Quick test fit. Tight around the wheel... Attaching the spats tomorrow will not be easy...
I found that the bottom holes of the mount were 1/4" closer together than the firewall. Given how stiff you can imagine the mount to be... it was a major pain to get it to spread out just the right amount.
Once the bottom two were in, getting one of the top ones in wasn't too hard. It was that 4th one that was another major struggle.
Here you can see how the 4th hole was off. Doesn't look like much, but it was difficult.
After 3 hours of battle, all 4 bolts are in. I still want to check with the factory though to confirm it's OK to have stretched the mount to make this happen.
The nuts on the top two bolts are just temporarily tightened (with extra washers) since I still have to attach the parachute cables and that doesn't happen until after the canopy is on.
Subscribe to:
Posts (Atom)