1.5 hrs. Checking out my new ribs and their alignment with the rear spar and enlarging the holes for the step ribs.
I noticed the new ribs still stood a bit tall over the rear spar. Then it occurred to me that maybe it wasn't the rib, but the rear spar flange angle. Here's what it looked like after cleco'ing it in.
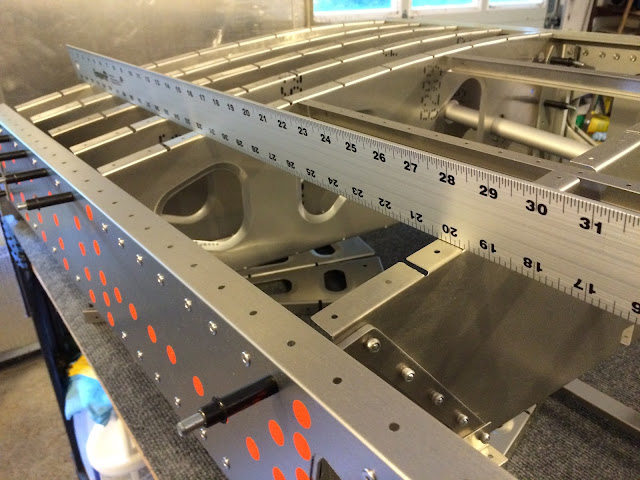
I put a 4' ruler on the rear spar and there's a gap! Meaning that the flange here is angled too low.
After some hand bending (and other spots on the spar that also had gaps), no gap!
And now it's way better lined up with the rib! A little press (or bang) down on the rib and it should be perfect.
I ran the ruler all around the wing across all the ribs and at various points along the chord. Very good alignment. I'll do it again before I put the skins on again and when I'm closer to riveting. Check, check and double check! :-) We want the wing surface smooth. If the underlying rib is a bit high or low, the skin will deform to meet it.
Starting to drill out the step rib holes to fit the 4.8mm x 15 rivets. If you have later versions of the parts, you may not need to do this step.
Every surface needed deburring after using the chucking reamer (#11) to widen the holes.
All done! Yay!


No comments:
Post a Comment