1 hr. testing my new method of rivet head filling.
This was the recommended product in Kitplanes Magazine, which I had to go to a Sherwin Williams store to get.
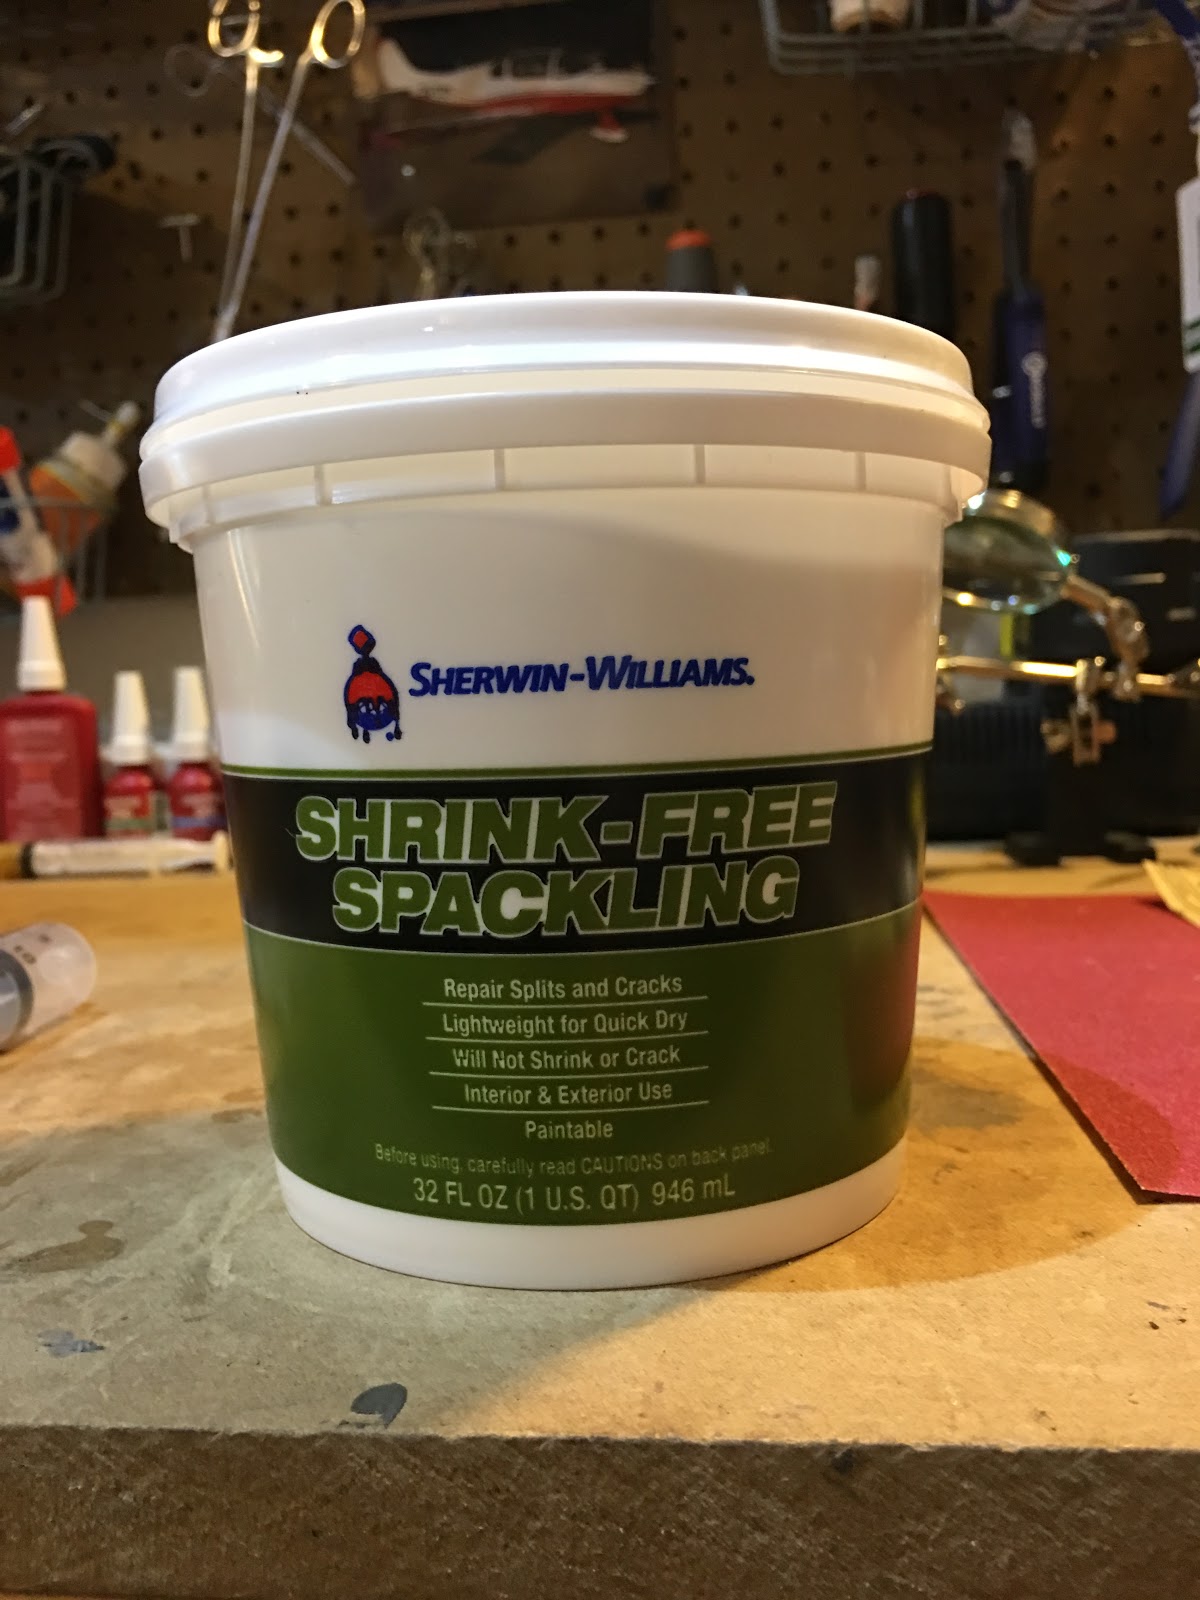
This was enough for the whole rudder.
I basically just injected each rivet head directly from the syringe. Not a perfect procedure, but pretty close.
I found that I could simply wipe the rivets off (dry paper towel then with a wet one) and it looks to me like I won't even need to sand them off. Bonus!
If the first pass didn't fill them (like the rivet on the left) you can refill any that need it.
Looks pretty good! One simple shot, some wipe downs and no sanding!
Now before I go ahead and recommend this approach I want to do some further testing to make sure it will look good after drying and painting. When I've done that I'll create a special page for doing this method. I hope this works because it is ridiculously fast....
Categories
ailerons
(16)
avionics
(141)
electrical
(180)
elevator
(23)
Empennage
(55)
firewall forward
(222)
flaps
(12)
fuel cells
(68)
fuselage
(596)
horizontal stabilizer
(14)
instructions
(3)
interior
(104)
paint
(36)
Painting Planes
(3)
panel
(67)
propeller
(3)
rudder
(16)
seats
(5)
ServiceBulletin
(1)
shop
(33)
Sling Central
(23)
tools
(41)
vertical stabilizer
(20)
video
(37)
welcome
(22)
wheels
(44)
wings
(147)
Monday, October 9, 2017
Sunday, October 8, 2017
2 hrs. finishing up the rudder tip and stringing some wiring.
Filling the tip further with filler worked perfectly. The tip is now perfect.
Wiring up the light and documenting it for later.
Put some medium strength thread lock on the M3 x 25mm screws and tightened it down. Nice!
And it works!
I'm going to try a different way to fill rivet heads. I don't know why I didn't think of it before but I think simple spackle would be better than either Bondo (toxic and have to mix) or epoxy filler (even more mixing involved) to fill rivet heads. I thought of it because this month's issue of Kitplanes Magazine compared all the available spackles for experimental airplane use. No mixing! I'm going to order their recommended spackle and try applying it with this syringe. Once I test it out and it works as expected, I'm going to create a new blog page just for filling rivets. I'll have all the info you need to do it on that page.
This is what I'll use for sanding the rivet heads. Quick test today showed it's an easy way to sand off the rivet tops.
Panoramic view of the fuselage.
Filling the tip further with filler worked perfectly. The tip is now perfect.
Wiring up the light and documenting it for later.
Put some medium strength thread lock on the M3 x 25mm screws and tightened it down. Nice!
And it works!
I'm going to try a different way to fill rivet heads. I don't know why I didn't think of it before but I think simple spackle would be better than either Bondo (toxic and have to mix) or epoxy filler (even more mixing involved) to fill rivet heads. I thought of it because this month's issue of Kitplanes Magazine compared all the available spackles for experimental airplane use. No mixing! I'm going to order their recommended spackle and try applying it with this syringe. Once I test it out and it works as expected, I'm going to create a new blog page just for filling rivets. I'll have all the info you need to do it on that page.
This is what I'll use for sanding the rivet heads. Quick test today showed it's an easy way to sand off the rivet tops.
Panoramic view of the fuselage.
Friday, October 6, 2017
Thursday, October 5, 2017
Wednesday, October 4, 2017
OK, yeah, those divots on the front 2 rivets of the rudder tip are bothering me more than I thought they would... It was hard to avoid those because of the shape differences between the skin and the composite tip.
So, I'm going to go a 2nd round with the epoxy and cover those divots (and rivets) completely. I'll scruff up the surface first to ensure a solid adherence.
Tuesday, October 3, 2017
Sunday, October 1, 2017
3.5 hrs on the rudder top (finally getting to this...) and firewall.
Pilot hole for the wire to pass though.
Drilled out to 10mm and grommet inserted.
Lining up the tip to drill out the holes.
The rear sticks out but I'll cut that off later.
One hole done on each side and clecos inserted. I work out from there while I hold it in position.
All done.
In case you don't think you need to clean it out after drilling composite...
Short piece of 4-wire cable inserted.
Ready to go!
All riveted. Note the gap in the front. I'll fix that with epoxy filler.
We'll cut that off and file it down.
Nice!
One pump of the resin, one pump of the hardener. Mix that thoroughly and then start adding in the filler (wear a mask) until it's sufficiently thick.
That looks thick enough. It takes more filler than you'd think to get it to this point.
Pile it on until it's beyond the outline you'll file/sand it down to. We'll let that dry overnight and see if it's ready to contour.
Time to soundproof/insulate the firewall. The place where the regulator goes is marked off.
Fitting the first section of soundproofing. I measure and cut it incrementally to get it to the right size and outline.
Marking off where it will be trimmed on the outside edge.
Nice!
Did the other side and top section and it's done!!
Other side view.
Pilot hole for the wire to pass though.
Drilled out to 10mm and grommet inserted.
Lining up the tip to drill out the holes.
The rear sticks out but I'll cut that off later.
One hole done on each side and clecos inserted. I work out from there while I hold it in position.
All done.
In case you don't think you need to clean it out after drilling composite...
Short piece of 4-wire cable inserted.
Ready to go!
All riveted. Note the gap in the front. I'll fix that with epoxy filler.
We'll cut that off and file it down.
Nice!
One pump of the resin, one pump of the hardener. Mix that thoroughly and then start adding in the filler (wear a mask) until it's sufficiently thick.
Pile it on until it's beyond the outline you'll file/sand it down to. We'll let that dry overnight and see if it's ready to contour.
Time to soundproof/insulate the firewall. The place where the regulator goes is marked off.
Fitting the first section of soundproofing. I measure and cut it incrementally to get it to the right size and outline.
Marking off where it will be trimmed on the outside edge.
Nice!
Did the other side and top section and it's done!!
Other side view.
Subscribe to:
Posts (Atom)


