Subcribe to our RSS feeds Join Us on Facebook Follow us on Twitter Add to Circles

Categories

Sunday, June 30, 2019

1.5 hrs. on the exhaust shroud.

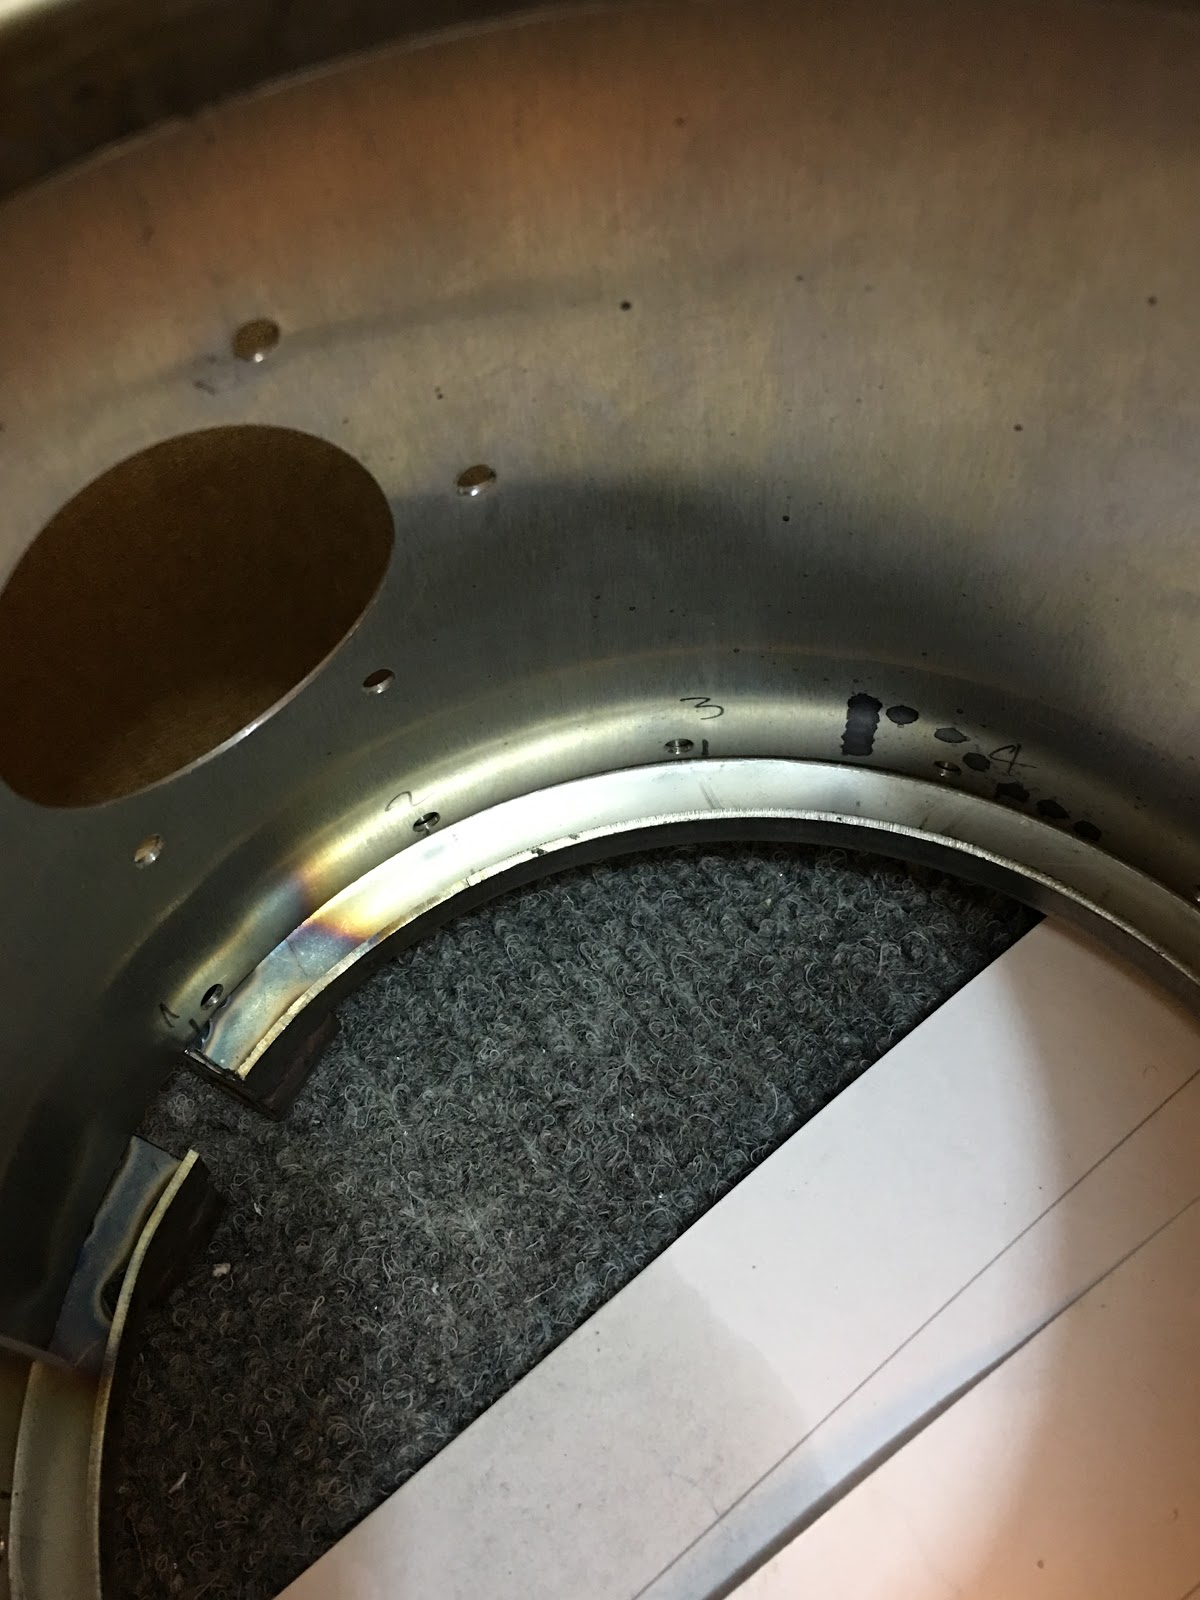
Drilled 4 holes in the extension piece I fabricated.  I'll figure out where to drill the holes in the piece I'm attaching to once it's clamped in place because I want to make sure it's securely up against the exhaust.

Good time to make the outlet assembly.  Tracing where to bend the flat piece (whatever that's called...).

Where to bend.

Used a needle nose to start the bend (easier to get in there) and then switched to regular pliers.

That'll do.

Won't be riveting this on now, but just checking the fit.

I'm sure some people can figure out how to precisely figure out where to drill the holes, but I just roughly estimated.

Holes drilled.

Some slight adjustments and it fits just fine.

Riveted the tube to the plate and re-checked the fit.  Again, that'll do (but, don't rivet it to the shroud...).

Inside view.  All those spaces I will fill with my high-temp sealant.

Saturday, June 29, 2019

2 hrs. on the exhaust shroud.

I finally just used a 6.5mm drill bit to drill out the bolt holes to allow the AN4 bolt to go easily through.  All clamped and a doubled tie wrap on the other end to keep things lined up straight.

The clamp part itself is pretty thick material so it's slow going...

Constantly moving the orange clamps as I go and double-checking the alignment since the clamp part can move a bit if you're not careful.

Using a center punch helps to keep the drill bit from wandering.

Making my way around...

One side all done.

Drawing some marks so I'll know which clamp goes on which end of the shroud.

Time to do the other end...

Lining up the clamp like the other end was.

Both sides done!

I heard through the grapevine (thanks Simon!) that a small modification should be done to this tab.  The tab is supposed to cause the incoming air to go around the exhaust the long way (to obviously heat it up), but it's a bit short so some can short cut to the outlet, so it doesn't get heated as well.

A thick piece of aluminum 4.5" x .75" should do just fine...

...With a little bend on one edge.  It'll fit like this with 4 rivets - to be done tomorrow...

Thursday, June 27, 2019

An hour tonight fiddling with the exhaust shroud.  Got some good advice to not rivet on the inlet pipe until the bottom cowling is in place because it makes an already difficult job more difficult.  I'll put that info in my FF Build Order Page (not published yet).

Trying to figure out how to drill out the holes in the clamp...

After contemplating it for awhile I think these edges need to line up so it can be tightened without interference once it's on.

I think I'll work my way around from that edge...

But, I do want to make sure that when I get all the way around the holes the AN4 bolt goes through will be perfectly lined up.  I found one of the clamp's holes was a bit small for an AN4 bolts so I spent way too long trying to ream it to easily fit the bolt...

...After 20 minutes I quit for the night and will take it up tomorrow or Saturday.

Wednesday, June 26, 2019

Got some answers from the factory regarding the cabin heat exhaust shroud.

In my previous post I had the large clamps that go around the shroud on wrong - they go on the inside and you just drill through the existing holes in the shroud into the clamps.  That's easier!

Also, they say I have to remove the already torqued engine mount bolt to get the shroud on...  Wish I knew that before...  But, I'm going to try to just undo the mounting clamp of the exhaust since it seems like that would also work.  I'll try that tomorrow night and hopefully I'm right.

Apparently there are supplied stainless steel rivets for the shroud assembly, so I'll have to look for those.

They sent a bunch of close-up photos of the exhaust/shroud assembly, so I've added those to the bottom of the Factory Photos - Engine Page.

Tuesday, June 25, 2019

1 hr. looking into the cabin heat shroud assembly.  Also trying to come up with a more detailed engine install task list.  Stay tuned for that.

Are these the same parts?  I don't see any parts in my inventory labeled AC-TUB-001-X-X.  The part in my hand seems to be the right one though.

Gathering parts...

Like this...  Note that you cannot put those connector tubes on before installing it around the exhaust because you wouldn't be able to get it around the exhaust.

The manual doesn't indicate the clamp part number, but these look like the right ones, right?

I suppose I can mark the inside of the shroud where the clamp holes are to drill the shroud.

Either I have to un-clamp the exhaust to get the large shroud clamps on, or this is one of those brain teasers....  Un-clamp the exhaust?

I've found the info on the proper tensioning of the external alternator belt in the 914 Maintenance Manual:

Now I just need to find the proper tool for doing this.  There are inexpensive belt tension gauges, but most of them seem to only be calibrated for applying 10ftlb of force.  Still searching...

Monday, June 24, 2019

Just briefly in the garage tonight to check something.

I asked the factory how they check whether the external alternator's belt is properly tensioned and they said that the belt should be able to be twisted 90 degrees.  No more and no less.  Well....  Either I'm a weakling, the guys at the factory are superhuman or that's not really how it's checked...  I could not twist the belt much more than 30 degrees and that was when it was loose...

A more traditional method is to use a deflection-type gauge, so I'm going to look further into that.  Maybe I'm overthinking this?....

Most of the night was at a special private tour for my EAA Chapter 196, of the newly expanded Collings Foundation, which is conveniently only 15 minutes from my house.  They have a whole new museum building featuring armament of the various wars.

Big new museum!  This is just a portion of the new building.

This is in the original building where most of their aircraft are located.

Good to know that Stow, MA is ably protected by a Scud missile. ;-)

Sunday, June 23, 2019

2 hrs. (really less, but I'll round up) on the alternator install.

Got my charger.

Alternator in place.

This is important: This is the bolt the alternator pivots on and the thin washer for this goes on the inside of the bracket, not next to the bolt head.

Checking off the parts as I install them...

The bracket (which a friend alodined) that holds the alternator out to keep the belt tight.

This is one of two bolts that comes already installed on the engine, but should be replaced with the two that come with the alternator (the new ones are longer and poke out the back of the hole).

Other end of bracket where you can adjust the position.

I used Medium (blue) Loctite on these screws (8 of them).

 8 installed...

This bolt/washer/nut are not shown in any diagrams I've seen, but it looks like they are used to temporarily hold the parts to the prop "disk" or whatever it's called...  You can see them in the pic right above.

The electrical connector housing with the parts slightly pushed in (not all the way since they would click in and the wires aren't connected yet).

This is good enough for now to keep the parts where they should be.

All checked off!  Nothing is torqued yet as I need to find out what the standard belt tension should be.