


Got my charger.

Alternator in place.

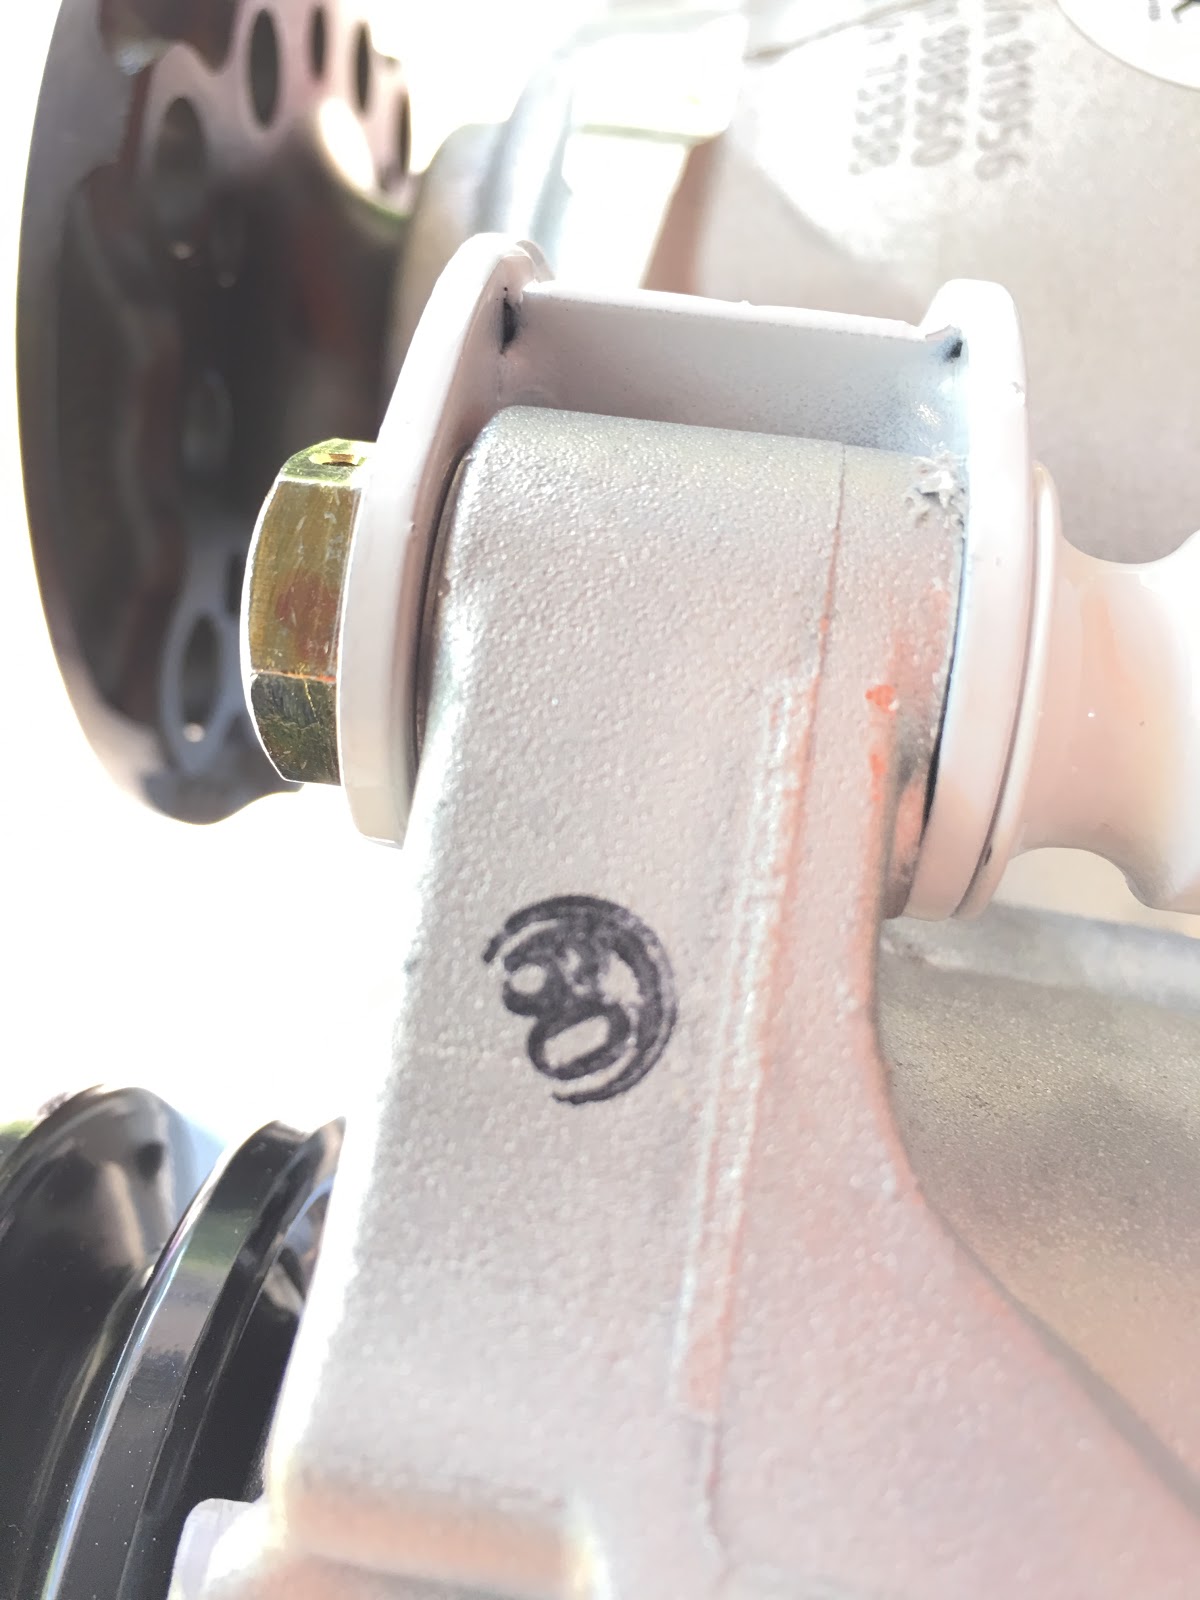
This is important: This is the bolt the alternator pivots on and the thin washer for this goes on the inside of the bracket, not next to the bolt head.
Checking off the parts as I install them...

The bracket (which a friend alodined) that holds the alternator out to keep the belt tight.

This is one of two bolts that comes already installed on the engine, but should be replaced with the two that come with the alternator (the new ones are longer and poke out the back of the hole).

Other end of bracket where you can adjust the position.

I used Medium (blue) Loctite on these screws (8 of them).

8 installed...

This bolt/washer/nut are not shown in any diagrams I've seen, but it looks like they are used to temporarily hold the parts to the prop "disk" or whatever it's called... You can see them in the pic right above.

The electrical connector housing with the parts slightly pushed in (not all the way since they would click in and the wires aren't connected yet).

This is good enough for now to keep the parts where they should be.

All checked off! Nothing is torqued yet as I need to find out what the standard belt tension should be.

No comments:
Post a Comment