Subcribe to our RSS feeds Join Us on Facebook Follow us on Twitter Add to Circles

Categories

Thursday, September 29, 2016

2 hrs. prepping parts, drilling out the incorrectly installed channels and re-installing them.

Doing a few parts inside the garage.

Tried a fine-mist spray bottle I bought for small batches of parts.  The mist wasn't as fine-mist as I would have liked..

Channel fixed.

This measurement should be 63.56, but I measure about 59mm.  I think my luggage cross brace is too shallow.

Wednesday, September 28, 2016

1 hr. gathering parts for the next few pages of instructions (forward center fuselage).  Also got my preliminary drawings for my paint scheme.

Some parts gathered.  Some of them need prepping.  Still need to fix the two swapped channels... :-/

I like the front of this.

This looks like a chin strap to me.

I prefer red...

Not bad, still kind of like a chin strap.  But, I like the tail...

I asked the designer to combine the front I like and the tail I like and got this back.  Like it.

Darker blue.

Darker red and Black.  Classy.

Darker red and darker blue.  Also classy.  My gut is telling me either this or the one right above.  Your favorites?

Tuesday, September 27, 2016

Didn't work on my plane yesterday because I was preparing for a presentation on my build at my local EAA chapter, which went very well.

I made a video tour of my garage for the presentation.  Hope you enjoy. ;-)


Didn't work on it today as I had other things to attend to.  Hopefully tomorrow.

Sunday, September 25, 2016

1 hr. finishing the closing ribs.

Just a view from the front with the joysticks in place.

And with the riveting of these brackets all of the closing ribs around the 3 tubes are done.  And they all move freely.

Saturday, September 24, 2016

2 hrs. working on the floor ribs, torque tubes and closing brackets.

Riveting the floor ribs to the main spar.

All riveted.  Now it's time for a final fit of the tubes.

Found I still need to do a bit of filing to get to easy twisting.  After that was done it was time to start riveting the closing ribs in place.  Mostly by hand.

This side done.  Tomorrow I'll get to the right side.

Front view of the center fuselage.  Another thing I need to do tomorrow is fix my mistake.

Friday, September 23, 2016

2 hrs. working on the luggage floor, putting the center fuselage down and discovering a dumb mistake...  Ugh..

Umm, doesn't quite fit...

What it should rest on is 65mm.

But, the inside of this is a bit less than 60mm.  Which is right??

The support channels are riveted under the floor and here's a quick check of the fit.  Looks good.

Since I'm not sure of the front part (see above fit issue), for now I'll just have it cleco'ed on (it's probably easier to fit without that attached anyway.

How the parachute box fits on the luggage floor.

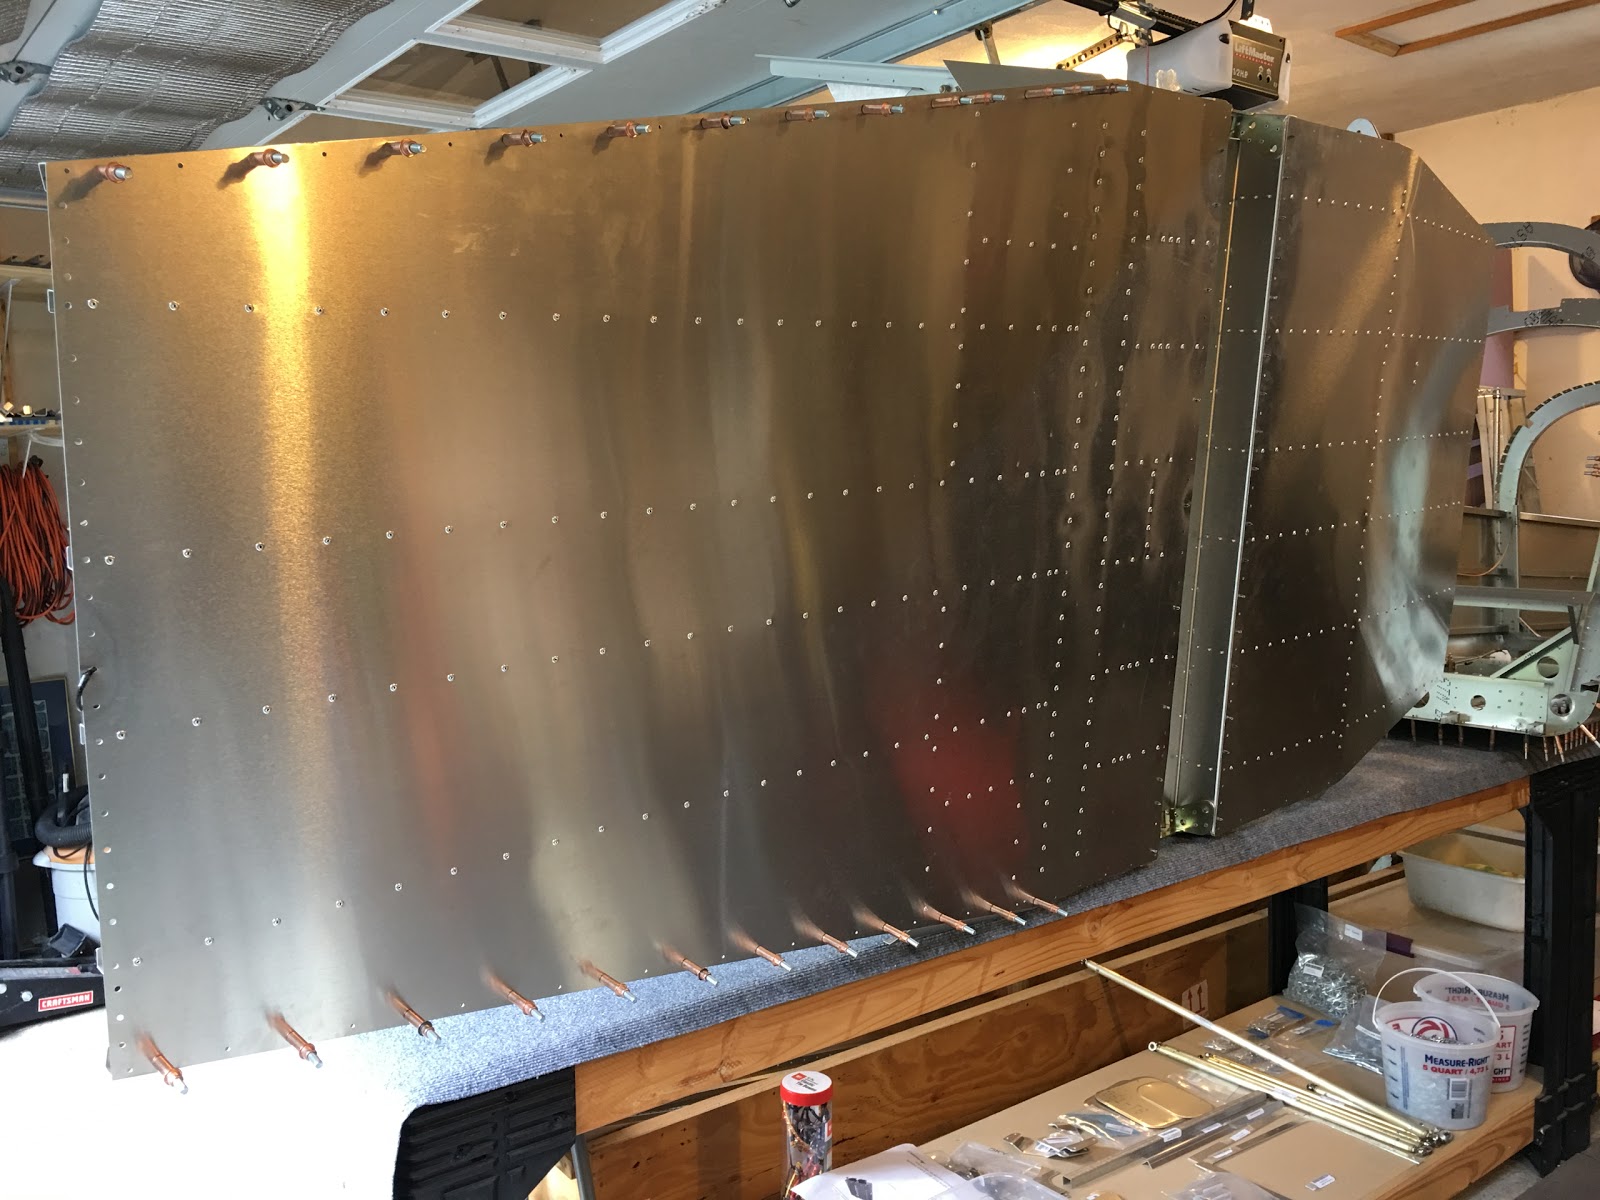
The center fuselage back down...

I put the floor on and the joystick supports and quickly realized a mistake...  Grrr...  Two short channels (one for each joystick support) are reversed.  They need to face the other way so that the joystick support can be riveted to it.  It wasn't clear in the manual and they fit as I attached them, but it's still a dumb mistake.  The good news is that it's only 10 rivets and I can do it without have to put the fuselage on it's side.

Thursday, September 22, 2016

2.5 hrs. inserting CF-CHL-011 (tiny channel pieces) inside the main spar and constructing the parachute box.

Noticed this misplaced hole in the bottom skin.  There's an empty hole in the main spar so I'll have to drill through the skin so I can rivet it.  I'll fill this misplaced hole.

Promised photo of the top side all riveted in place.

CF-CHL-011's riveted in place.

Starting the parachute box.  Manual calls for M4 rivnuts, but M3's fit and the holes in the connecting part fits M3 screws.  Used Loctite 277 as called for in the instructions.

Parachute box construction.

Other side.

One side of the box on.

Both sides on.

I don't have the rocket tube (comes in the finishing kit?) so for now I'll just screw on the cover.

Done.

Wednesday, September 21, 2016

4 hrs. working the forward center fuselage.

Moved the main spar back out of the way and removed the aileron autopilot pushrod which was confirmed by the factory to be the wrong size.  Also checked the torque of the main spar bolts and marked them with "torque seal."

Main spar cleco'ed back in place and up on it's side again to start riveting parts to the forward center fuselage, including the main spar.  Had to first de-rivet the 4 triangles I had riveted yesterday...

Cleco's and rivets, cleco's and rivets... ;-)

Other than the 2 small channel pieces which go inside the main spar, it's all done!  The outer channels are not riveted until the side skins go on.  I'll post a picture tomorrow of the other side.

Tuesday, September 20, 2016

1 hr. realizing that my aileron servo is installed correctly and it's my pushrod that is too long...  Need to get the right one (CT-ROD-010-X-X).

Page in the instructions showing I have the servo right.  My pushrod is clearly longer than what's shown in the instructions.

Monday, September 19, 2016

1 hr. discovering that I made a small mistake and, is my aileron servo upside down?...

Here I'm holding the aileron servo pushrod and it clearly goes well past the crank of the joystick.  Hmmm...

This is the way (I thought) I saw others mounted the servo.  I think flipping it would fix this issue.  Did I see it wrong on other builds??

Placing the channels on the front section...  I quickly realized that I shouldn't have riveted those triangle pieces...  Dumb mistake.  Well, I'll have to turn it back on it's side to derivet.  I'll rivet the channels in place when I do that.  Except the outer channels which connect to the side skins too.

Placing SKN-007 it becomes clear that they go under the main spars (right?)...  Good thing I hadn't riveted it in place yet.

You can see that more clearly in this picture.

The two small Channel 11 pieces will need to be trimmed down if there's any hope of getting them down inside the spar.

Sunday, September 18, 2016

3 hrs. misc. work on center fuselage.

Riveting the floor ribs to the front of the GMC.

After riveting I found that the flap tube was a bit tight and here you can see why.  A little bit skewed to the front.  So more filing of the front of the slot (with the closing rib on).

With that done it was time to enlist the family to help put the center fuselage on it's side to rivet from the bottom.

Other side view.

View inside the GMC.

The holes in the aileron stops are 4mm and the skin is 3.2, so here I'm reaming it out to 4.

And it's done!

Other side view.

Time to put on the triangle thingies...  Note that each had a hole which needed to be drilled though the skin.

Done and riveted.  I held off on riveting the hole closest to the main spar since I wasn't sure if that might get in the way of positioning the spar.
Full view on the topside.

Down and the main spar in place.  I may need to remove the flap tube one more time in order to rivet the floor ribs to the main spar.  Also, my aileron servo pushrod seems too long so I'll need to investigate.

Front view.