Subcribe to our RSS feeds Join Us on Facebook Follow us on Twitter Add to Circles

Categories

Sunday, March 24, 2019

2 hrs. misc.

After sanding all the rivets I filled yesterday I figured it was as a good a time as any to finish the inspection ports under the fuselage.  M3 rivnuts in.

The nylon washers I use under the M3 screws.

And in place.  A little back-breaking working under the fuselage...  Since you're inserting a rivnut from below it especially important to keep the rivnut pressed up against the fuselage while you pull it otherwise it could start to expand while not fully inserted - a pain to fix. I didn't do that today, but I've done it in the past...

Other port in.

Also made pizza from scratch tonight.  Like my apron? 😁

With roasted garlic and sausage.  Delicious.

Have you done any of the DNA tests?  I have and it's very cool!  If you go back to 4th cousins, you probably have relatives all over the world!  Here are my 4th cousin relatives in Australia!!  Those numbers represent the number of related people in that area.  Wow! 😎

Saturday, March 23, 2019

3.5 hrs. on the interior and some exterior (filled the remaining rivets on the rear right side/top of the fuselage).

Using some small drill bits and a step drill I created a notch on the side of the cross member.

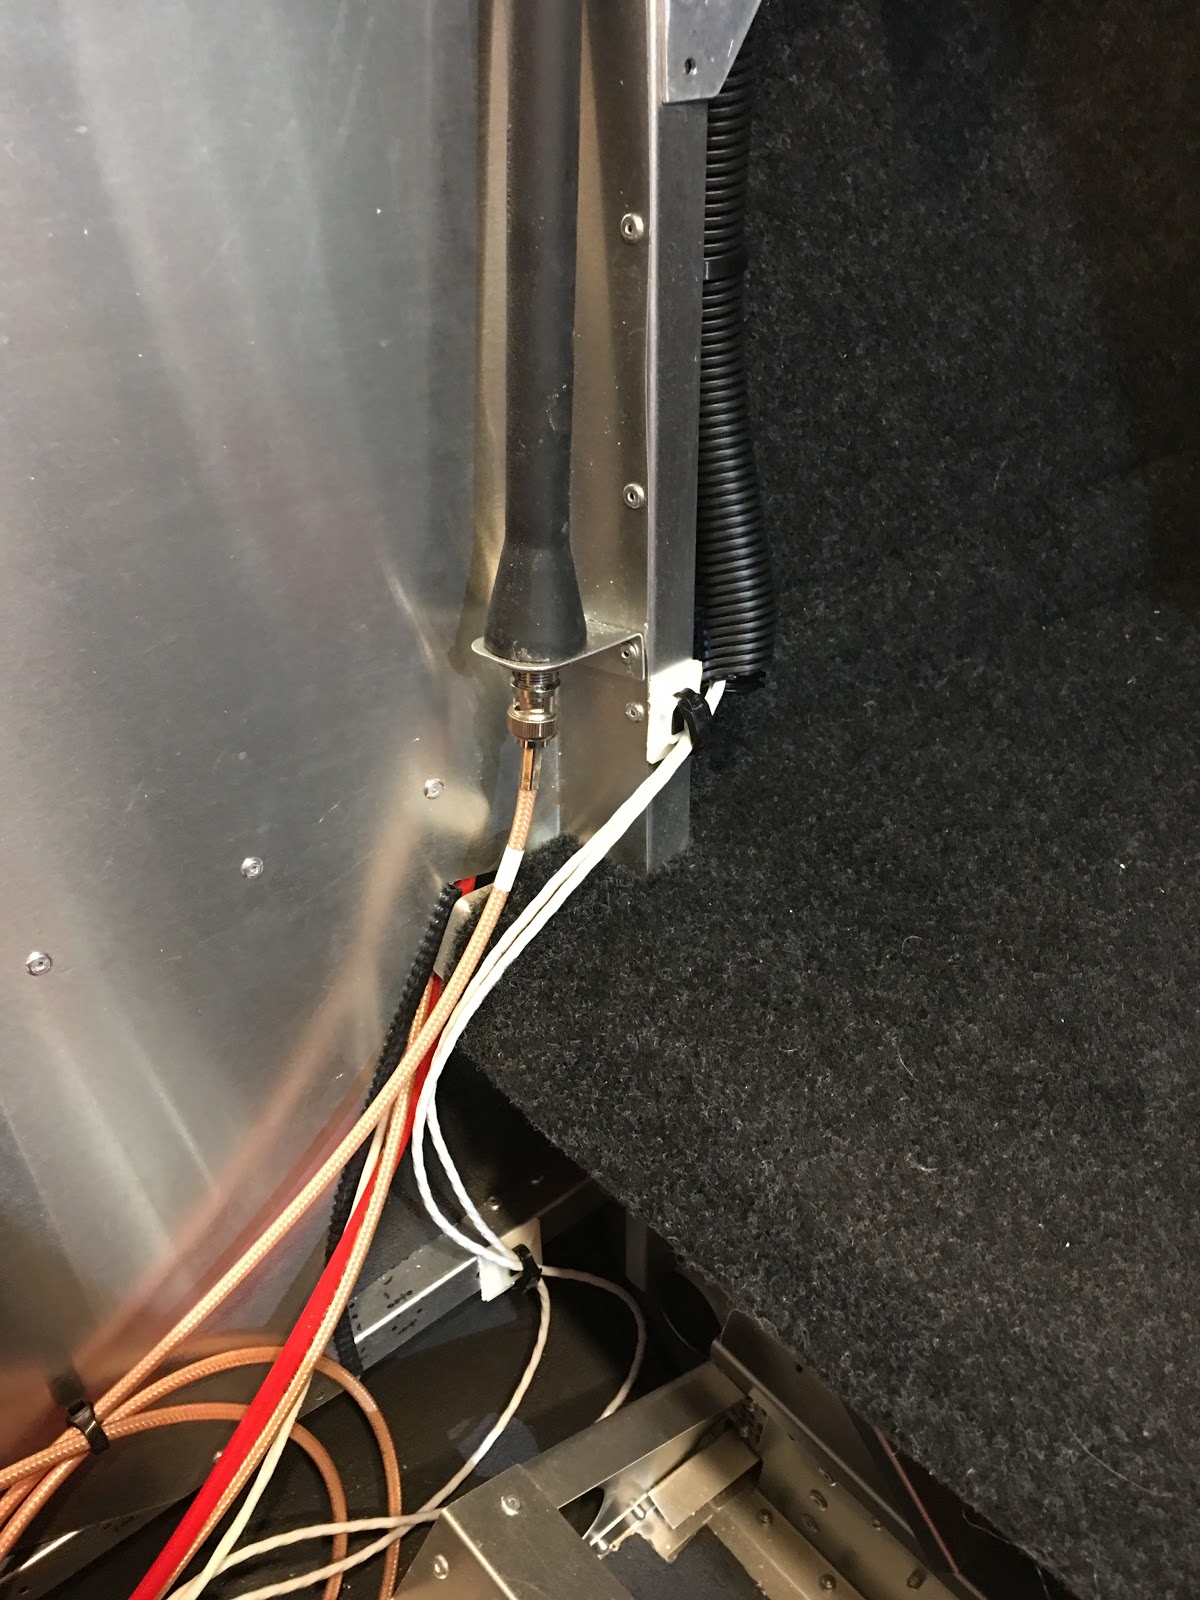
Adding some edge grommets I'm happy with this solution for getting those wires down.

Same thing other side.

Decided I was clear to put the side panels in more permanently.

Just another view.

Thursday, March 21, 2019

1 hr. of slightly less futzing on the interior.

The rear seat comes fairly close to the side walls, so not much room to route the wires down...  Maybe I'll cut a notch from the side.  Hmm..

Ideally the headphone wires would have gone through a hole in that rib (as I saw at least one other person did), but I didn't know at the time it would be OK to poke a large hole through it (is that OK?).  I can live with it going around the rib.
I did add some edge grommet after this photo was taken where the wires pass over that cross piece.

Just tidied up the wiring on this side.

Wednesday, March 20, 2019

1 hr. futzing around.

Nothing too exciting.  Spent some time cleaning/tidying up a bit and fiddling with wire routing.

Also drilled a few holes for the cover parts.

A few more pieces to drill after these and I'll be done with that.

Monday, March 18, 2019

A deep analysis of the MCAS system on the 737 Max.... Here.

Wearing my engineering hat more than my pilot hat, I'd say that Boeing is in deep sh... over this...
Lots of bad engineering and management decisions to push the product out into the market as soon as possible.


Sunday, March 17, 2019

3 hrs. on the interior.

Have I mentioned that you have to do a lot of vacuuming?  Well, you do...  Lots of debris to keep up with....  A portable vacuum works well.  I use ear protection when I'm using it in the cockpit since it can be quite loud.

See the debris... 😁  From reaming it out first to M3 then M4 rivnut size.

Rivnuts in...  BTW, I don't deburr these holes because I think it's actually good to leave burrs on holes for rivnuts - something to dig into the rivnuts to make it less likely they'll ever rotate.  FYI: It's a pretty hard pull to get the rivnuts in the fiberglass.

Don't forget the Loctite 277!

A test of pulling of a rivnut to make sure it's not too little or too much.

After all the rivnuts were in I put in the panels and then the rear seat (at least temporarily).  View from the back. 👌

Me. 😁

Nice view.  For now I only put in every other screw for the rear panels.

Starting to look pretty comfortable...

Saturday, March 16, 2019

3 hrs. on the interior.

A bit of bending and jiggling of the front side panel is required to get it positioned.  It's not quite there in this photo.

I notice that the rudder pedal can touch the side panel, so I need to make sure it's screwed down up there (factory photos don't show where it's connected in that area).

Like my head shadow? 😜  Trying to position the panels as much like the factory photos as possible.

The back of the rear side panel has the holes marked, but I notice it's not really precise...

So I measured them to be consistent all the way across.  10mm from the edge and roughly 70mm between.

Holes drilled and screw test fit through.

Making sure they stay lined up and in position.

Again, checking and rechecking the position vs. the factory photos and between each side.

Checking the clearance.

After being convinced it was properly position it was time to drill.  Started near the seat belt and worked back and forward from there.

Working my way forward...

Again, tried to match what I could see in the factory photos.

Drill, drill, drill....

This area I can't see in the factory photos, but this seems like another good place to pin it down.

These two spots seem like good choice to make sure the panel is pinned against the skin.  Careful with these (and all really) holes when you drill, that you're only drilling through the inner skins....  You do not want to penetrate the outer skin....

That bottom one I can't/don't see in the factory photos, but the side panel sticks out down there if you don't pin it down.  Tomorrow I'll put in all the M4 rivnuts!