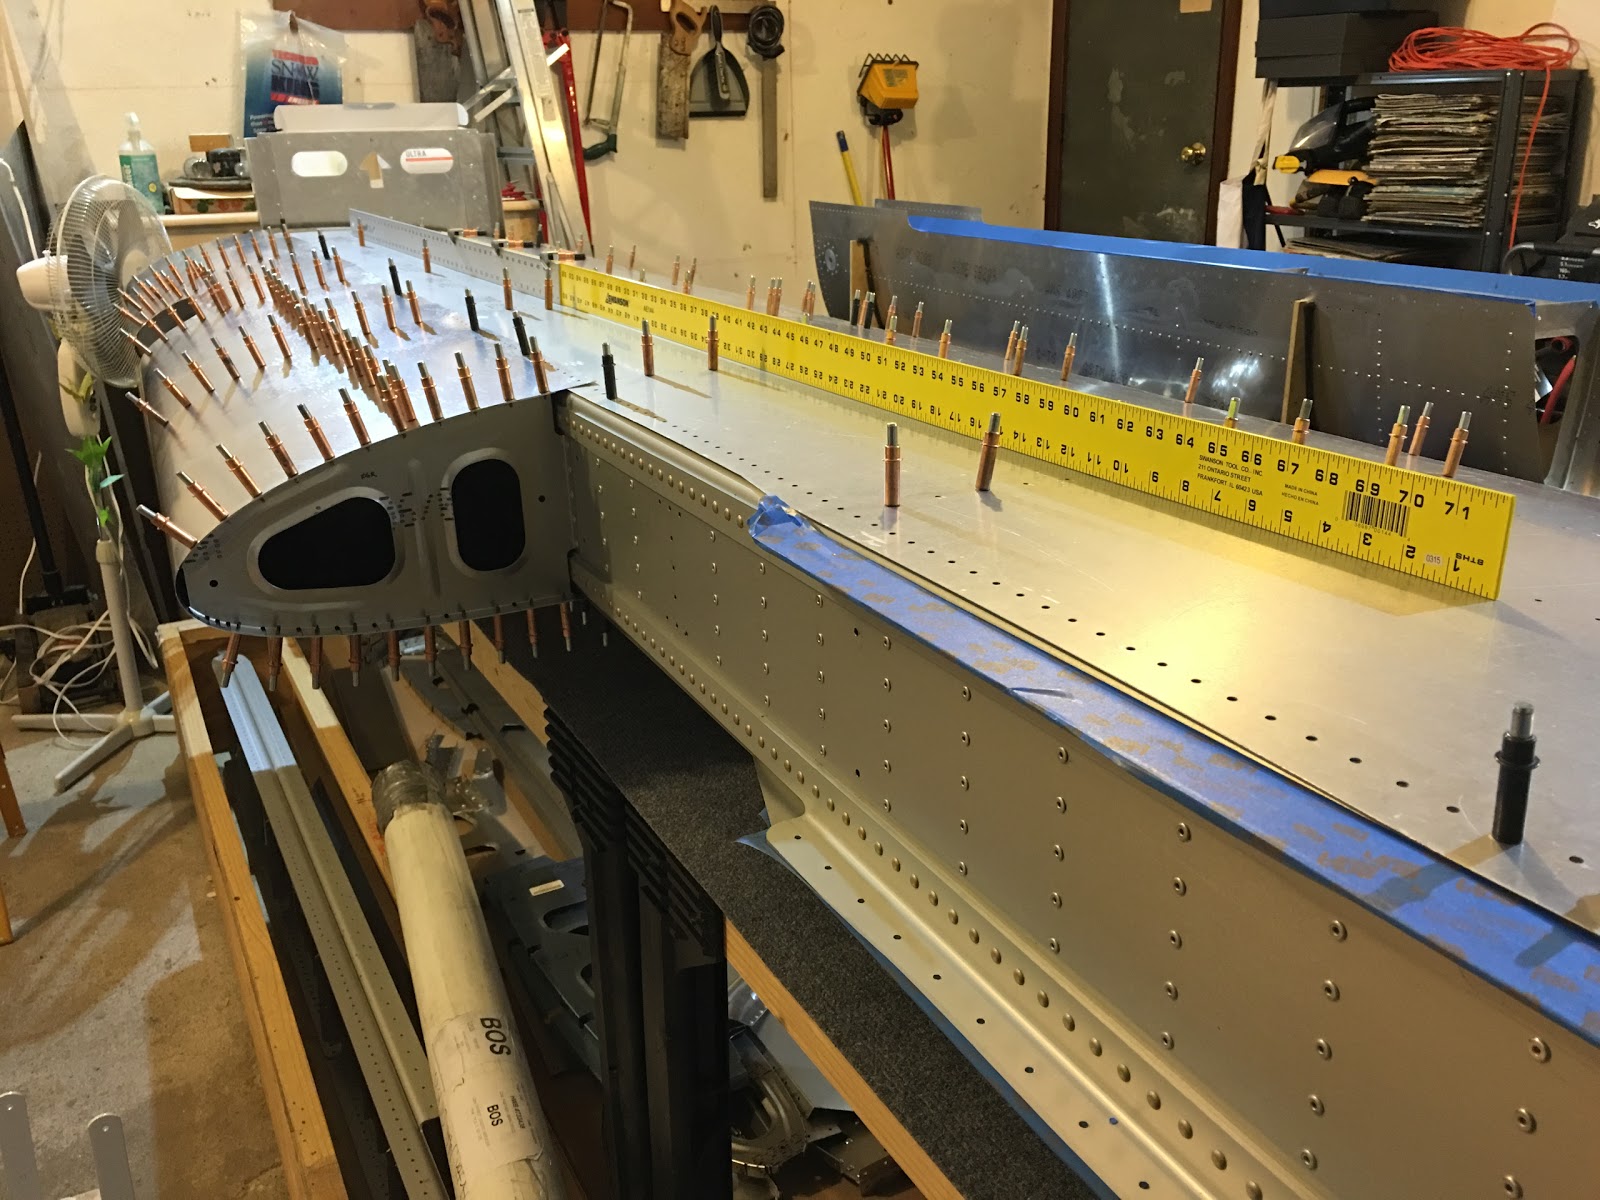
Several more hours today on the garage...
Getting there.. Need to make sure those lower two shelves are super strong to hold the wings. And they will be.
Categories
ailerons
(16)
avionics
(141)
electrical
(180)
elevator
(23)
Empennage
(55)
firewall forward
(222)
flaps
(12)
fuel cells
(68)
fuselage
(596)
horizontal stabilizer
(14)
instructions
(3)
interior
(104)
paint
(36)
Painting Planes
(3)
panel
(67)
propeller
(3)
rudder
(16)
seats
(5)
ServiceBulletin
(1)
shop
(33)
Sling Central
(23)
tools
(41)
vertical stabilizer
(20)
video
(37)
welcome
(22)
wheels
(44)
wings
(147)
Saturday, October 31, 2015
Friday, October 30, 2015
Probably spent 6 hours today working on my garage to remove old and decrepit shelves and junk and start installing new shelves that will hold both wings and fuselage parts.
The start of the installation of the new shelving. Hoping to finish it tomorrow. I designed it to be insanely strong to hold both wings (bottom two shelves) and all the fuselage parts.
Meanwhile I ordered a pneumatic nibbler (Neiko 30067A) to fix the fuel tank skin (and anything else that comes up that requires sheet metal cutting). Looked at the other tank skin and it looks OK.
NEXT SESSION:
The start of the installation of the new shelving. Hoping to finish it tomorrow. I designed it to be insanely strong to hold both wings (bottom two shelves) and all the fuselage parts.
Meanwhile I ordered a pneumatic nibbler (Neiko 30067A) to fix the fuel tank skin (and anything else that comes up that requires sheet metal cutting). Looked at the other tank skin and it looks OK.
NEXT SESSION:
- Finish the shelving!
- Take the tank off the right wing and do the sealing procedure (after cleaning the inside with MEK). There's also one last forming hole that needs a sealed rivet installed (will do both tanks).
Wednesday, October 28, 2015
Just wanted to let everyone know that I've created a discussion forum for builders of the Sling. If you're a builder (or someone from the factory!) please create an account and post away any questions, answers, tips or advice you'd like to share. All will be appreciated!
Just click the link above to get to the forum!
Thanks!
Craig
Just click the link above to get to the forum!
Thanks!
Craig
Tuesday, October 27, 2015
2 hrs. over the last two days adjusting the top wing skins (the step section only) and test fitting the fuel tank.
Checking the flatness of the top. Looks excellent!
Took awhile to get the tank to go on. It kept getting hooked up on the skins. The fuel tank skins need to go outside the wing skins and I had to make sure that was happening on the top and bottom while sliding it on. Also the second connector in from this side is cleco'ed in place for now, but it was preventing the tank from going all the way on, so I switched the cleco's to be from the other side of the connector and all was better.
Are the skins of the leading edges supposed to meet like this? Hmmm....
NEXT SESSIONS:
Checking the flatness of the top. Looks excellent!
Took awhile to get the tank to go on. It kept getting hooked up on the skins. The fuel tank skins need to go outside the wing skins and I had to make sure that was happening on the top and bottom while sliding it on. Also the second connector in from this side is cleco'ed in place for now, but it was preventing the tank from going all the way on, so I switched the cleco's to be from the other side of the connector and all was better.
Are the skins of the leading edges supposed to meet like this? Hmmm....
NEXT SESSIONS:
- Never got to work on the shelving, so I must make progress on that in order to get things cleared out in the garage and better organized (am I obsessively organized?).
- Need to check on access to the bolts that connect into the Z-sections (connectors) of the fuel tank.
- Seal the tank!
Saturday, October 24, 2015
2 hrs. priming the top skins and starting to cleco them in place for the test fit. Also started construction of the shelves that will hold the wings and fuselage parts.
Need to fiddle with the step ribs top skin (just a slight adjustment), but other than that they fit well. Next I'll cleco together the fuel tank back channel and Z-sections and test fit it on the wing. I may need to remove the top skin there to more easily get to the bolts that connect the tank to the spar. After that's on I want to check the leading edge all the way across for straightness. Also check along the top of the wing.
Building the shelving. Needs to be secure...
NEXT SESSION:
Need to fiddle with the step ribs top skin (just a slight adjustment), but other than that they fit well. Next I'll cleco together the fuel tank back channel and Z-sections and test fit it on the wing. I may need to remove the top skin there to more easily get to the bolts that connect the tank to the spar. After that's on I want to check the leading edge all the way across for straightness. Also check along the top of the wing.
Building the shelving. Needs to be secure...
NEXT SESSION:
- Finish construction of shelving.
- Fix the step rib skin.
- Cleco together the fuel tank back channel and test fit to spar.
Friday, October 23, 2015
1 hr retrieving, peeling the plastic off and cleaning of the right wing top skins.
The fuselage sub-kit arrived yesterday!! Very excited. But, it was quickly apparent that I need to put in a few hours this weekend doing a major overhaul of organization to the left side of my garage. All the junk has to come out and I need to put up some full length shelving to store not just the fuselage parts, but the wings. Off to Home Depot tomorrow to buy wood, shelving brackets and angle irons. It will need to be super strong to support the wings... I'll over-design it for sure...
Meanwhile I still want to make progress on the right wing. Pulled off the plastic and cleaned them tonight. Tomorrow I will deburr and prime and then cleco them to the wing structure.
NEXT SESSION:
The fuselage sub-kit arrived yesterday!! Very excited. But, it was quickly apparent that I need to put in a few hours this weekend doing a major overhaul of organization to the left side of my garage. All the junk has to come out and I need to put up some full length shelving to store not just the fuselage parts, but the wings. Off to Home Depot tomorrow to buy wood, shelving brackets and angle irons. It will need to be super strong to support the wings... I'll over-design it for sure...
Meanwhile I still want to make progress on the right wing. Pulled off the plastic and cleaned them tonight. Tomorrow I will deburr and prime and then cleco them to the wing structure.
NEXT SESSION:
- Deburr and prime the right wing top skins.
- Cleco to structure.
Tuesday, October 20, 2015
3 hrs. over the last 2 days filling rivets and flipping the right wing.
After the taping, sanding through the tape to expose the heads, smearing Bondo across the heads, drying and then sanding the heads, pulling off the tape reveals this (I also cleaned the surface with my Extreme Simple Green solution). Nice!:
Long view down the wing.
My friend David came over to help me flip the wing. Thanks David! ;-)
NEXT SESSION:
After the taping, sanding through the tape to expose the heads, smearing Bondo across the heads, drying and then sanding the heads, pulling off the tape reveals this (I also cleaned the surface with my Extreme Simple Green solution). Nice!:
Long view down the wing.
My friend David came over to help me flip the wing. Thanks David! ;-)
NEXT SESSION:
- Make sure the jig ends are perfectly level with each other and secure tightly to the bench.
- Start the prep of the top skins.
Subscribe to:
Posts (Atom)