Subcribe to our RSS feeds Join Us on Facebook Follow us on Twitter Add to Circles

Categories

Wednesday, June 8, 2016

1 hr. starting to put on skins.

This skin part, which doesn't appear in the Sling 4 instructions, but does in the Sling 2 instructions, needs to be bent around the frame.

And it's bent.

So, I guess this skin completely covers the one I just put on...

And it's on...

...But the hole pitch seems to be a bit different between the skin and the longeron.  Arrow on the left, the holes are lined up.  By the time we get to the arrow on the right, they're totally off.  Hmmm.....  But, at the first rib (next hole to the right of the right arrow), it's lined up again.

I removed the audio panel box from the panel because there's really no need for it be accessible.  The control of the remote version of the audio panel via the G3X Touch is more than enough for the purpose.  Still have to add the flap control, parachute handle and nail down the switches better.


NEXT TASKS:
  1. Start putting on the 3 rear fuselage skins as per the instructions.
  2. Rivet the one on the left wing's step rib that needs special handling.?? (to be done in "spare" time).

Tuesday, June 7, 2016

2 hr. working on the fuselage.  Got the answer from the factory about the holes: Drill through the gusset holes, through the longeron and into the channel holes.  The gusset/channel holes are correct and the angled longeron holes are not.

Now that I had the answer it was time to rivet this whole section.


I noticed this overlap of the longeron of the flange, so I....

...clipped it off.  Both sides had the issue.

Noticed that these two holes had no match in the channel, so I drilled them out with a small drill bit and used the chucking reamer bit to size them properly.

And done.

Since I noticed there some longitudinal play in how the holes line up between the gusset and the longeron (the rib can pivot, so the gusset moves) I've decided to wait to drill these out until the skins are cleco'ed on so I can ensure they are properly positioned.  Then I'll use larger rivets than what was going to go there to get a better grip.

NEXT TASKS:
  1. Start putting on the 3 rear fuselage skins as per the instructions.
  2. Rivet the one on the left wing's step rib that needs special handling.?? (to be done in "spare" time).

Monday, June 6, 2016

1 hr. sanding the tips on the elevator. Waiting on an answer from the factory on how to deal with the hole misalignment issue in the fuselage.

Sanded the 2nd application and it's done!  Very happy with the results.  There were pretty big gaps at the leading and trailing edges and now it's perfect.

Another view.  Love it!

NEXT TASKS:
  1. What's the issue with the holes?
  2. Tail cone assembly continued.
  3. Rivet the one on the left wing's step rib that needs special handling.?? (to be done in "spare" time).

Sunday, June 5, 2016

1 hr yesterday and 1 hr today finishing the elevator filleting and rivet filling (while I figure out what the hole alignment issue is).

There was a pretty big gap between the skin and the tip, so I figured it would take a couple of passes to fill it.  This is today after the 1st pass has dried (pre-sanding).

Post sanding.  Definitely needs a second pass.

Taped up again and the 2nd application is on.

Don't forget to pull the tape right after you apply the filler because you don't want the filler drying over it.  So, we'll see tomorrow whether it's done.

NEXT TASKS:
  1. What's the issue with the holes?
  2. Sand the fillets on the elevator and sand the last of the rivet heads.
  3. Tail cone assembly continued.
  4. Rivet the one on the left wing's step rib that needs special handling.?? (to be done in "spare" time).

Friday, June 3, 2016

3 hrs. redoing the rivets for the tie-down, prep'ing and priming parts and continuing rear fuselage assembly.

Bought a new reasonable quality hand riveter and filed it down on 4 sides so that I can do rivets in tight spaces (thank you PeterC).

While it didn't need the filing down for these tie-down rivets, they did need to be done by hand since the pneumatic wouldn't fit.

Time to prep and prime some more parts!

All done!


Uh-oh...  The line of holes on the top of Longeron 501 Right are angled, but the holes in Step Support Channel 9 underneath and Longeron Gusset 2 Rear are not... :-(  Is the Longeron correct and the Channel and Gusset wrong or is the Longeron wrong?  See the instructions below...  BTW, the left side has the exact same issue.

  A view of Channel 9.  Straight line of holes.

It looks angled in the instructions, but I'm not really sure what's right.  In any case, some parts are wrong.

Big picture view.


NEXT TASKS:
  1. What's the issue with the holes?
  2. Tail cone assembly continued.
  3. Need to find the rudder and elevator guides for these assemblies as they weren't in the Rib assembly parts bags (I think I found them in the rudder cable bag - to be confirmed).
  4. Fill bottom rivets of elevator and fillet the composite tips of it to the skin (to be done in "spare" time).
  5. Rivet the one on the left wing's step rib that needs special handling.?? (to be done in "spare" time).

Thursday, June 2, 2016

1 hr. drilling out a couple of rivets and gathering parts for the next several steps.

Decided to drill out a couple of rivets connecting the tail tie-down since they weren't well seated.  Ordered a better hand rivet gun that has a narrow barrel to shoot those rivets, which is arriving tomorrow.

Gathered some skins and rudder and step related parts to prep and prime for the next steps.


Wednesday, June 1, 2016

6 hrs. building Rib 2 and starting the rear fuselage assembly.

Realized the only way to assemble Rib 2 on the jig was to have the top of the assembly be on top of the jig and the rest of it under the jig.

Made sure to mark the holes indicated in the instructions that were not to be riveted.

Properly done!

Need to use my angle riveting widget to get to these rivets.  The instructions should be revised to have this piece installed first.

I wasn't completely certain of the proper torquing of the bolts on the rear tail cone assembly because I'm not convinced my click-type torque wrench is accurate (seemed way too tight), so I removed the self-locking nuts, threw those out and re-tightened new ones with my manual inch-pound torque wrench.  Here a new self-locking nut is put on the bolt (down to where it starts to peak out) so I can measure the friction drag torque.

So, you slowly turn the nut and measure the natural torque of the nut, which is called the friction drag torque. I measured 5 in-lbs, as shown here.

That gets added to the table value (table from the Van's website) for what you're using, which in this case is an AN3 with a self-locking nut.  So that value is 28 in-lbs.  28 + 5 = 33 in-lbs is the final torque to be applied.  No picture, but I hand tightened it down until it resisted, then I put on the torque wrench and slowly turned it until it pointed to 33 in-lbs, and we're done!

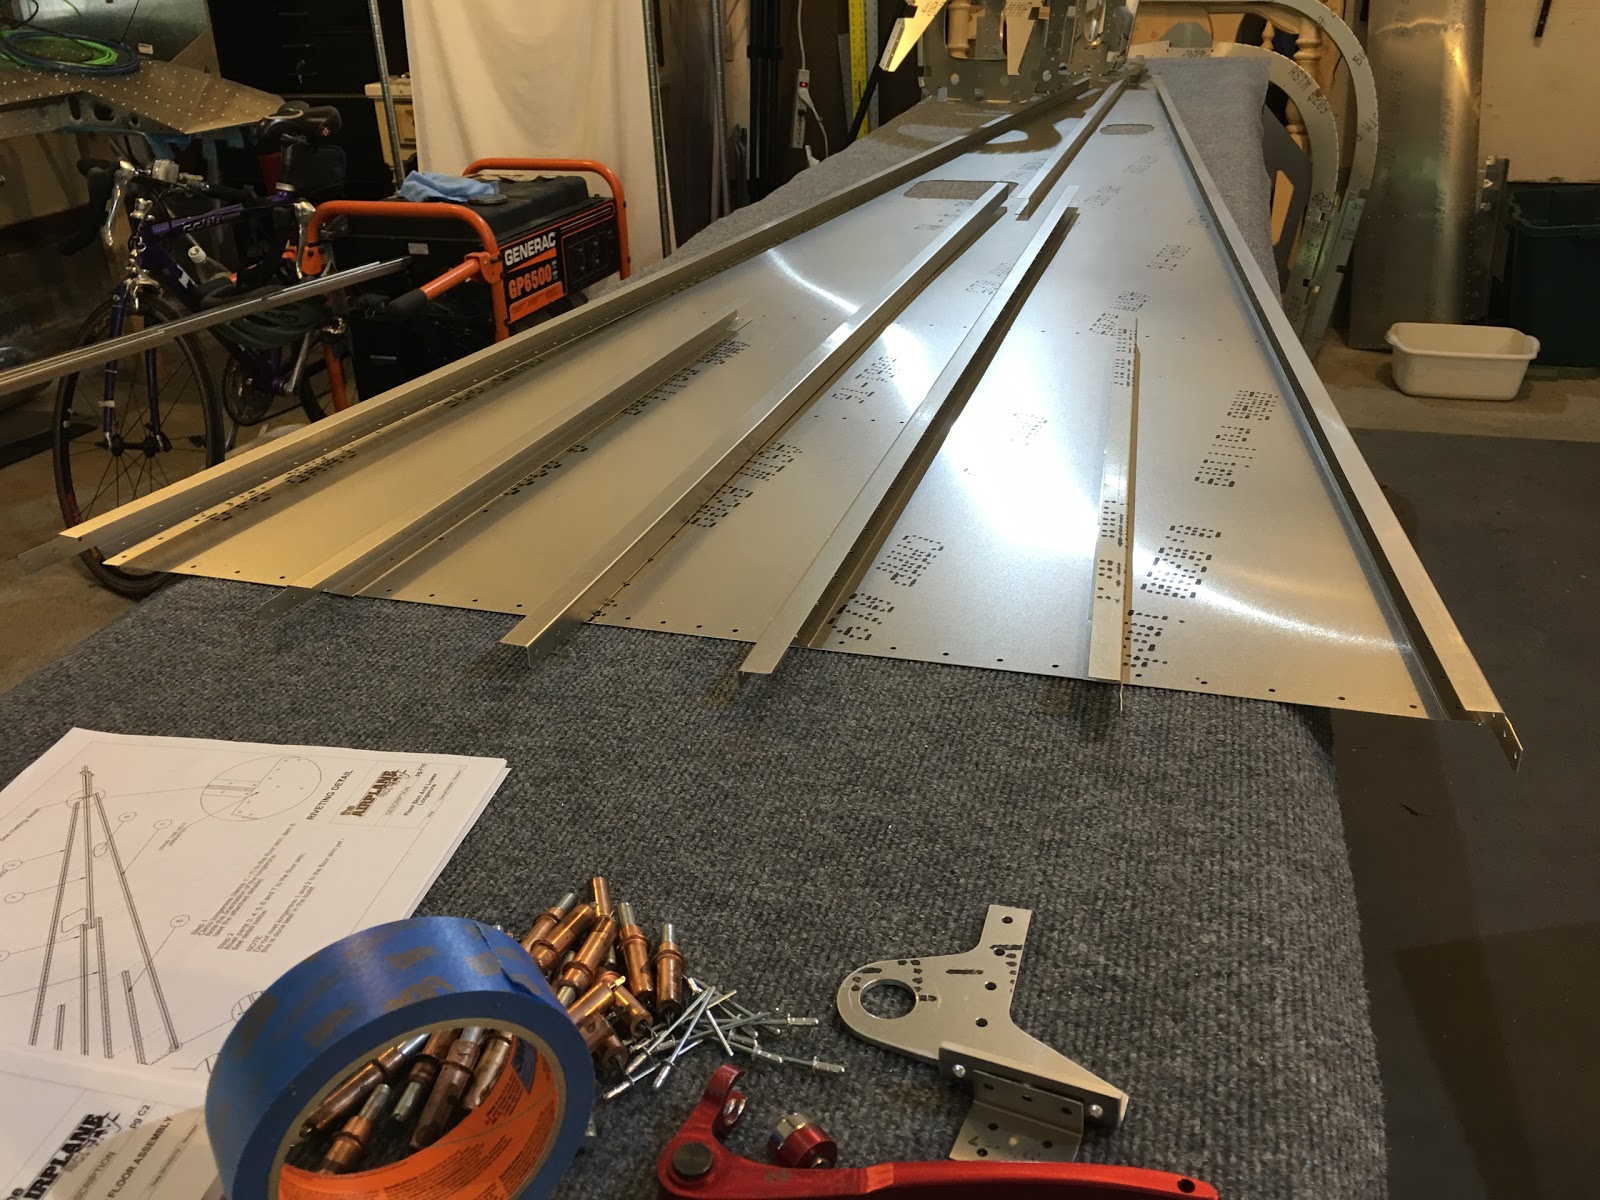
Laying out the bottom skin with the longerons.  Making double sure they're oriented correctly.  It's not clear in the instructions, so I went with what Gordon told me is correct for the Sling 4.

 Putting in the parts related to the tail tie-down (the tie-down itself fits lower than shown here).

Flipped the bottom over to start the riveting.

Tie-down parts in place.

Another view of it.

All riveted (not the outside longerons though, which should not be riveted as the instructions imply).

It's not shown but these were cleco'ed in place while the assembly was on it's side.  The Sling 2 instructions say to do that, but the Sling 4 instructions give no guidance.  I think on the side is the easiest way, but it's a tricky operation because the whole structure is loose and you don't want anything to fall over.

With the longerons tie-wrapped in place and we're done for the day.  Great progress!

NEXT TASKS:
  1. Tail cone assembly continued.
  2. Need to find the rudder and elevator guides for these assemblies as they weren't in the Rib assembly parts bags (I think I found them in the rudder cable bag - to be confirmed).
  3. Fill bottom rivets of elevator and fillet the composite tips of it to the skin (to be done in "spare" time).
  4. Rivet the one on the left wing's step rib that needs special handling.?? (to be done in "spare" time).