


Time to fabricate a new console cover hinge.

Cut to length.

I've never fabricated a hinge before, so I discovered you need to crimp the last section on each end to prevent the rod from slipping out.

The 3 holes that are for the screws into the cover were perfectly placed so I copied those holes.
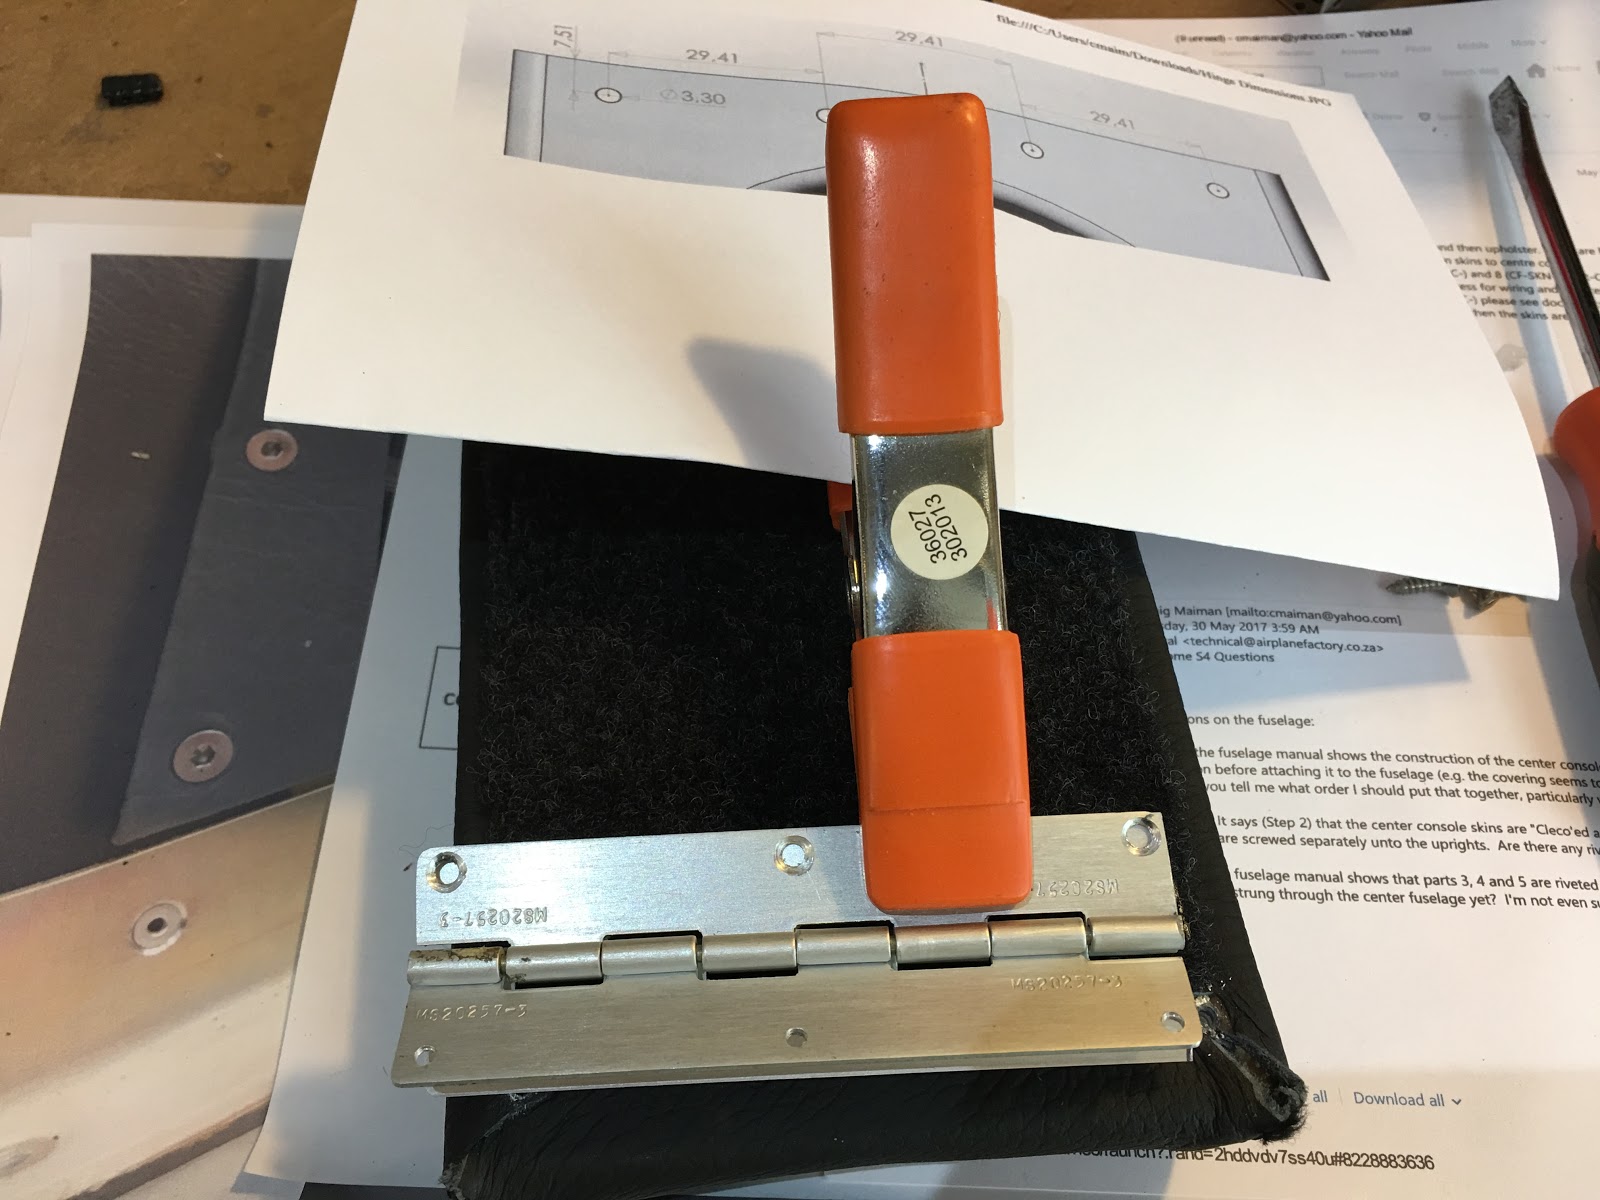
They needed to be countersunk and I found that my deburring tool was more than up to the job.

Nice! Now for the 4 holes on the other side.

Line up with the holes on the console.

Marked and center punched, so it's ready to be drilled with a small pilot-sized drill bit.

Sized and reamed, perfect fit!

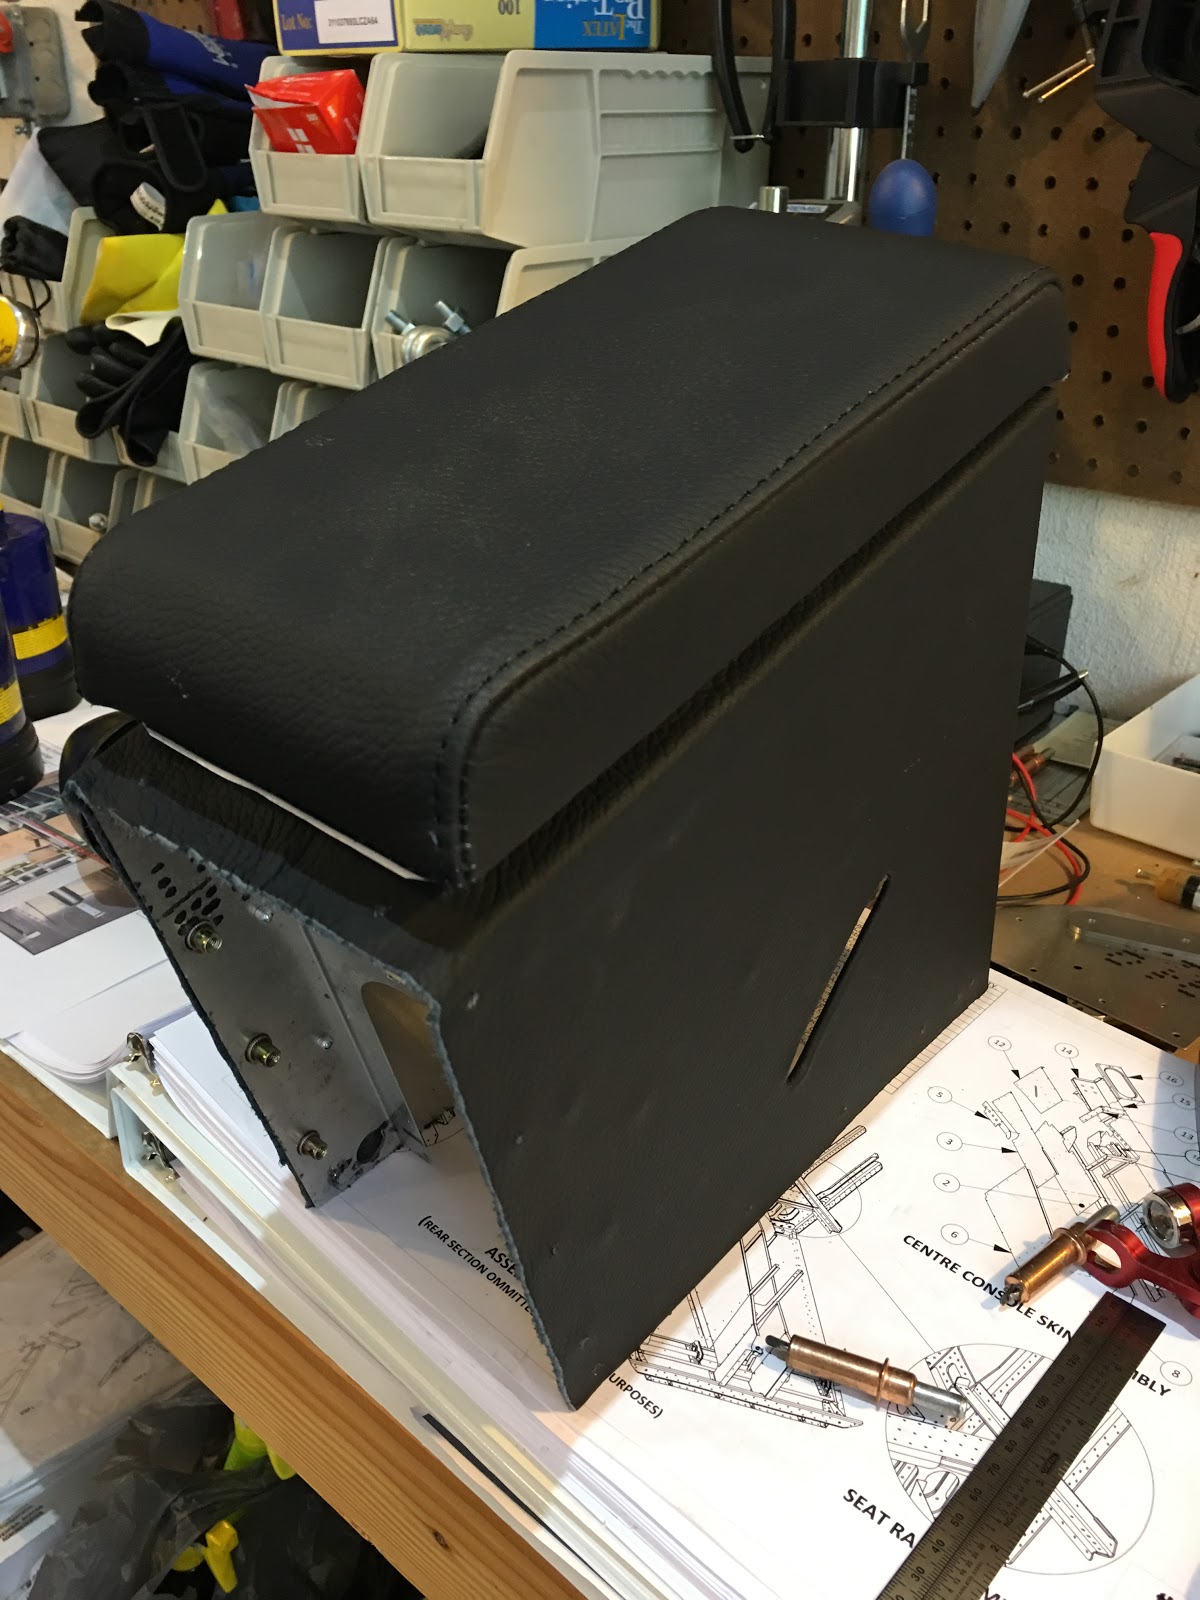
Riveted in place... I was concerned that the cover wouldn't line up once I installed the hinge and closed it...

But, it's perfect! The velcro piece that attaches to the console has some stickiness to it, but I found it wasn't nearly enough to hold it down when trying to open the cover, so I used the Barge glue to attach it and that stuff sticks!
Got my new rear seat hinge, so it was time to finish the rear seat.

A whole bunch of rivets to attach the hinge.

Got my missing set of the rear seat latch parts, so it was time to work on that.

In place and ready to rivet.

One side didn't have a bunch of holes, so I drilled those out.

Slight difference in the hole pitch. I'll figure this out later since I'm not quite sure of the layering of parts with respect to the seat covering.

Console done, so it's back in place.

Time to rivet in place CF-PLT-015 with countersunk rivets.

Couldn't get the rivet gun straight in, so I use this wedge to rivet here. You need to pre-bend the mandrel of course.

Nice! Left inside rail done. I'll do the right side next. The outside rails I've been advised by the factory to hold off on until the seats are ready to be fitted.

No comments:
Post a Comment