


Making sure I have the right combination of bolt (AN3-10A), washers (AN3/4), locknut and Loctite 243. Torqued to 32 in-lbs.

Tried doing the bottom two bolts and then installing in the wing spar only to find that I could not get it in the spar with the brackets installed.... Ugh...

Also found that using the recommended combination of washers on the pushrod conflicted with the mounting bolt. Swapped a thin washer that was on the pushrod to the mounting bolt and the conflict ...
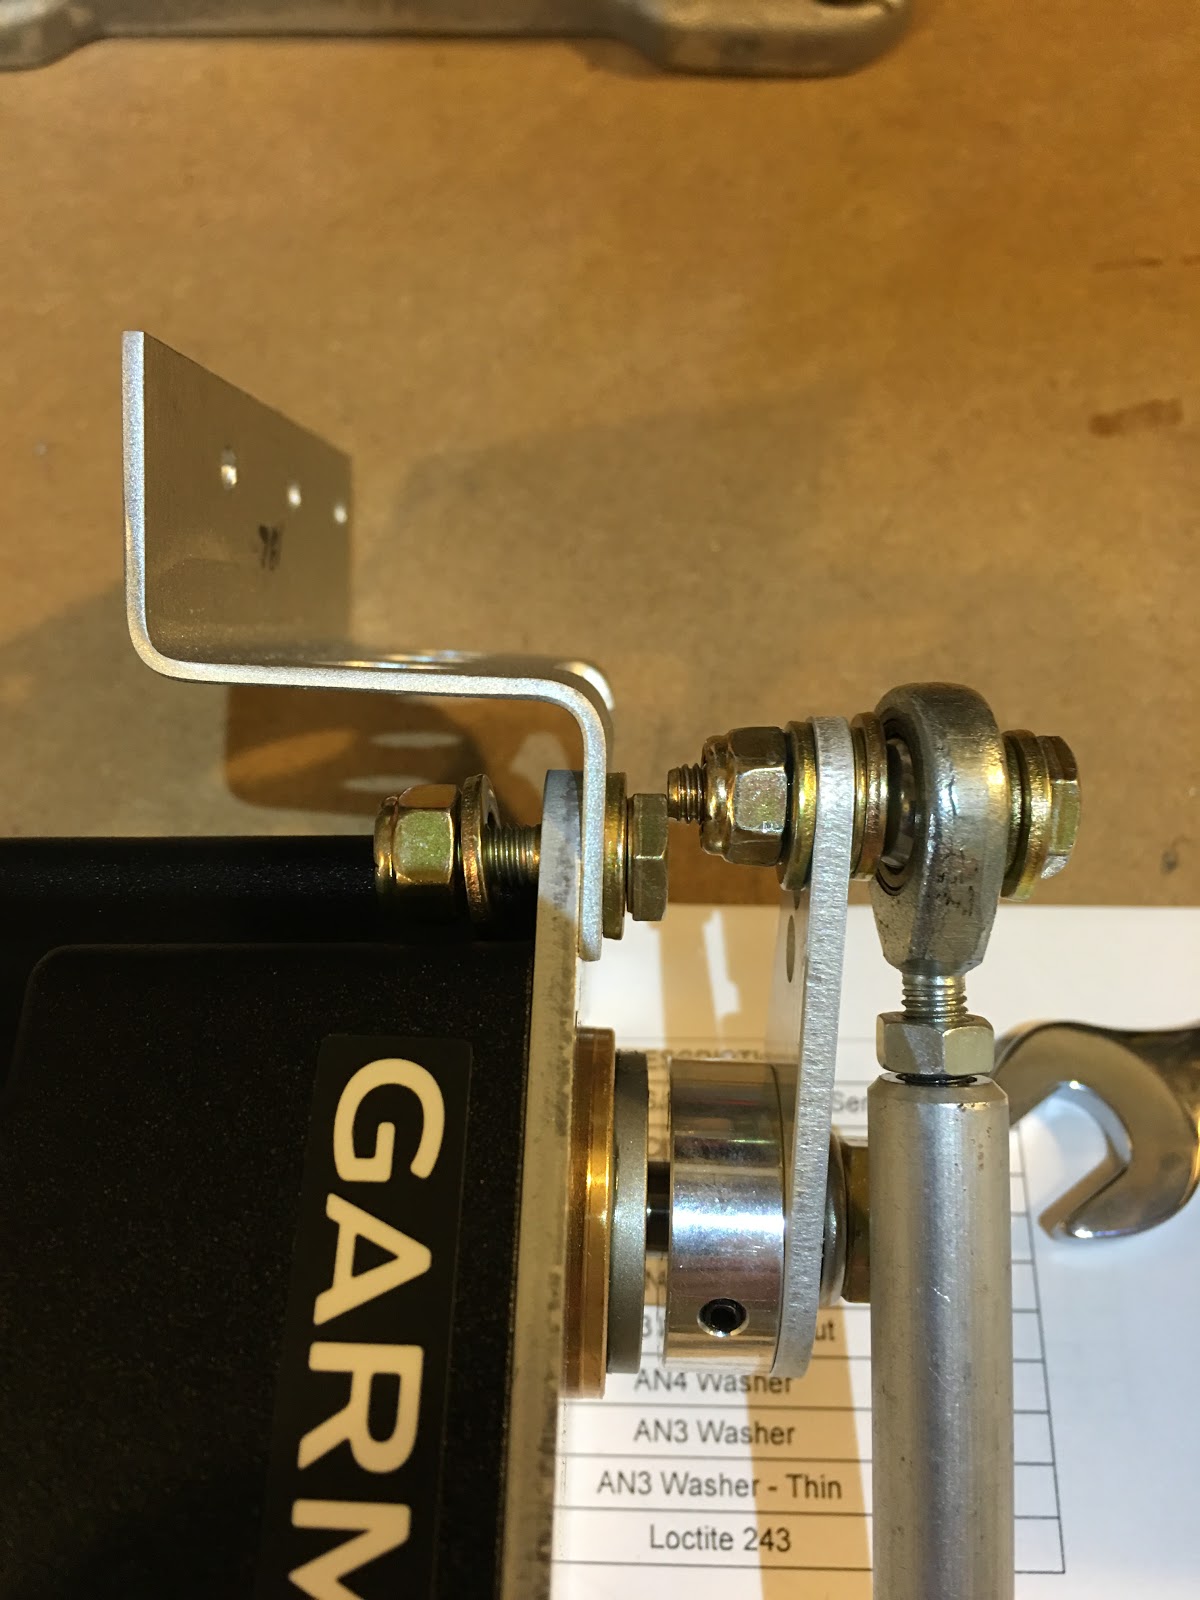
...went away.

All bolted in! Loctited and properly torqued. The vertical line of holes where you see the two 4mm cleco's are NOT riveted at this point because you will be riveting the floor ribs to these holes once the wing spar is moved into position. You can see a bit of one of the floor ribs on the far right of the photo.

Other side view.

Hi Craig, looks good. General comment, any connection where the bolt and lock nut are in constant movement should have a drilled bolt, castle nut and cotter pin. Maybe the servo doesn't play a critical role on the whole control system (except for the autopilot)...but it's possible for the nut to back off over time. Scott M.
ReplyDeleteHi Scott,
DeleteI understand what you're saying, but I just checked both the Sling and Garmin's GSA 28 servo installation instructions and both call for A type, non-drilled bolts. Also, looking at the pushrod, the hole the bolt passes through rotates inside the end of the pushrod, so nothing rotates against the washers. So, I think it's fine what I have. But, thanks for the feedback, I certainly appreciate it!
Craig