Subcribe to our RSS feeds Join Us on Facebook Follow us on Twitter Add to Circles

Categories

Monday, October 12, 2015

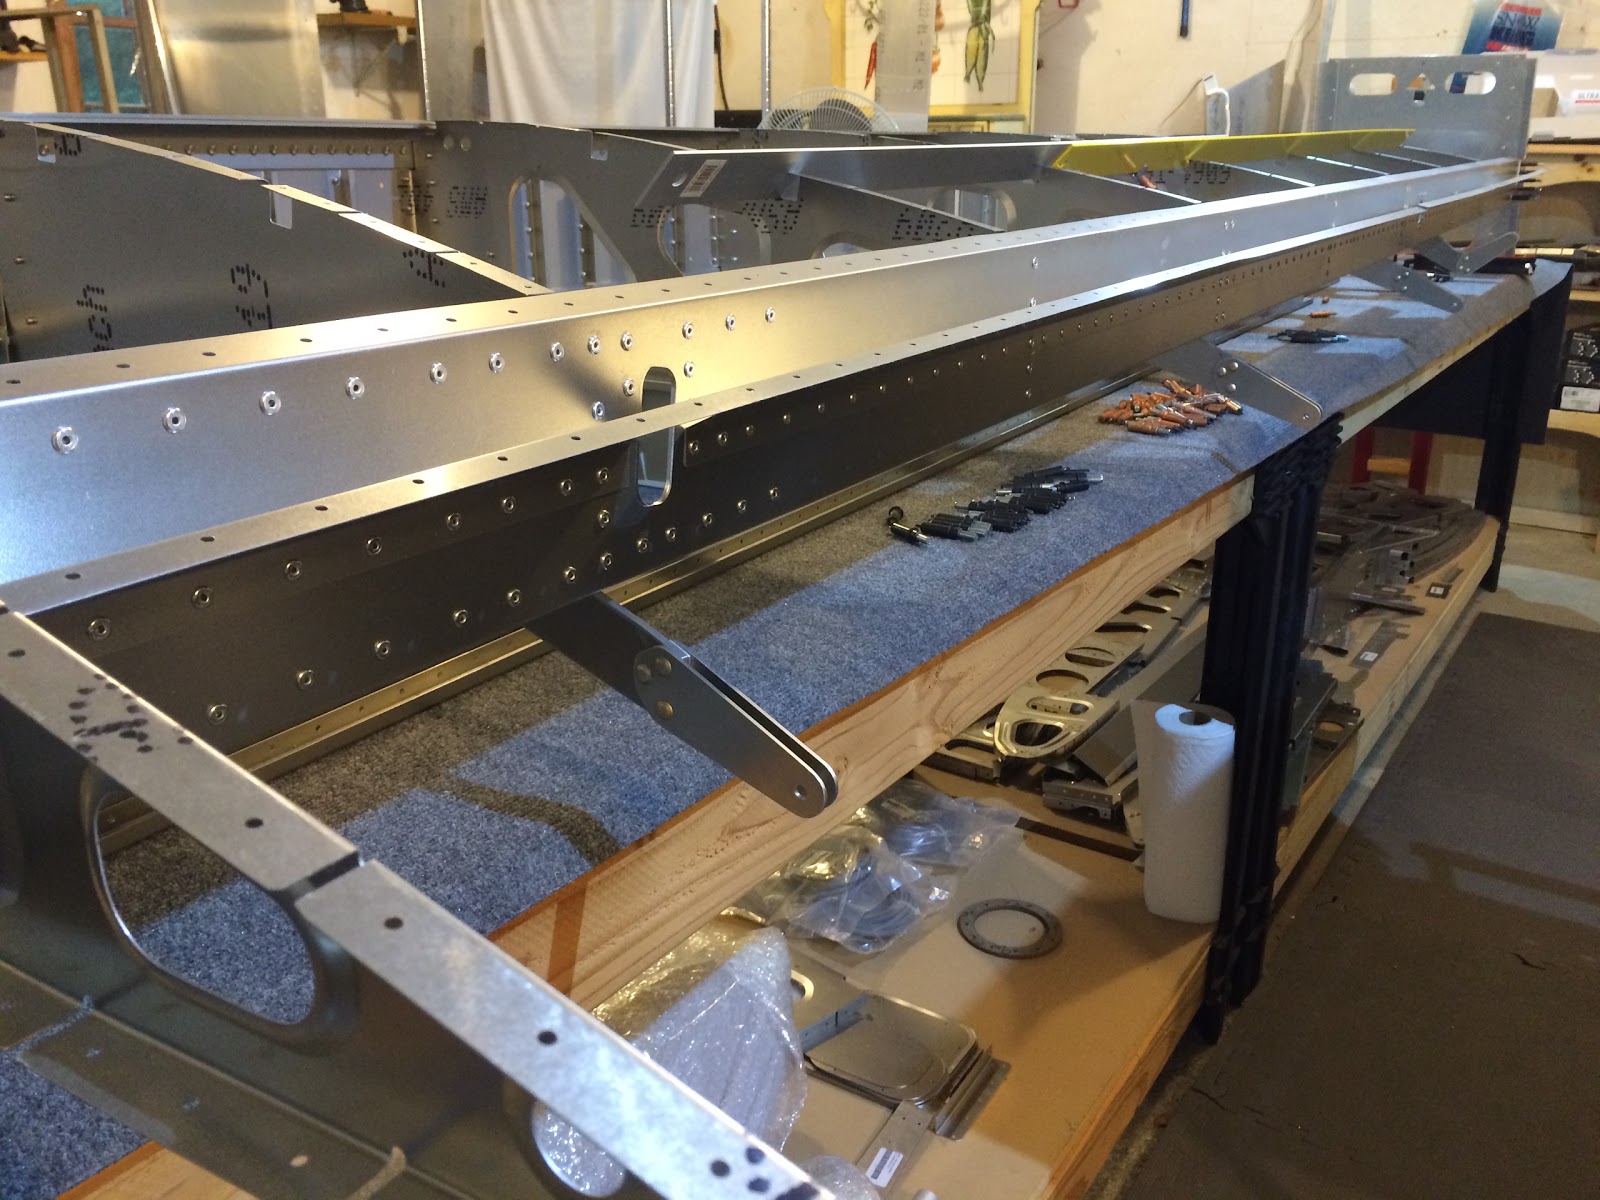
3 hrs. cleco'ing on the bottom skins and testing out a method for filling rivets told to me by Jean at the The Airplane Factory USA.

A little side project to build a Stratus 2 (ADS-B Receiver, GPS and AHRS) clone for less than $150.  The Stratus 2 is $900... ;-)  I'll power it up tonight.

The outside surfaces won't be primed until the plane is ready to be painted, but some parts of the skins go under others, so I applied primer (Cortec 373) by brush to those places.

The other overlapping strip on the bottom skins.

I tried a method of filling rivets recommended by Jean at TAF and it worked great!  Just put a strip of painter's tape over the rivets and sand off the tops.  The rivets pop through in seconds!  Deciding what to fill them with and then I'll give it a shot.  I like efficient!

Bottom skins all cleco'ed on and ready to be riveted.

NEXT SESSION:
  1. Start riveting bottom skins on!

Sunday, October 11, 2015

4 hrs. Flipped the wing, test fit of skins and prepped the bottom skins.

After cleco'ing up the bottom skin I found that the bottom stringer was pushing the rib about 1/4".  This pic doesn't show it because I had already removed the cleco's (though you can see that if you lined up the holes in the stringer with the skin holes it would push the rib).  Clipped off about 1/4" from the end of the stringer.

Just a view of the bottom skins during the test fit.

This is after I clipped off about 1/4" from the stringer.

All of the bottom skins (including the left wing) cleaned, deburred and primed.  With my equipment and process now, my cleaning, priming and sprayer clean-up is quick enough that I can do all of it "just-in-time" before the parts are needed.

Fully prepped skins back on the wing.  Ready for cleco'ing and riveting.  Need to make sure I don't rivet holes where the fuel tank will attach.  Also the last row of holes on the step ribs (closest in this picture) should not be riveted since the top skin there comes around the trailing edge.

NEXT SESSION:
  1. Cleco'ing and riveting of the bottom skins.  Make sure the jigs are perfectly level with each other before any riveting!!

Saturday, October 10, 2015

2 hrs. drilling holes for grommets and a failed effort to modify the landing light mounting brackets for my Sunspot 36LX lights.

Drilling out all the holes for the left wing to accommodate the grommets and wiring.  Since I discovered that you can't drill these out once they're attached to the spars, I need to drill these out now.


All done!

The included brackets are too small for the Sunspots, so I tried to use a hand electric jigsaw to enlarge the holes.  Didn't work....  Came out terrible and unusable...  Now I need a Plan B....

Saturday, October 3, 2015

3 hrs. installing a connecting piece on the rear support channel and doing the right wing wiring.

Installed this plate between the 2 pieces of the rear support channel.

Installed the grommets for the wiring.

Unrelated to the wiring, I tested the fuel level senders.  The resistance varied between 10 and 200 ohms for both senders - good to go!

Measuring out the wires.

Tested them all for continuity - all good!

Bundling the wiring in sheathing.

Have to have the wires separated for the whole sheathing process to work...

Wrapped the end I was inserting to make it easier to thread it through.

Nice!

Here's a video of me doing the sheathing.


 Away for a week for work, but when I return...

NEXT SESSION:
  1. Flip wing over to start the process of riveting the bottom skin!
 

Wednesday, September 30, 2015

2 hrs. installing the rear support channel to the rear spar and installing the piece to hold up the landing light wires.

Rear support channel cleco'ed into place.

And it's done!

Drilled out the rivets for installing the "wire holder."

Marked the holes, center punched it and drilled it out (smaller than the rivet so that I would use the chucking reamer bit to final size it).

And it's in!

NEXT SESSION:
  1. Start the wiring after installing all the grommets and any necessary edge grommets (is that what it's called?).
  2. Flip the wing over to prepare to install the bottom skins!

Tuesday, September 29, 2015

4.5 hours riveting (and bolting) the step ribs.

Started from the right side of the step rib group so that I could move the ones to the left over to maximize the room I had to rivet.  Even with that extra room, some of the rivets needed to be hand riveted.  A lot of force is required to hand rivet - makes for a very loud snap as the mandrel is pulled and snapped off!

The top rivet connecting each of the step ribs was too tight to put a rivet gun straight in, so I bent the rivet mandrel and used a homemade adapter to ensure the rivet was driven flat.

This is what that looked like just before riveting it.  With it bent out like that it was easy to slide the rivet gun over the mandrel.

A little bit clearer view.

And they are all riveted!!

NEXT SESSION:
  1. Rivet the rear support channel to the rear spar.
  2. Prepare for wiring...

Monday, September 28, 2015

1 hr fabricating the piece to hold the landing light wiring as it goes through the cutout in the main spar.  This will prevent the wiring from just laying on the bottom wing skin, which you don't want.

Using a spare piece of aluminum to cut out the pieces (one for each wing).

Using my trusty Andy Snips to cut out the pieces.

Finished piece in place (I buffed it smooth and rounded the corners using the ScotchBrite wheel on my bench grinder).  Only need to drill out the rivets from the spar, mark and drill out the holes in the piece matching the holes in the spar and rivet in place.