Subcribe to our RSS feeds Join Us on Facebook Follow us on Twitter Add to Circles

Categories

Saturday, July 9, 2016

4 hrs. finishing the rear center fuselage assembly.

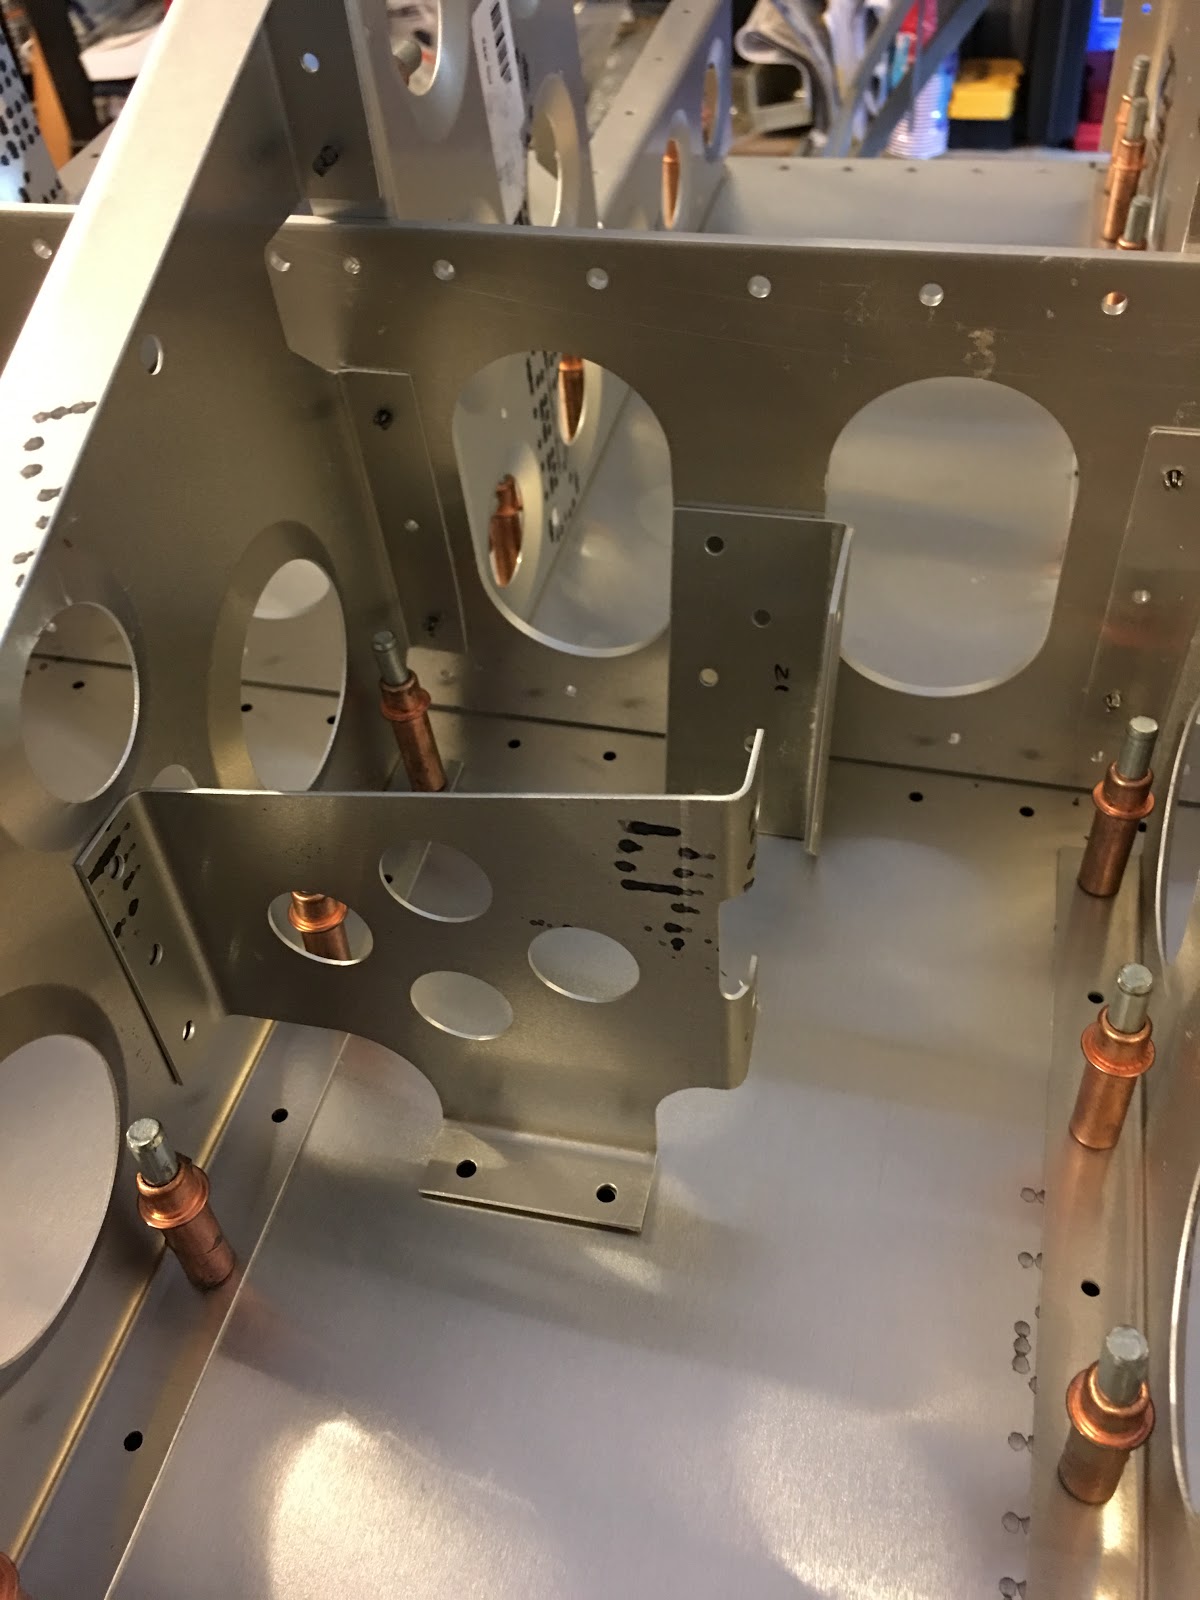
Console seat brackets installed!  Nut is kept loose until later.

Now to position and drill out the holes for the elevator autopilot bracket.  Measure twice....

Almost forgot these two parts in the assembly!  Good thing it was only cleco'ed at this point....

Used a spring-loaded punch (several "hits") to put a dent so the small drill bit doesn't wander.

First hole drilled, reamed to size and cleco'ed.

Used a cleco clamp so it wouldn't move when I was doing the other holes.

And it's done!

All cleco'ed back together.

Riveted all the holes through the rear spar web and now it's time to rivet the bottom.  Note that it's held up with a bungee so it doesn't fall.

Done!

Started positioning things for the next step.

Wait, does this hole get drilled out (the hole is not there in the rear spar web).  I'm thinking yes.

NEXT TASKS:
  1. Main spar and undercarriage channel.
  2. Rivet the one on the left wing's step rib that needs special handling.?? (to be done in "spare" time).

Friday, July 8, 2016

1 hr. riveting the console seat brackets.

My rear spar doesn't have the holes for the elevator autopilot bracket (the one leaning up against the spar) so I'll have to drill them out.  Got a diagram from the factory as to where to put the holes.  I'll do that tomorrow.


Meanwhile I have to attach the console seat brackets and that will be easier for the two inner ones with the ribs out of this assembly, so off they come...

And the brackets are done.

NEXT TASKS:
  1. Continue work on center fuselage assemblies.
  2. Rivet the one on the left wing's step rib that needs special handling.?? (to be done in "spare" time).

Wednesday, July 6, 2016

2 hrs. working on the center fuselage assembly.

Putting together the parts for the rear spar assembly.

Rear spar assembly big picture.

Several parts go together.

I measured about 4 in-lbs of friction drag torque on the nut and that gets added to the table value for an AN3 bolt with a nyloc nut, which is 28 in-lbs, to get a final torque value of 32 in-lbs.

Starting to put some parts on the main spar.  Don't put BKT-002 on before you've maneuvered the 013's behind the spar web.

In place.

Close-up.

Started to cleco together the rear bottom assembly.

NEXT TASKS:
  1. Continue work on center fuselage assemblies.
  2. Rivet the one on the left wing's step rib that needs special handling.?? (to be done in "spare" time).

Tuesday, July 5, 2016

1 hr. finishing up the priming of the skins I'll need for the next several pages of instructions.  Now I need to go over my heads-up emails to make sure I don't do something before it should be done.  Then it's into center fuselage assembly!


Monday, July 4, 2016

3 hrs. finishing up the cleaning and priming.

Many parts to prime...  Still have the skins to do.

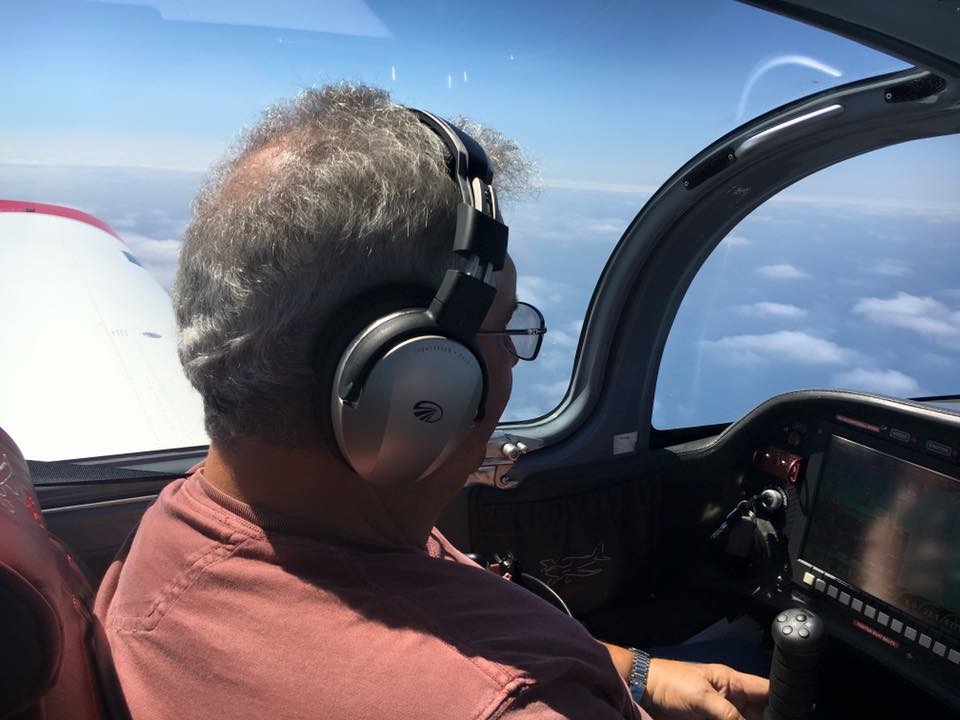
Bob Zaleski (Sling builder in FL), Jordan and Jean, both from TAF USA taking the Sling 4 out for a spin (well, not a spin ;-)).  Got a great flying report on the Sling 4 from Bob.

Captain Bob :-)  He's a retired airline pilot.
 

NEXT TASKS:
  1. Prime some skins for the center fuselage.
  2. Start to construct several major center fuselage structures.
  3. Rivet the one on the left wing's step rib that needs special handling.?? (to be done in "spare" time).

Saturday, July 2, 2016

2 hrs. deburring and cleaning parts.

Lots of parts to deburr and clean!

And these...

NEXT TASKS:
  1. Several more parts to clean.
  2. Prime parts.
  3. Start to construct several major center fuselage structures.
  4. Rivet the one on the left wing's step rib that needs special handling.?? (to be done in "spare" time).

Friday, July 1, 2016

3 hrs. organizing!  I took almost all the parts out of the bags and sorted them by part number.  My mantra for building happiness and success:
  • Know where to find your tools
  • Know where to find your parts
  • Keep the shop neat and clean.

This is what I should have done months ago...

Some bags though I decided to keep together.  If it was a highly contained module then I felt it was better to keep together.  Most though, for me at least, it made sense to break it all out.

NEXT TASKS:
  1. Still need to find some parts which begin CT-... which I need to for the next section.
  2. Prep of next batch of parts for center fuselage.
  3. Rivet the one on the left wing's step rib that needs special handling.?? (to be done in "spare" time).