Subcribe to our RSS feeds Join Us on Facebook Follow us on Twitter Add to Circles

Categories

Saturday, July 23, 2016

1.5 hrs. working on miscellaneous fuselage tasks.

It occurred to me today that the factory should take pictures of all over the fuselage (and wings), both up close and further back so that the builders can more easily confirm part locations and orientations.  Maybe even better (and easier!) would be a video that goes over the whole fuselage (and wings), coming in close and taking in the bigger picture.  It would have to be done at several stages of the build so everything can be seen.  Can you do it factory?  Maybe I'll do it on the quickbuild 4 that will be at OSH. :-)

I measured the wing spar thickness so that I can make a piece of wood to fit in the fuselage main spar to ensure it remains sufficiently open while I rivet it.  22mm

Time to put in the magnometer mounting piece.  I'm going to put it a bit further back than the instructions show since I expect my plane to be a bit nose heavy.

First hole marked and punched so the drill bit doesn't wander.

First hole done.

All holes drilled, sized (chucking reamer bit) and deburred.

And it's in!

I didn't notice that the left and right brackets which go over the gear mounting channel are actually not the same.  See the notch at the top of it?  Should that be at the rear (as here) or swapped over to the other side and on the front side?  I ask because the holes don't line up all the great and was wondering if that's the reason.

I've posted about this before, but these rear seat stop parts don't line up...  What am I doing wrong?

Hmm...  This part doesn't lay flat.
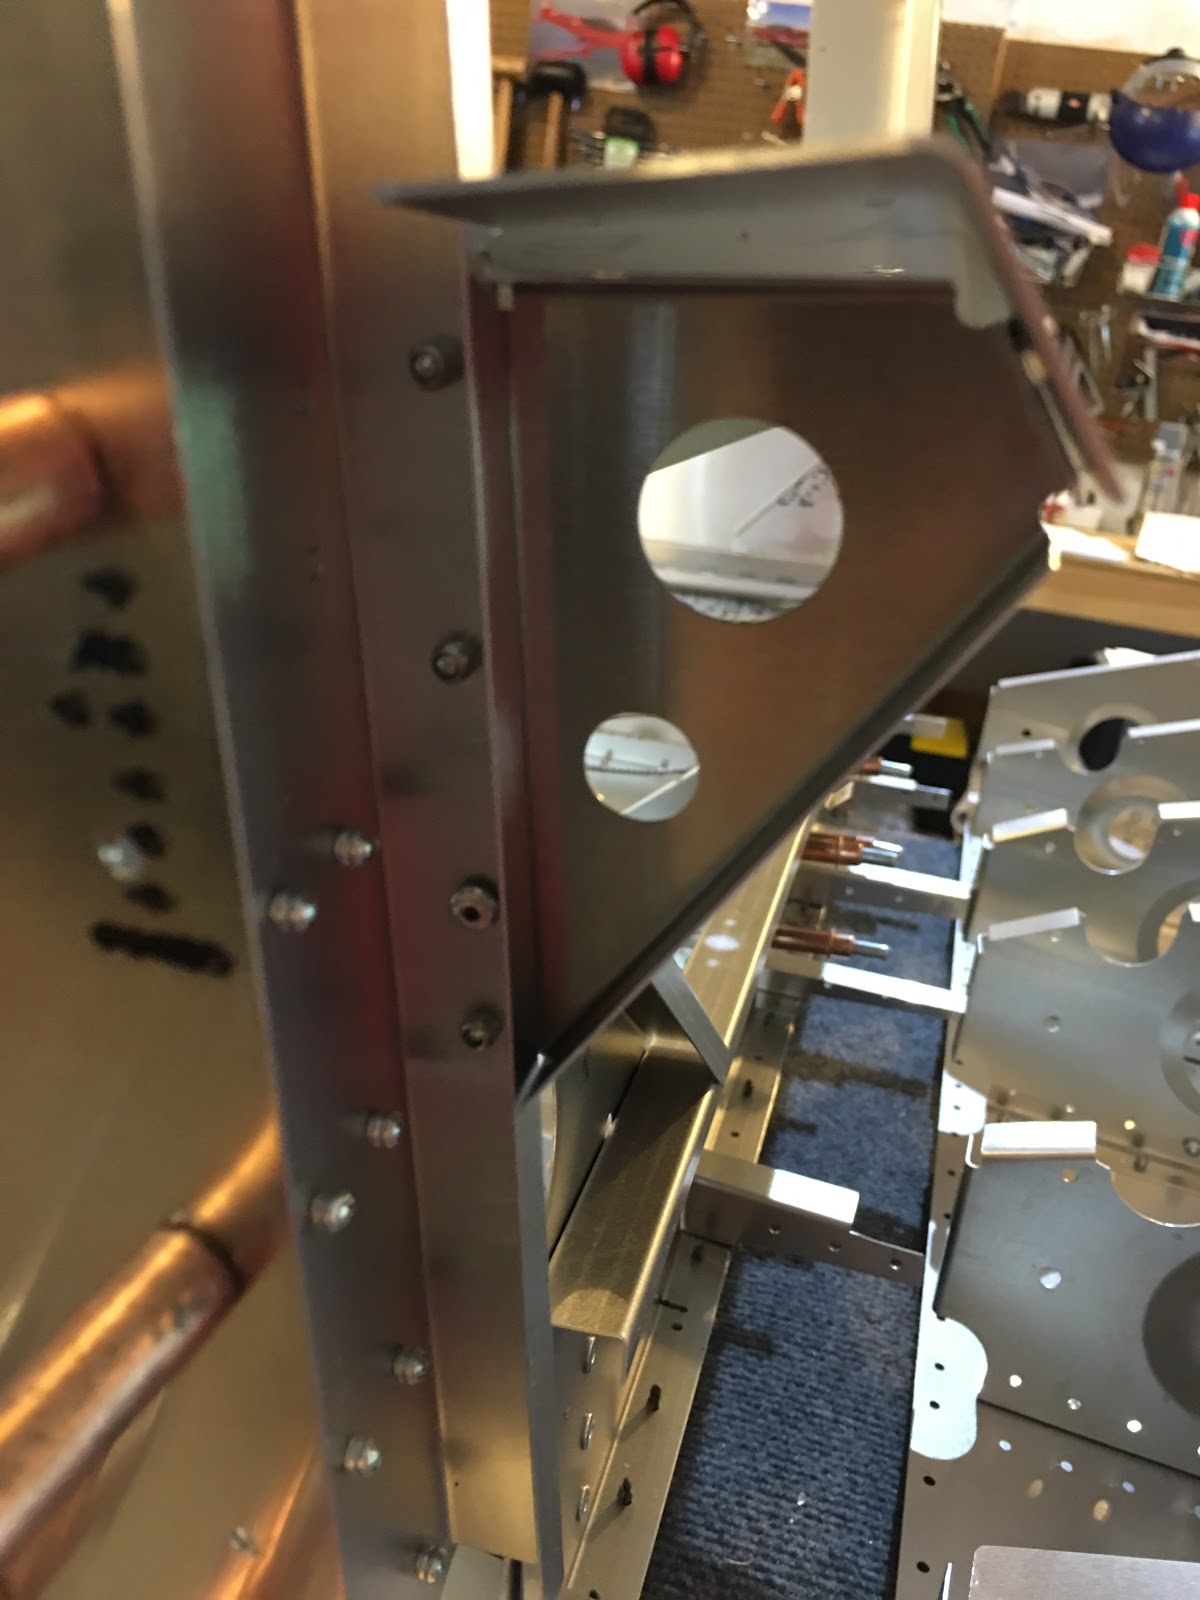
The parts CF-BKT-023-L/R are not mentioned in the text of the manual, but are shown in the drawings.  They are the thick pieces shown which are attached with the black cleco's.

Correct location/orientation for CT-STO-001?  The holes on the sides don't line up with the ribs.

CT-STO-003.

CT-STO-002.

NEXT TASKS:
  1. Need to figure out what's OK to rivet and what I should hold off on...  I know I can't place the main spar until I get that part.
  2. Rivet the one on the left wing's step rib that needs special handling.?? (to be done in "spare" time).

Monday, July 18, 2016

Too hot in the garage on Saturday to do anything... It must have hit 100 in there!

Anyway, I went flying that morning with a friend in his Cirrus SR22.  Quick flight out to Provincetown out on the tip of Cape Cod.  I flew a little bit, but he did most of the flying.  Here are some pictures from the flight.


Provincetown! Airport is near the beach, left center.

On final.

Great breakfast at Cafe Heaven.

Testing out my home built Stratux ADS-B receiver.

Lots of traffic near Boston!

Boston.

Away for work this week, so I won't be back at until Saturday.  See you then!

Friday, July 15, 2016

1 hr+ cleaning and organizing the garage (it gets messy after a while and that drives me crazy...) and cleco'ing more parts onto the center fuselage.

These ribs and the strengthening plates.  The small channel sitting there awaits it's right side twin on it's way from South Africa.

These attach to the gear mounting box.  Put these together first before attaching to the box (just the 3 parts, those other parts are not associated).

With all the above parts in place plus the main spar assembly.  Just cleco'ed for now.

NEXT TASKS:
  1. Need to figure out what's OK to rivet and what I should hold off on...  I know I can't place the main spar until I get that part.
  2. Rivet the one on the left wing's step rib that needs special handling.?? (to be done in "spare" time).

Wednesday, July 13, 2016

1 hr. widening the opening in the ribs to allow the gear mounting box and success!

Also, I've gotten advice not to rivet the ribs to the bottom skin...  Well, for the rear center fuselage skin - too late...  Hmm...  What lies ahead since I did that...

Bought some thick square steel stock and cut it into some short pieces to use as a hammering surface to bend the flanges further back.  Here are the pieces.

In place for some banging with my rawhide hammer.

And it's bent further back.

Tight fit, but it's in!   I saw on Peter Calley's blog that the holes from the mounting box into the bottom skins should not be riveted since a cover piece will be riveted to them later.  Thanks Peter!

NEXT TASKS:
  1. Whatever is next after the gear mounting box...
  2. Rivet the one on the left wing's step rib that needs special handling.?? (to be done in "spare" time).

Tuesday, July 12, 2016

Found out from the factory that I need to bend the flanges of the ribs a bit more so the gear mounting box can fit into them.  I'd do it today except so much standing (not just working on the plane) has given me plantar fasciitis, so I need to rest my feet tonight.  Tomorrow I'll get it done and then move on.

Monday, July 11, 2016

1 hr. riveting on the rear spar and contemplating some part placements.

Did the final riveting on the rear spar.

Hmm... Rear seat back stop.   Trying to get the two parts here to line up.  Doesn't seem close...

So, I tried swapping the left and right brackets which attach to the longeron (which better matched the picture I took of Gordon's setup).  Not much closer.  Again, am I doing something wrong?

NEXT TASKS:
  1. Main spar and undercarriage channel.  Still need to hear from the factory on the fit issue I have.
  2. Rivet the one on the left wing's step rib that needs special handling.?? (to be done in "spare" time).

Sunday, July 10, 2016

1 hr. contemplating my gear mounting box.

The gear mounting box is supposed to fit under two ribs, but I can't slide it in.  Either the box is too wide (I measured about 14.5mm) or the channel it' supposed to slide through is too narrow (the more likely scenario) (I measured about 14.2mm).  I emailed the factory and I'm hoping to hear back tomorrow.  Maybe I'm doing something wrong.

The gear mounting box is #2.