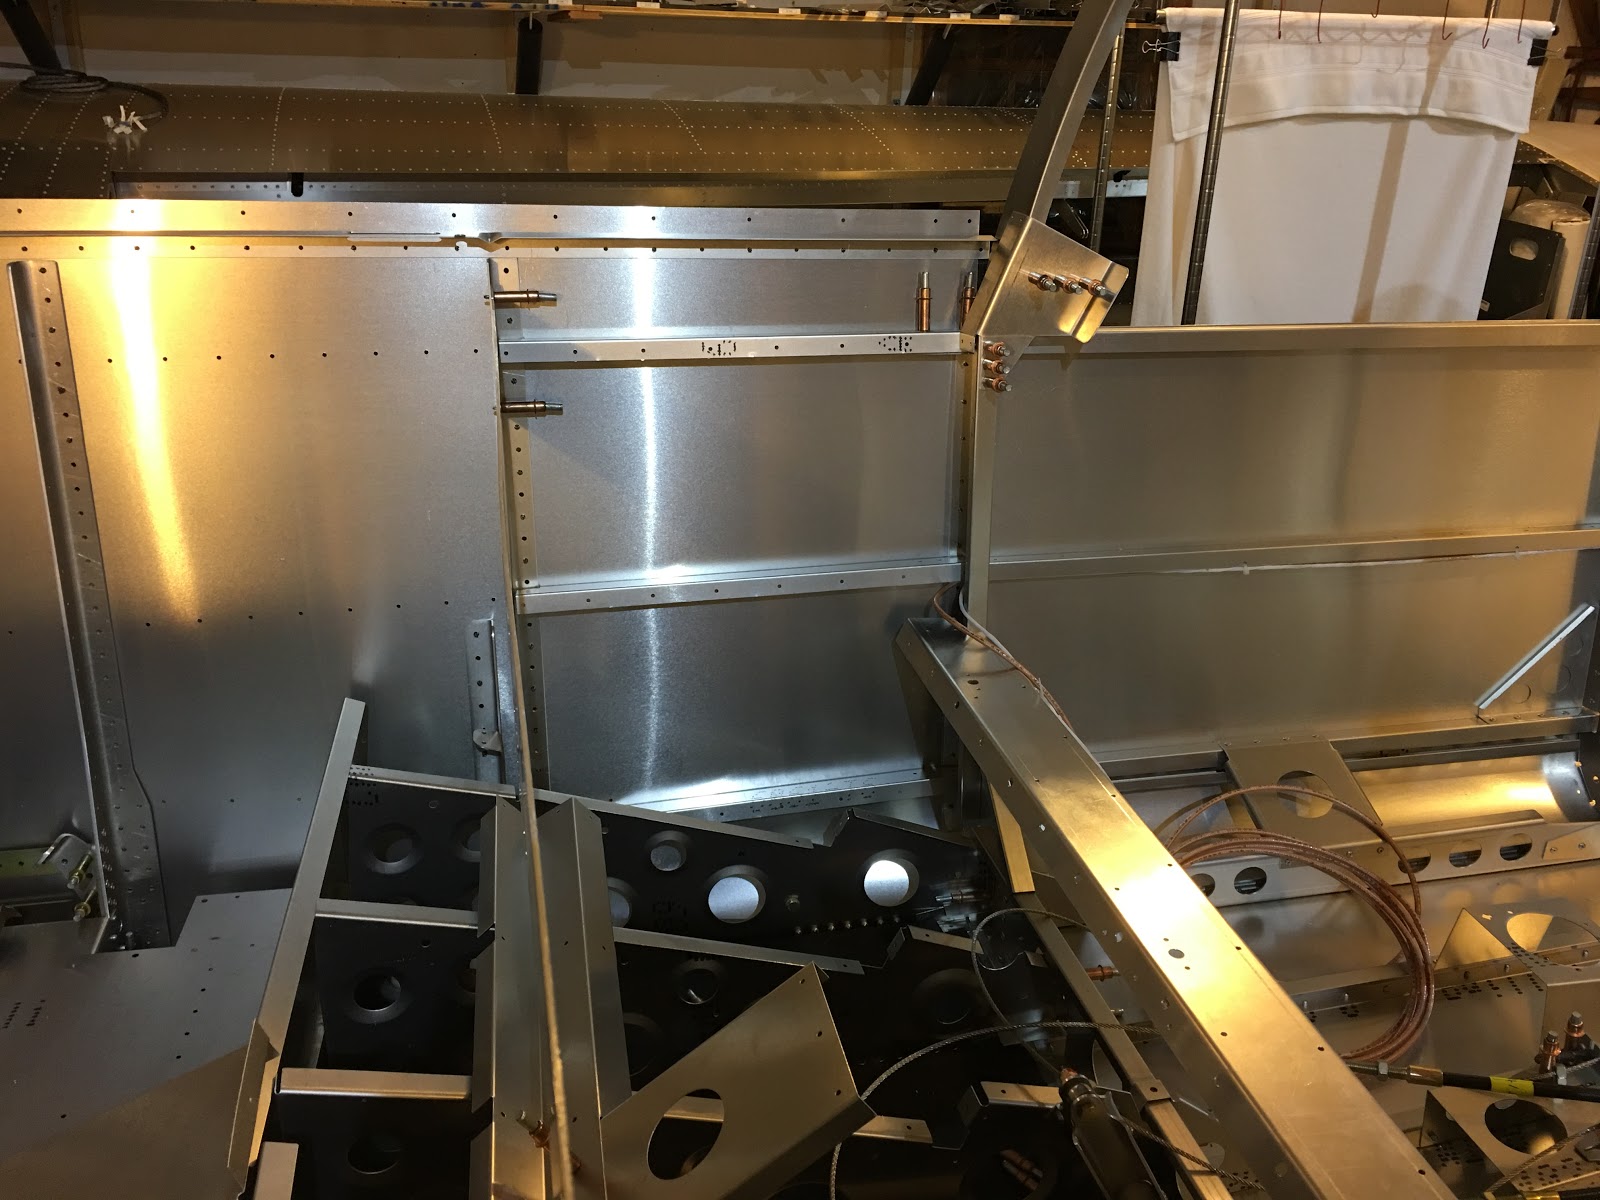
2 hrs. on the connection.
Working on these two angle pieces.
All hand-riveted. The top hole didn't have a matching hole in the cross brace. Drilled it out and riveted.
One side done. I'm going to hold off on doing the other side until the skins are back off as it's too difficult to reach in. The left side was easy because of the luggage door opening.
Match drilling the missing holes with my very handy tight-fit drilling accessory.
The forward ends of the longerons connecting the center and rear fuselage don't have their holes in the right place, so I drilled them out.
Categories
ailerons
(16)
avionics
(141)
electrical
(180)
elevator
(23)
Empennage
(55)
firewall forward
(222)
flaps
(12)
fuel cells
(68)
fuselage
(596)
horizontal stabilizer
(14)
instructions
(3)
interior
(104)
paint
(36)
Painting Planes
(3)
panel
(67)
propeller
(3)
rudder
(16)
seats
(5)
ServiceBulletin
(1)
shop
(33)
Sling Central
(23)
tools
(41)
vertical stabilizer
(20)
video
(37)
welcome
(22)
wheels
(44)
wings
(147)
Wednesday, January 25, 2017
Tuesday, January 24, 2017
1.5 hr firewall and center/rear connection.
I don't recall if I mentioned it previously, but the hole pitch of the channel on the other side does not match the pitch of the firewall and plate (seen here). The factory advised to just drill it out to match the plate.
All drilled out, reamed, cleaned and riveted all the way across.
At the connection, the top longeron's holes match the rear longeron, but the next two down the rear's longerons don't have holes at all, so those will have to be drilled out. Now that I'm sure the fuselage is properly angled (the skin holes are nearly all cleco'ed) I feel confident doing this now.
Close-up of the 2nd one down, so you can see no holes in the rear's longeron.
View of the right side's longeron's in place. Same drilling will be necessary on that side.
Riveted two center fuselage ribs on each side to the rear's cross brace.
The long view from the rear. Looking good! :-)
I don't recall if I mentioned it previously, but the hole pitch of the channel on the other side does not match the pitch of the firewall and plate (seen here). The factory advised to just drill it out to match the plate.
All drilled out, reamed, cleaned and riveted all the way across.
At the connection, the top longeron's holes match the rear longeron, but the next two down the rear's longerons don't have holes at all, so those will have to be drilled out. Now that I'm sure the fuselage is properly angled (the skin holes are nearly all cleco'ed) I feel confident doing this now.
Close-up of the 2nd one down, so you can see no holes in the rear's longeron.
View of the right side's longeron's in place. Same drilling will be necessary on that side.
Riveted two center fuselage ribs on each side to the rear's cross brace.
Monday, January 23, 2017
3 hrs. working on the center/rear fuselage connection.
Put on the side skins and you can clearly see how some angling will be required to make the connection.
Need to take off the firewall strip cleco's to add the skin to the layers.
Cleco's off.
Cleco's back on. Not too bad.
Looking down the side.
Finished up the 4mm rivets underneath.
Had my wife help in holding up the rear fuselage to get the holes to line up. I literally did some light and heavy shaking and moving of the fuselage to get things (mainly the line of overlapping side skin holes of the center and rear fuselage) to jiggle into place.
Looking over the firewall.
View down.
Put on the side skins and you can clearly see how some angling will be required to make the connection.
Need to take off the firewall strip cleco's to add the skin to the layers.
Cleco's off.
Cleco's back on. Not too bad.
Looking down the side.
Finished up the 4mm rivets underneath.
Had my wife help in holding up the rear fuselage to get the holes to line up. I literally did some light and heavy shaking and moving of the fuselage to get things (mainly the line of overlapping side skin holes of the center and rear fuselage) to jiggle into place.
Looking over the firewall.
View down.
Sunday, January 22, 2017
I'm going to take today off from working on the plane, but I did update the Task List with the latest.
Saturday, January 21, 2017
2 hrs. mostly on connecting the center and rear fuselage.
Spent a good amount of time lifting and angling to get the sections properly lined up with the right angle between them.
And the connection is made! It will be a bit tricky to get a manual riveter in between ribs to connect them, but it's do-able.
Since my fuselage is an earlier rev there is a single line of rivets connecting the skins. I've been informed that for mine I needed to ream out the holes to 4mm. Here I've started that reaming process.
Half done! Next half tomorrow.
Spent a good amount of time lifting and angling to get the sections properly lined up with the right angle between them.
And the connection is made! It will be a bit tricky to get a manual riveter in between ribs to connect them, but it's do-able.
Since my fuselage is an earlier rev there is a single line of rivets connecting the skins. I've been informed that for mine I needed to ream out the holes to 4mm. Here I've started that reaming process.
Half done! Next half tomorrow.
Friday, January 20, 2017
2.5 hrs on the firewall.
Hmm, holes don't match up... The channel's holes are closer together than the firewall and...
...the plate on the other side. Question into the factory on this.
This support channel (not mentioned in the manual) goes here. It does overlap the reinforcing piece above it so...
...I cut out a notch.
Cleco'ed up and ready to rivet.
Test fit of the engine mount, which while tight, fit.
Except for the top channel (see the question above), it's all riveted. The mounting strips around the edge does not get done until the skins get put on.
Inside view of the bottom.
Full view of the inside.
Hmm, holes don't match up... The channel's holes are closer together than the firewall and...
...the plate on the other side. Question into the factory on this.
This support channel (not mentioned in the manual) goes here. It does overlap the reinforcing piece above it so...
...I cut out a notch.
Cleco'ed up and ready to rivet.
Test fit of the engine mount, which while tight, fit.
Except for the top channel (see the question above), it's all riveted. The mounting strips around the edge does not get done until the skins get put on.
Inside view of the bottom.
Full view of the inside.
Thursday, January 19, 2017
2 hrs. on the firewall.
In consultation with the factory and other builders I will not put on the side skins until much later in the build. I will join the center and rear without the sides on. That should be just fine.
It will make working on the wiring much easier.
Time to rivet down these parts. Had to bend the rivet mandrel for a few of the rivets to pull them.
Firewall back on.
This part, CF-ANG-026 goes on the bottom of the firewall before those two side braces (it goes under them). This part is not mentioned in the manual.
Starting to put on the two mounting strips which wrap around the firewall. I heard this was bad, but I didn't find it to be too bad. Started at the top and worked my way around. The manual says to start at the bottom, but other builders have said to start at the top and that worked for me.
Working my way around.
Keep going....
One side done.
This support bracket (FF-ANG-001) goes on after.
Both sides done.
In consultation with the factory and other builders I will not put on the side skins until much later in the build. I will join the center and rear without the sides on. That should be just fine.
It will make working on the wiring much easier.
Time to rivet down these parts. Had to bend the rivet mandrel for a few of the rivets to pull them.
Firewall back on.
This part, CF-ANG-026 goes on the bottom of the firewall before those two side braces (it goes under them). This part is not mentioned in the manual.
Starting to put on the two mounting strips which wrap around the firewall. I heard this was bad, but I didn't find it to be too bad. Started at the top and worked my way around. The manual says to start at the bottom, but other builders have said to start at the top and that worked for me.
Working my way around.
Keep going....
One side done.
This support bracket (FF-ANG-001) goes on after.
Both sides done.
Subscribe to:
Posts (Atom)