I'm back from vacation and will be working on the plane again within a day. Before then I want to extensively update my Task List so I know what I will be working on moving forward in much more detail.
On my vacation I got to meet fellow Sling builder and co-administrator of the Sling Builder's group on Facebook, Pascal Latten.
Here's us meeting in his really great workshop with our Sling Bling.
Categories
ailerons
(16)
avionics
(141)
electrical
(180)
elevator
(23)
Empennage
(55)
firewall forward
(222)
flaps
(12)
fuel cells
(68)
fuselage
(596)
horizontal stabilizer
(14)
instructions
(3)
interior
(104)
paint
(36)
Painting Planes
(3)
panel
(67)
propeller
(3)
rudder
(16)
seats
(5)
ServiceBulletin
(1)
shop
(33)
Sling Central
(23)
tools
(41)
vertical stabilizer
(20)
video
(37)
welcome
(22)
wheels
(44)
wings
(147)
Thursday, September 21, 2017
Saturday, September 9, 2017
I added a link to the Panel Planning Page in the Other Stuff menu item above. Easier to get to it that way.
I've also started to update several other pages in that group, including the firewall forward and painting pages.
2 hrs. re-ding the rudder springs, working on parachute box and searching for a part...
M5 washer in place and the hook part crimped a bit to wrap around the bolt better.
And back in place. I'll leave the other end unconnected for now because you need to do that later when you're adjusting the rudder rigging.
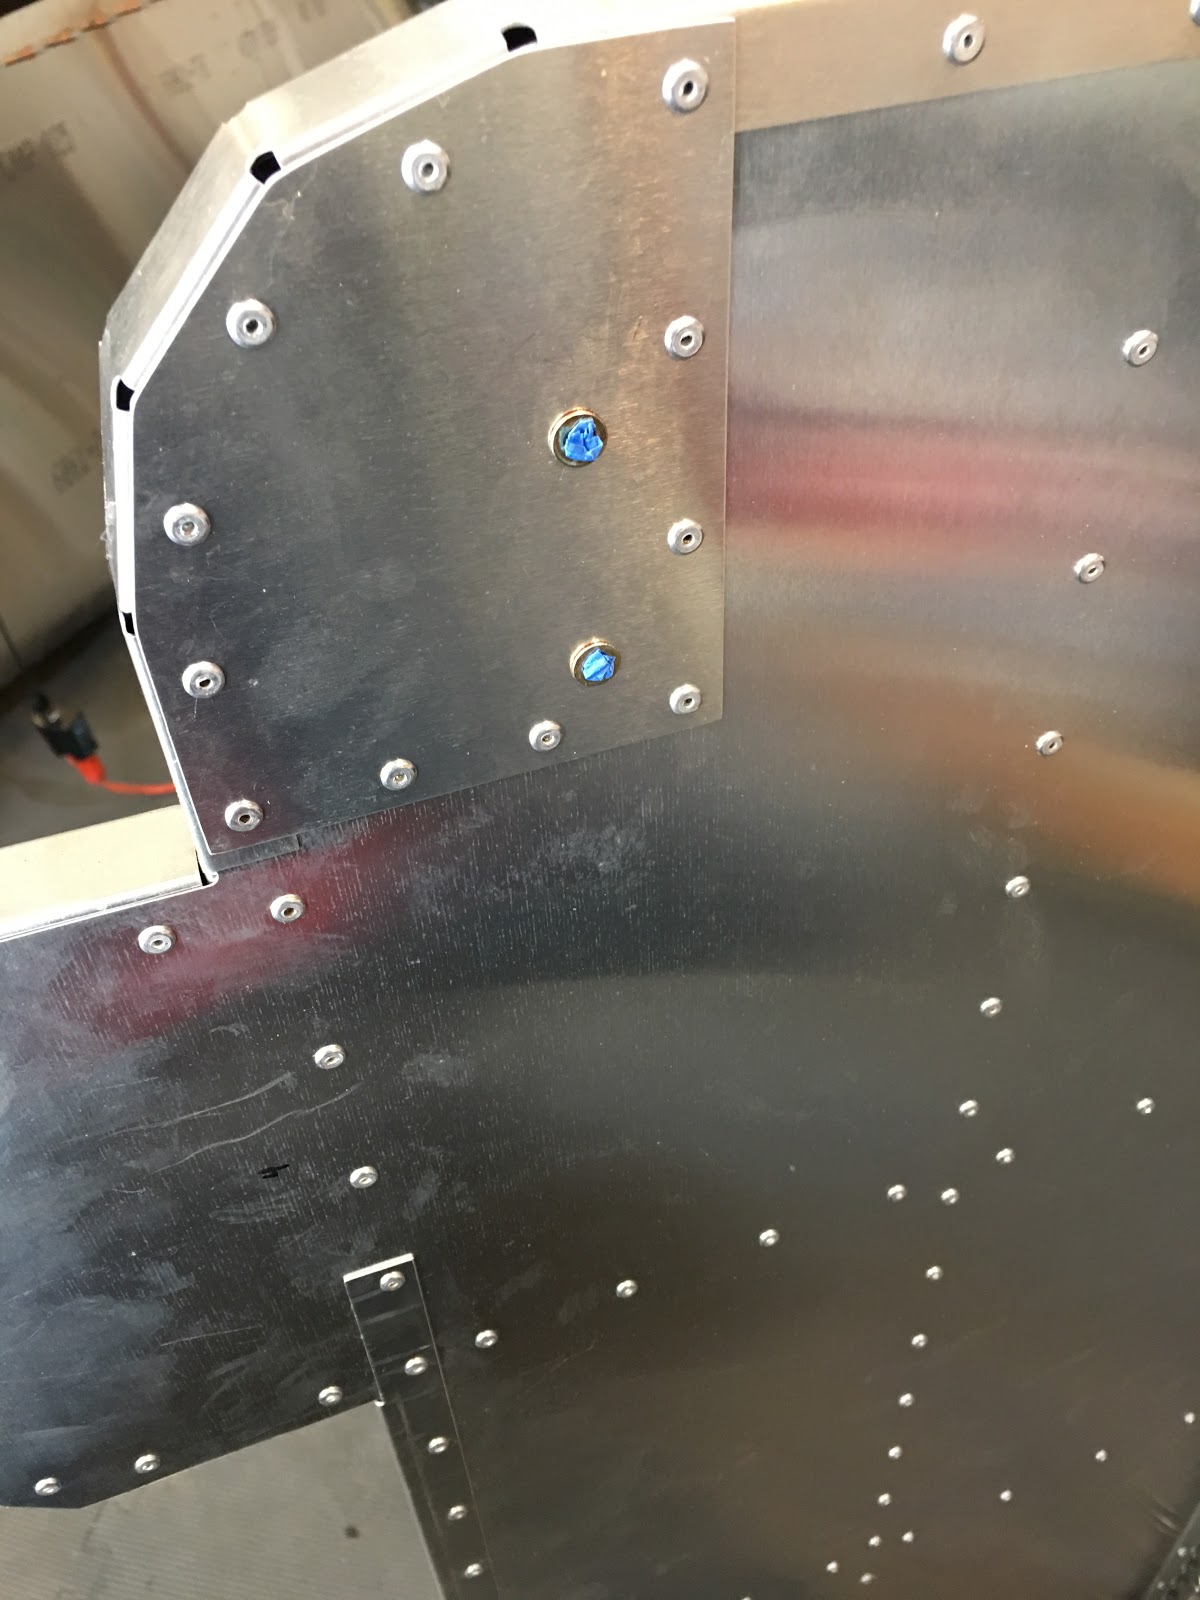
One of the pictures in the manual I could see that this cutout of the parachute box has edge grommet, so I put it on mine.
The latest manual shows that I needed to cut this opening in the parachute box large and put on edge grommet.
Marked and ready for cutting with my...
...favorite snips, Andy Snips. You can get them here: http://amzn.to/2wQGpd7
Cut and filed.
And edged with grommet.
Thinking about installing my luggage floor, I went to look for the small angle bracket that goes under the floor (one on each side).... I'm pretty sure I had them on the left side of my workbench for several months, waiting to be used. Went to look... Gone. I searched high and low, but they seem to have gotten up and walked away. :-(.
M5 washer in place and the hook part crimped a bit to wrap around the bolt better.
And back in place. I'll leave the other end unconnected for now because you need to do that later when you're adjusting the rudder rigging.
One of the pictures in the manual I could see that this cutout of the parachute box has edge grommet, so I put it on mine.
The latest manual shows that I needed to cut this opening in the parachute box large and put on edge grommet.
Marked and ready for cutting with my...
...favorite snips, Andy Snips. You can get them here: http://amzn.to/2wQGpd7
Cut and filed.
And edged with grommet.
Thinking about installing my luggage floor, I went to look for the small angle bracket that goes under the floor (one on each side).... I'm pretty sure I had them on the left side of my workbench for several months, waiting to be used. Went to look... Gone. I searched high and low, but they seem to have gotten up and walked away. :-(.
Thursday, September 7, 2017
1hr. misc.
Formally hired SteinAir to do my panel! They have a large backlog, so it will actually be a few months before I'll see that panel. Which is fine since I have a lot to do before then...
These are the right tools for labeling your wiring and tubing.
Label Maker: http://amzn.to/2wMTCEC
Label Tape: http://amzn.to/2eKjVke
Time to connect the rudder tensioners (I had forgotten the springs go there... ;-)). Attach the bolt end first...
...then the cable end. Bolts tightened and marked with torque paint. The brackets are not screwed down until the very end when you're rigging the rudder. EDIT: I'll have to redo the bolt end since I forgot the washer that should go over the spring hook... Ugh...
Time to do some better labeling of wires that I hadn't labeled properly yet...
... and even the tubing.
I'll put these back on for now, even though they go on the outside of the seat fabric.
Formally hired SteinAir to do my panel! They have a large backlog, so it will actually be a few months before I'll see that panel. Which is fine since I have a lot to do before then...
These are the right tools for labeling your wiring and tubing.
Label Maker: http://amzn.to/2wMTCEC
Label Tape: http://amzn.to/2eKjVke
Time to connect the rudder tensioners (I had forgotten the springs go there... ;-)). Attach the bolt end first...
...then the cable end. Bolts tightened and marked with torque paint. The brackets are not screwed down until the very end when you're rigging the rudder. EDIT: I'll have to redo the bolt end since I forgot the washer that should go over the spring hook... Ugh...
Time to do some better labeling of wires that I hadn't labeled properly yet...
... and even the tubing.
I'll put these back on for now, even though they go on the outside of the seat fabric.
Wednesday, September 6, 2017
Monday, September 4, 2017
1 hr. doing the 2nd coat on the seats and misc. other things.
And how does that tail of the rudder cable reach the M5 bolts on the divider? Why do I get the feeling I didn't thread that cable correctly?... The bolts aren't in this pic, but the M5 rivnuts are.
2nd coat (waited 48 hours as per the instructions) done.
Checking that the big M10 bolts thread through the holes here and.....
...here. And they do. I've heard it's much harder to get them to all line up.... I'm probably at least 2 months from trying that.
And how does that tail of the rudder cable reach the M5 bolts on the divider? Why do I get the feeling I didn't thread that cable correctly?... The bolts aren't in this pic, but the M5 rivnuts are.
2nd coat (waited 48 hours as per the instructions) done.
Checking that the big M10 bolts thread through the holes here and.....
...here. And they do. I've heard it's much harder to get them to all line up.... I'm probably at least 2 months from trying that.
Saturday, September 2, 2017
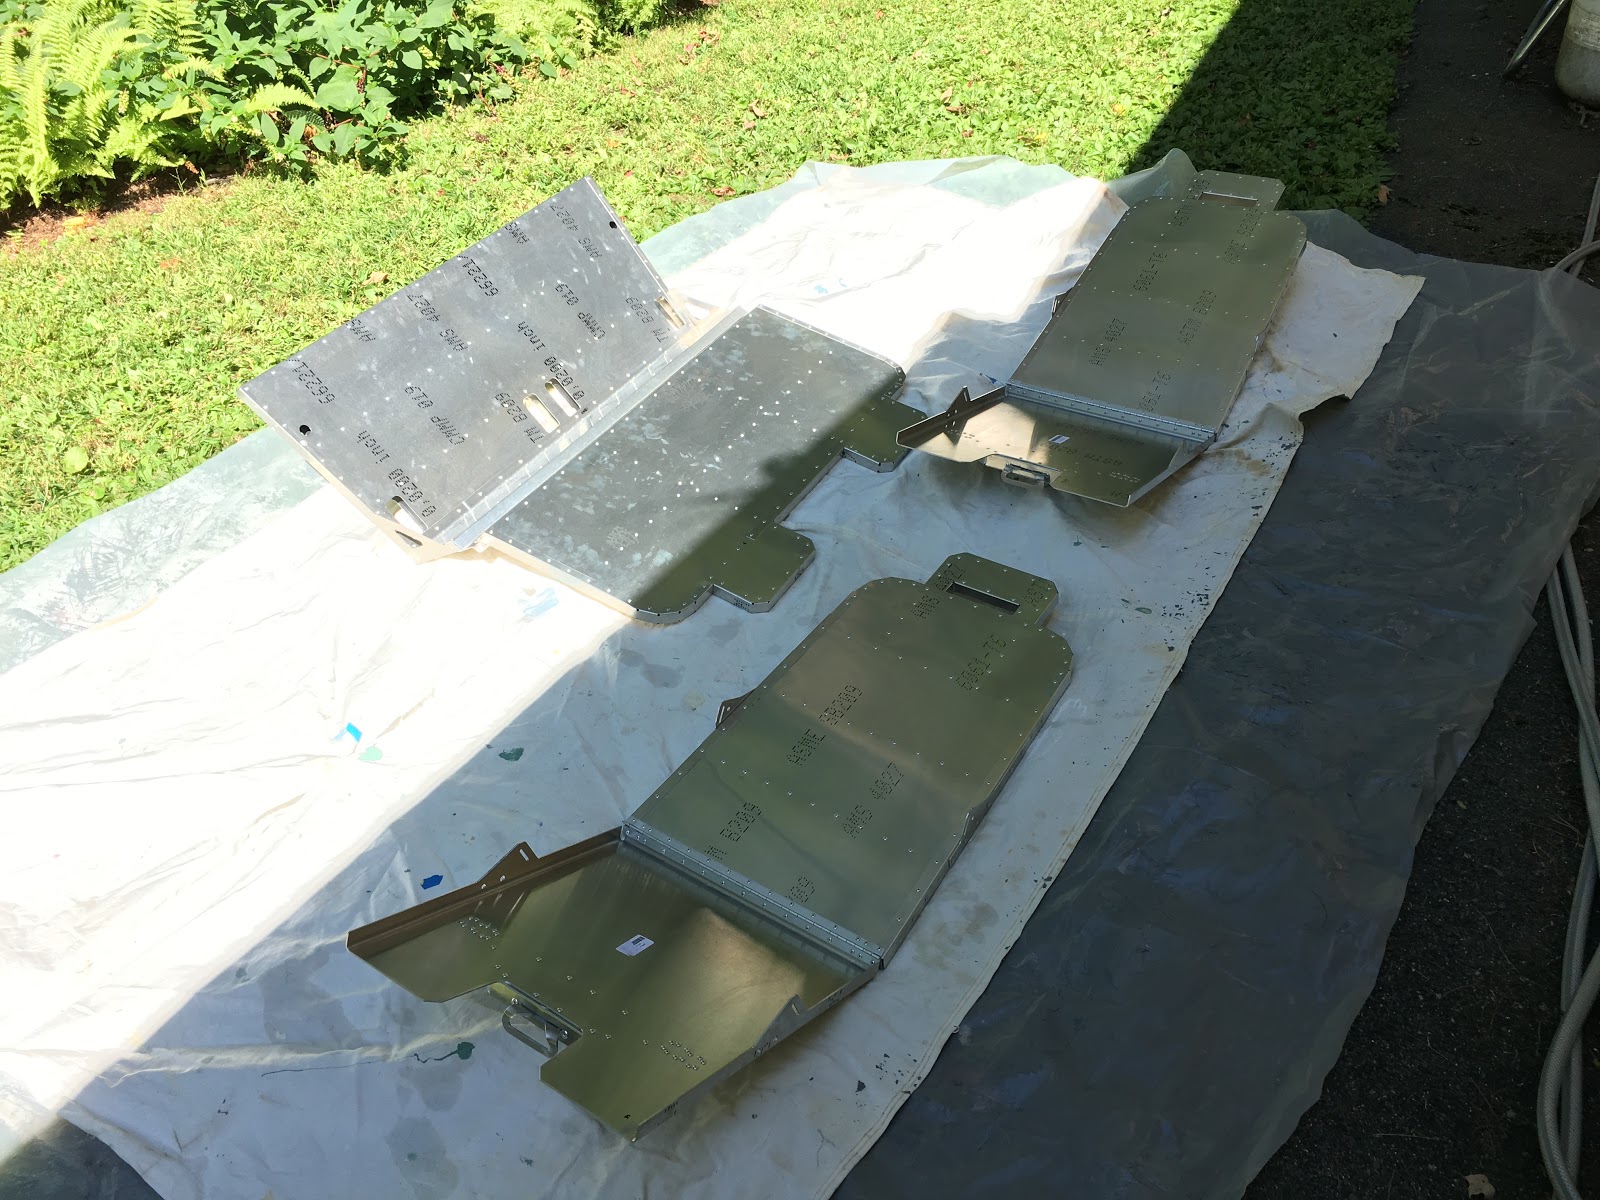
2 hrs. painting the seats.
This is the industrial-strength paint I'm using (thanks JimP for the pointer!). You won't find this in Home Depot...
Makes it way easier to paint with cans.
Plug these holes so that I don't get paint in there.
Washed and ready to paint.
First coat done. You have to wait at least 48 hours before doing another coat.
This is the industrial-strength paint I'm using (thanks JimP for the pointer!). You won't find this in Home Depot...
Makes it way easier to paint with cans.
Plug these holes so that I don't get paint in there.
Washed and ready to paint.
First coat done. You have to wait at least 48 hours before doing another coat.
Subscribe to:
Posts (Atom)