Subcribe to our RSS feeds Join Us on Facebook Follow us on Twitter Add to Circles

Categories

Sunday, April 30, 2017

1 hr. on the rear seat bottom.

The manual doesn't indicate the part numbers of the channels going in the seat bottom, but it was pretty easy to figure out (CHL-001, 002, 003).

Coming together.  The side plate holes are 3.2mm, but the holes in the seat side channels are 4mm, so I'll need to ream them to size.

Hmmm....  The pitch of the piano hinge holes does not match the pitch in the ANG part...  Time to ask the factory.


Saturday, April 29, 2017

3 hrs. on the back seat.  Finally updated my task list.

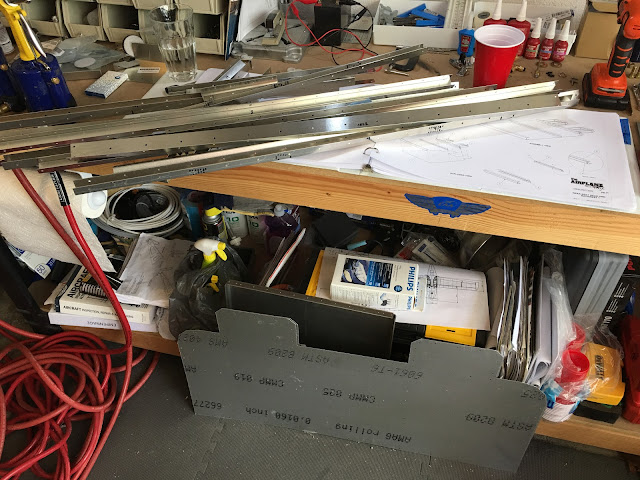
Pile-o-parts...

Coming together.

Does Cleco stand for something?  Can Literally Encourage Coplanar Organization? :-)

This goes here, but there are several missing holes and I'm not 100 % certain about the instructions.  On one page it says to rivet all of this down, but a few pages later it says the smaller piece gets attached via screws and rivnuts.

Front side all done.

Backside done except for the plate (I need to order a second one because they now recommend there be one on both ends).  Don't rivet the bottom line of holes as that is where the piano hinge attaches,

Monday, April 24, 2017

1 hr. working (with my wife) on the other seat's bottom.

Close to done.  Maybe finish tomorrow.

Sunday, April 23, 2017

Boy, I really wanted to work on it this weekend.... But, way too many things got in the way....  Definitely working on the second front seat tomorrow night!


Wednesday, April 19, 2017

1 hr. finishing my seat. :-)

Hmm, the plastic piece sticks up a bit, so time to grind that down a bit with a drum sander on my Dremel.

Much better.

And it's attached to the seat bottom.

And the bottom and back are riveted together.

Nice!  I'm hearing airplane sounds! :-)

Monday, April 17, 2017

1 hr. completing one of the front seat adjustment assemblies.

Slack helps to be able to get the cable around the pull handle.  Thanks JimP for the idea!

That wasn't so hard!

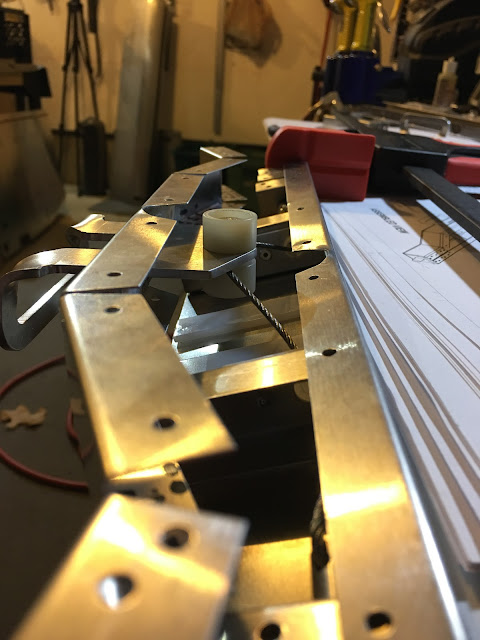
Sandwiched between the handle and the lower plastic piece.  Remember to keep the parts centered on the cable as you tighten the bolt.

And it's together.

And a pull retracts the pins.

Top view of the completed part.  Note that this side is not riveted yet.

This side is riveted.

Sunday, April 16, 2017

2.5 hrs. on the throttle/brake assembly and the front seat bottom adjustment mechanism.

The pattern of holes on my part doesn't match the manual so I figured out the closest matching holes for the stop bolts.

If you over-tighten those bolts it just beings these pieces together, which you don't want to do, so don't over-tighten.

Starting on the seat adjustment assembly.  I figured out that the plastic pieces connecting to the channels would be easier to rivet before putting in the channels.

 There were a couple of holes missing so I used a rivet mandrel and a hammer to help locate where to drill the holes.

Moving right along...

Ended up having to drill out some of the rivets you see here...

The pin with the spring, washer and split pin inserted.

Coming together.

Uh oh, 10 of these rivets will need to come out...

Standard 8mm 3.2 sized rivets aren't long enough to engage the 2 layers of plastic here, so I drilled it out to 4.0 and used those instead (10mm long, which is just barely long enough).

Rivets drilled out...

Hmmm...  How to get the plastic parts and associated hardware behind the cable while having basically no access underneath...

Unrelated to the above: I knew these parts went somewhere and I figured out where (with help from other blogs).  These go underneath these floor panels.

Saturday, April 15, 2017

1 hr. on the throttle/brake assembly.  Lots of hmmm's today....

Not clear in the manual, but you have to put Loctite 577 on these threads.

Both in place.

Hmmm.  You can see in the manual that the handle is not on when you assemble it, but my part already has the handle on.  Doesn't come off easily and I don't want to break it, so time to ask the factory how it comes off.  It won't go through the hole with the handle on.

The holes in these parts needed to be expanded to accommodate the valve part.

Hmmm..  The two ends of the elbow are different sizes and only the smaller side with the center piece can screw into the valve.  But, it doesn't appear to match the manual.  Actual pictures on the next page of the manual make this more clear.

Hmmm...  The brake handle only goes this far back.  The brake cylinder seems to prevent further motion.  Doesn't seem right.

Wednesday, April 12, 2017

1 hr. on the throttle/brake assembly.

Added a second set of blocks to the turbo gate and now it engages perfectly.

Past the gate.

Starting to gather parts for the next step.

Saturday, April 8, 2017

1.5 working on the throttle/brake assembly.

Does that lower M3 screw need to be so long?

Had to shorten this no-head M3 screw to a bit less than 25mm.

Hmm....  The block doesn't seem to engage the frame to do it's function of stopping forward motion of the throttle unless the turbo lever (is that what it's called?) is pulled up.  I have another set of blocks I can use to make it wider.  That should work.

Looking good!

Friday, April 7, 2017

1.5 hrs. working on the brake lever assembly and full brake/throttle assembly.

Tight fit, so this was the only way to line up the holes.

You can't see it but there are thin washers between the brake cylinder slot and the handle.  Made it pretty tight.

Rivnuts installed.

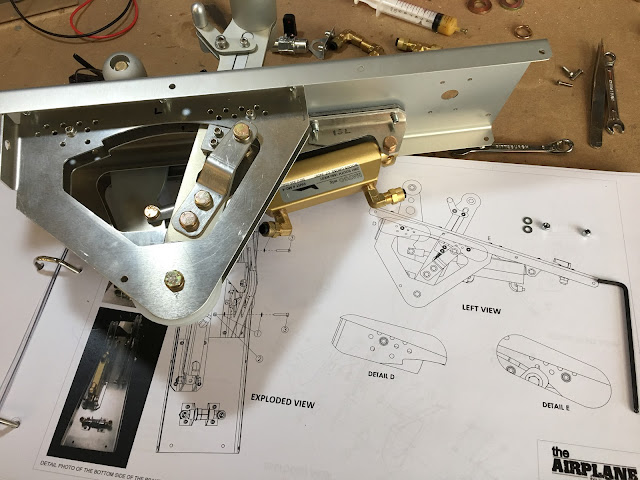
Brake cylinder assembled into the frame.

Another view.

Throttle and brake lever assemblies connected.

Top view.

Using my handy dandy electric screwdriver to drive the M3 screws quickly.

Top view.  Next will be the handle parts and the elbow fittings for the master brake cylinder.