Subcribe to our RSS feeds Join Us on Facebook Follow us on Twitter Add to Circles

Categories

Tuesday, September 25, 2018

1 hr. getting basically nothing done... :-(

I did get advice that I don't need to replace those firewall bolts.  They were only a bit over-torqued, so no need to replace the bolt.  I'll just replace the nuts and torque them properly.

File this under, "Nothing Takes 5 Minutes" category...  Was going to install the parachute cables to the firewall, which I thought would be 5 minutes (OK, 10)..  Nope.  The first tang I tried had bolt holes that were about 1mm too close together.  So, no way was the tang going on the two bolts.  I tried various methods to spread it and it didn't budge.

I looked at the other tang and it was about 1mm wider, so I tried that and it was a bit better, but it didn't just slide on...  Maybe some rawhide hammer encouragement will work when I try again tomorrow?... Of course, I don't want to damage the threads, so maybe the holes need to be slightly enlarged instead?  To be continued...

I'll still have the issue of the other tang being too narrow though...  As you can imagine these are very thick steel so don't yield easily... :-/
Just wanted to note that I've been emailing with Mike at the factory regarding the torquing of the firewall/engine mount bolts.  I'd read on blogs that these were torqued to 24Nm (17.7 ft-lbs), but this contradicted what was in the Sling 4 Maintenance Manual and what is standard torque for AN5 bolts, which is ~16Nm (11.8 ft-lbs) plus the friction drag.  More specifically, Van's aircraft's torque guide says 8.3 ft-lbs to 11.6 ft-lbs for AN5 bolts.

I've already torqued my lower bolts to 24Nm (though that felt tight to me) and I'm soon going to be torquing the upper bolts, so I wanted to double check.

Mike says that these should be torqued to 16Nm (plus friction drag, which the factory measures as 4Nm, so the factory torques to 20Nm (14.8 ft-lbs)), not 24Nm.  So... I need to remove the lower nuts, toss them and re-torque new nuts to 16Nm plus the friction drag, which I will measure first to confirm.

Anybody think I need to toss the bolts too?  As an experiment in the past I've over-torqued a nut and it didn't take much to destroy the bolt (it snapped into two pieces!).  I don't want to replace the bolts if I don't have to because if I pull the bolts then the engine mount holes will likely mis-align again and will be very difficult to re-line up with the firewall holes.

I'll likely replace the bolts too..

Another note: Make sure you have at least 1 full thread showing beyond the nut.  If you have more than 3 it's highly likely you're tightening against the shank and that is not good.  In that case it's often best to go with a shorter bolt (though adding another washer is possible, though that's a less ideal solution).

Sunday, September 23, 2018

Quick hour today for a couple of items.

Did the last row of rivets on the rear fuselage.

Finally did the row of rivets under the firewall.

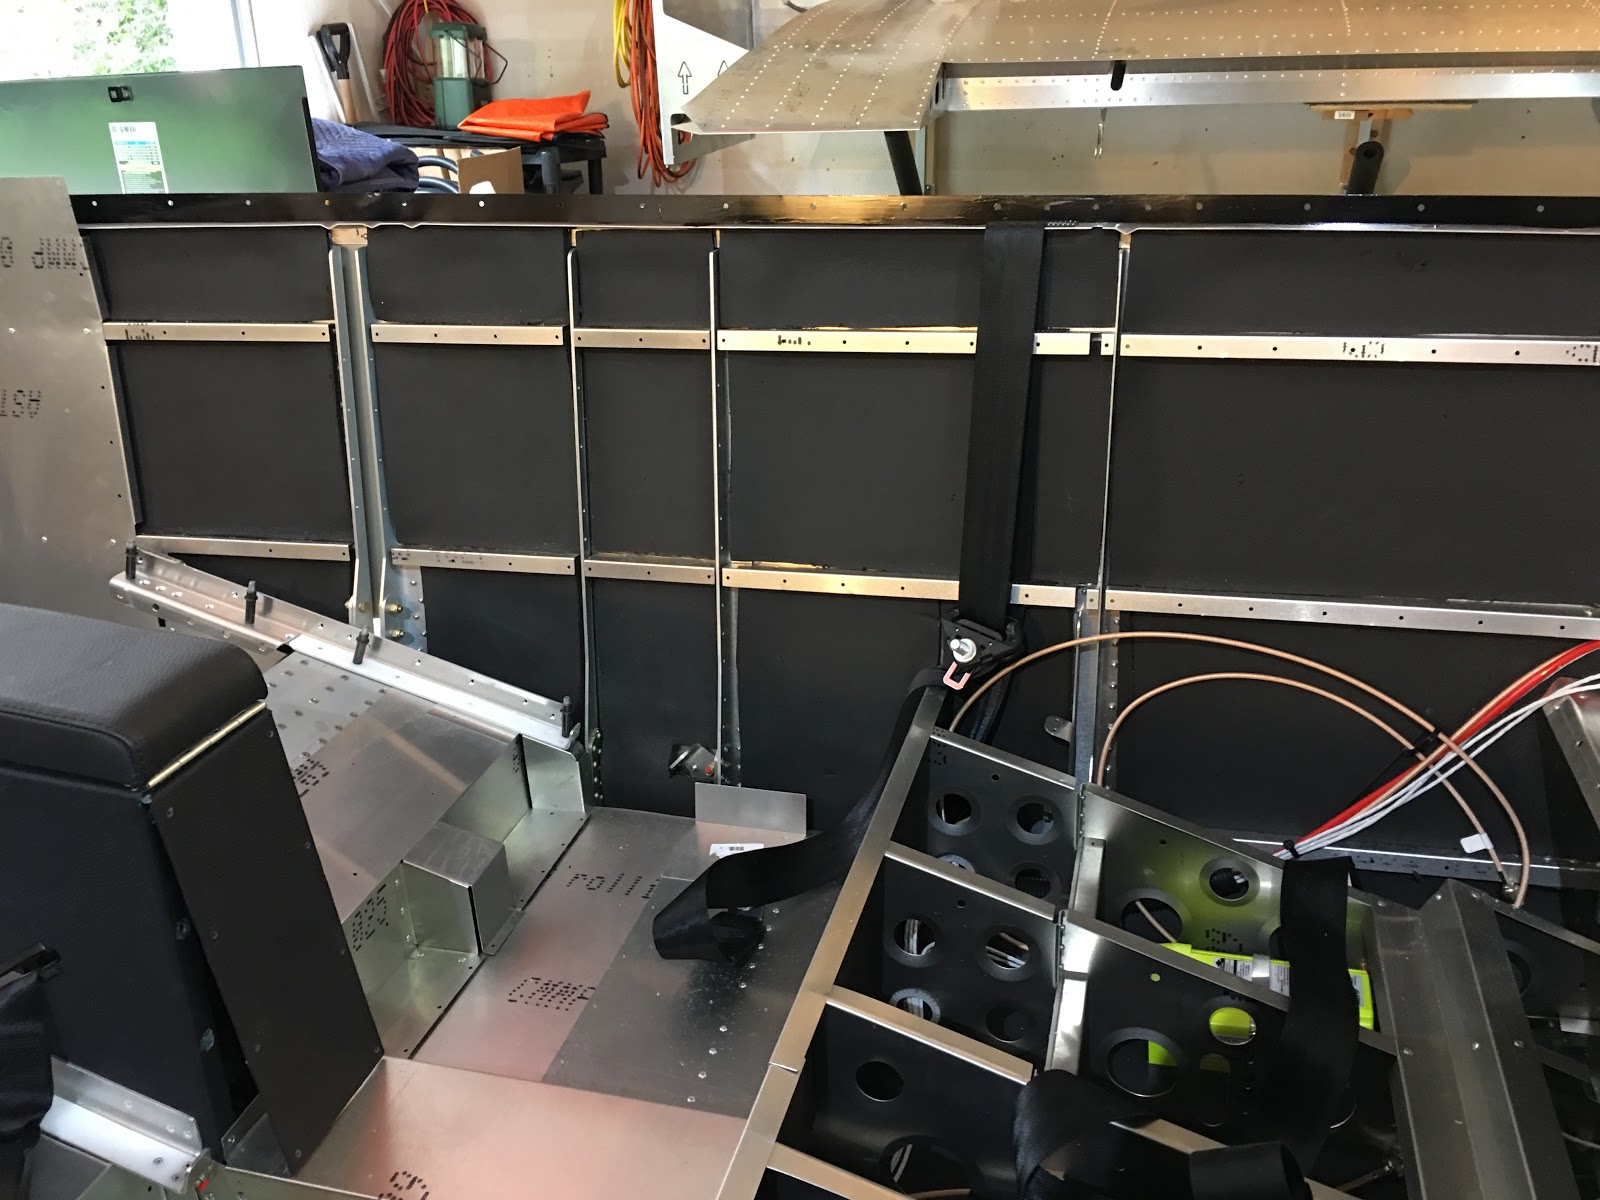
Put the parachute cables through the sub-panel slots in prep for attaching them to the firewall.

Saturday, September 22, 2018

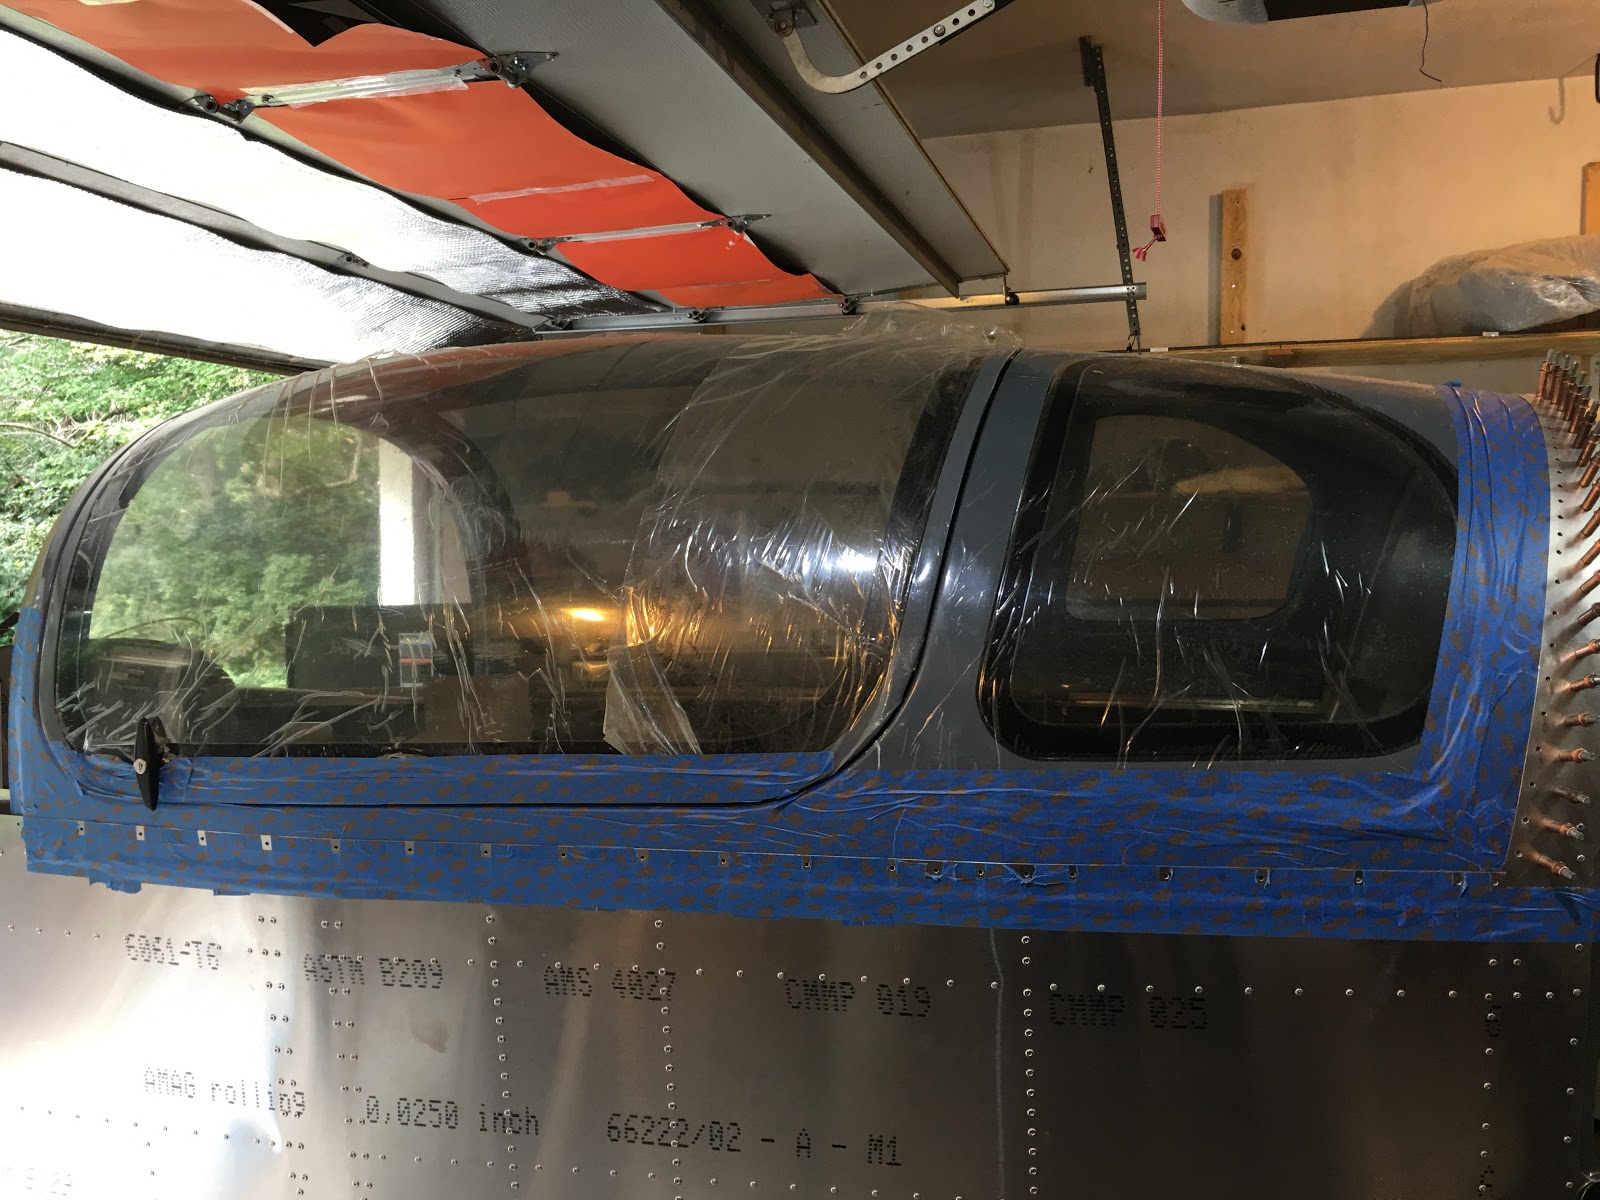
7 hrs. installing the canopy.

Reaming out all the holes to 4mm.

Close up of the 3 layers after reaming.

Time to confirm the holes needing dimpling.

I think one more will need dimpling than I determined the other night.

Six on this side.

Adding 2 holes at the bend on both sides.  Marked.

Pilot holes drilled.

And we're ready!

Canopy off...

Checking off the items on my checklist.

Kerry over to help with the whole process.  Thanks Kerry!

Inside abraded with Scotchbrite, cleaned with 205 and primed with 206 G+P.  NOTE #1: Don't put the primer in a plastic cup!  I tried that with a double layer of plastic cup and it ate through those two layers in about a minute!!  :-O
NOTE #2: When you pour out the primer into a not-plastic cup, put the inner seal and cap back on the primer container as quickly as possible - it is moisture activated and will start to dry when exposed.

Fiberglass cleaned and primed (same stuff).  EDIT: See that black on the wood support - that's the spilling primer after it ate through the plastic cups!

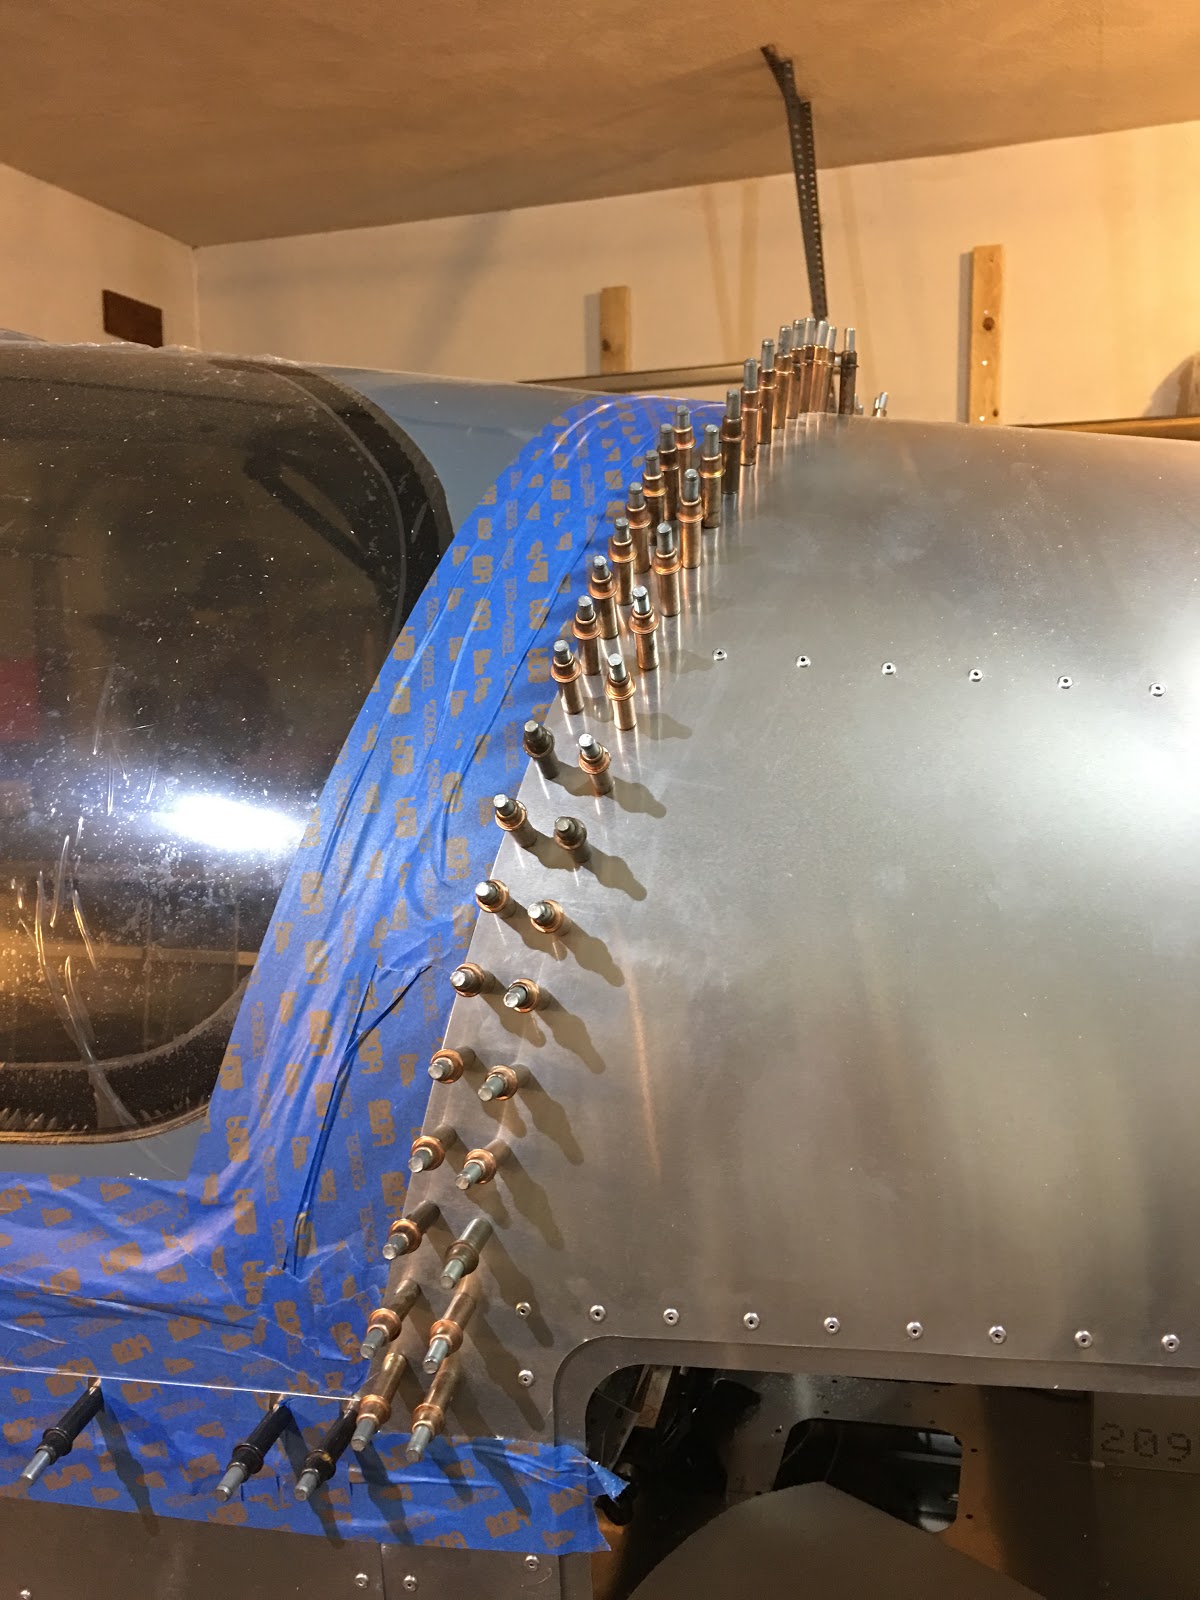
The Sikeflex was applied in a thin bead at the inside top of the skin and the canopy was put back in place.  Here it is after the riveting.  I ran my finger along the line to spread the Sikaflex and also manually applied it in places where it wasn't clear that it was completely sealed.

View up the rear rivet line.

And it's done!  No bulging between the rivets.


Thursday, September 20, 2018

2 hrs. on the canopy's rear rivet holes.  See the bottom of this post for the remaining items for installing the canopy.

All the holes are now drilled through the backing strip.  Notice that all my drilling is 3.2mm, not the final size of 4mm that I'm making all the holes.  With having to drill twice through these holes, once for the fiberglass and once for the backing strip, the holes are getting slightly enlarged.  But because I'm drilling with a 3.2mm bit, it doesn't matter because I'll be enlarging all of these with a 4mm chucking reamer bit, so they'll be perfect.  Some of the holes in the skin are already 4mm, but for those I'm just drilling in the middle of them with the 3.2mm bit to avoid damaging the holes.

Before I rivet I want to see if there are any more that need to be countersunk rivets (because they go under the parachute blowout cover) and this shows that some of these will need to be.

5 on this side (I think those 2 behind are also marked)...

...and 5 on this side (and the 2 behind).

Tedious process, but the strip is all drilled.  After this I put a dab of RTV between each hole and re-cleco'ed it back in place.  Let that dry overnight and then I can begin the process of reaming the holes out to 4mm.

The list of things remaining to put on the canopy (and the process of putting on the canopy as described by the factory to me):

  1. Ream out rear canopy holes to 4mm and re-cleco.
  2. Drill and ream out the 3 extra rivet holes on both sides where the canopy bends.
  3. Remove canopy from fuselage.
  4. Dimple holes that need it on top rear.
  5. Vacuum inside of fuselage (it's a mess from all the drilling!).
  6. Abrade inside of fuselage skins where the canopy will mate (sides and rear).
  7. Clean aluminum and fiberglass where mating with Sika Aktivator 205.
  8. Apply Sika Primer 206 G+P to aluminum and fiberglass where mating.
  9. Apply a thin bead of Sikaflex 295 UV to the top edge of the aluminum where mating.  Not much is needed since this is for sealing not bonding purposes (the rivets bond!).  Too much and it can cause the skin to bulge out.
  10. Put the canopy back in place and cleco every other hole (make sure there are no gaps in the sealant).
  11. Start riveting!  Make sure to use countersunk rivets where needed on top of rear.
  12. Clean up any stray Sikaflex and pull painter tapes.

Wednesday, September 19, 2018

Quick hour to drill more holes for the rear backing strip.

Drilling holes into the backing strip (3.2mm drill bit) one at a time.  Slow process as I have to hold a wood block to push against as I drill each hole and cleco it.  Lots of holes...

After all these holes are drilled I'll bond the strip in place with RTV.  Then all the holes along the rear of the canopy will be sized to 4mm with a chucking reamer.  With that done it will finally be time to permanently attach the canopy this weekend. :-D  Oh, I do need to drill the extra holes along the bend on the sides of the canopy.  I've seen several other builders do that because of the possibility of the skin bulging out due to the Sikaflex.

Sunday, September 16, 2018

3 hrs. on the canopy.

Most of the drilling is done, but still need to ream out the rear holes to 4mm.  Had pilot friend Kerry over today to help, because I really needed help with this step.  It's a little more difficult for me to do this alone, because my rear windows are already installed so it's tougher to reach in to hold things in place while I was drilling out the holes.

I used two strips for the rear, one on each side.

Marked the middle of the rear backing strip so that when I was drilling it out (to 3.2mm, not the final 4mm size, which it will be reamed out to once it's glued in place) I would be as close as possible to the middle.

I could see the line through the holes so I knew I wasn't close to the edge of the strip.

Voila!

Glued with RTV and cleco'ed in place.  Once it's dried I can ream it out to 4mm.

LOTS of holes!  Once all the holes are reamed out to 4mm (sides are done already) then it will finally be time to use the various Sika chemicals (cleaners, primers and Sikaflex) and riveting (all 4mm x 10) to permanently put it in place.  Since I won't have my help again until next weekend, I'll use the week to work on other pending items.