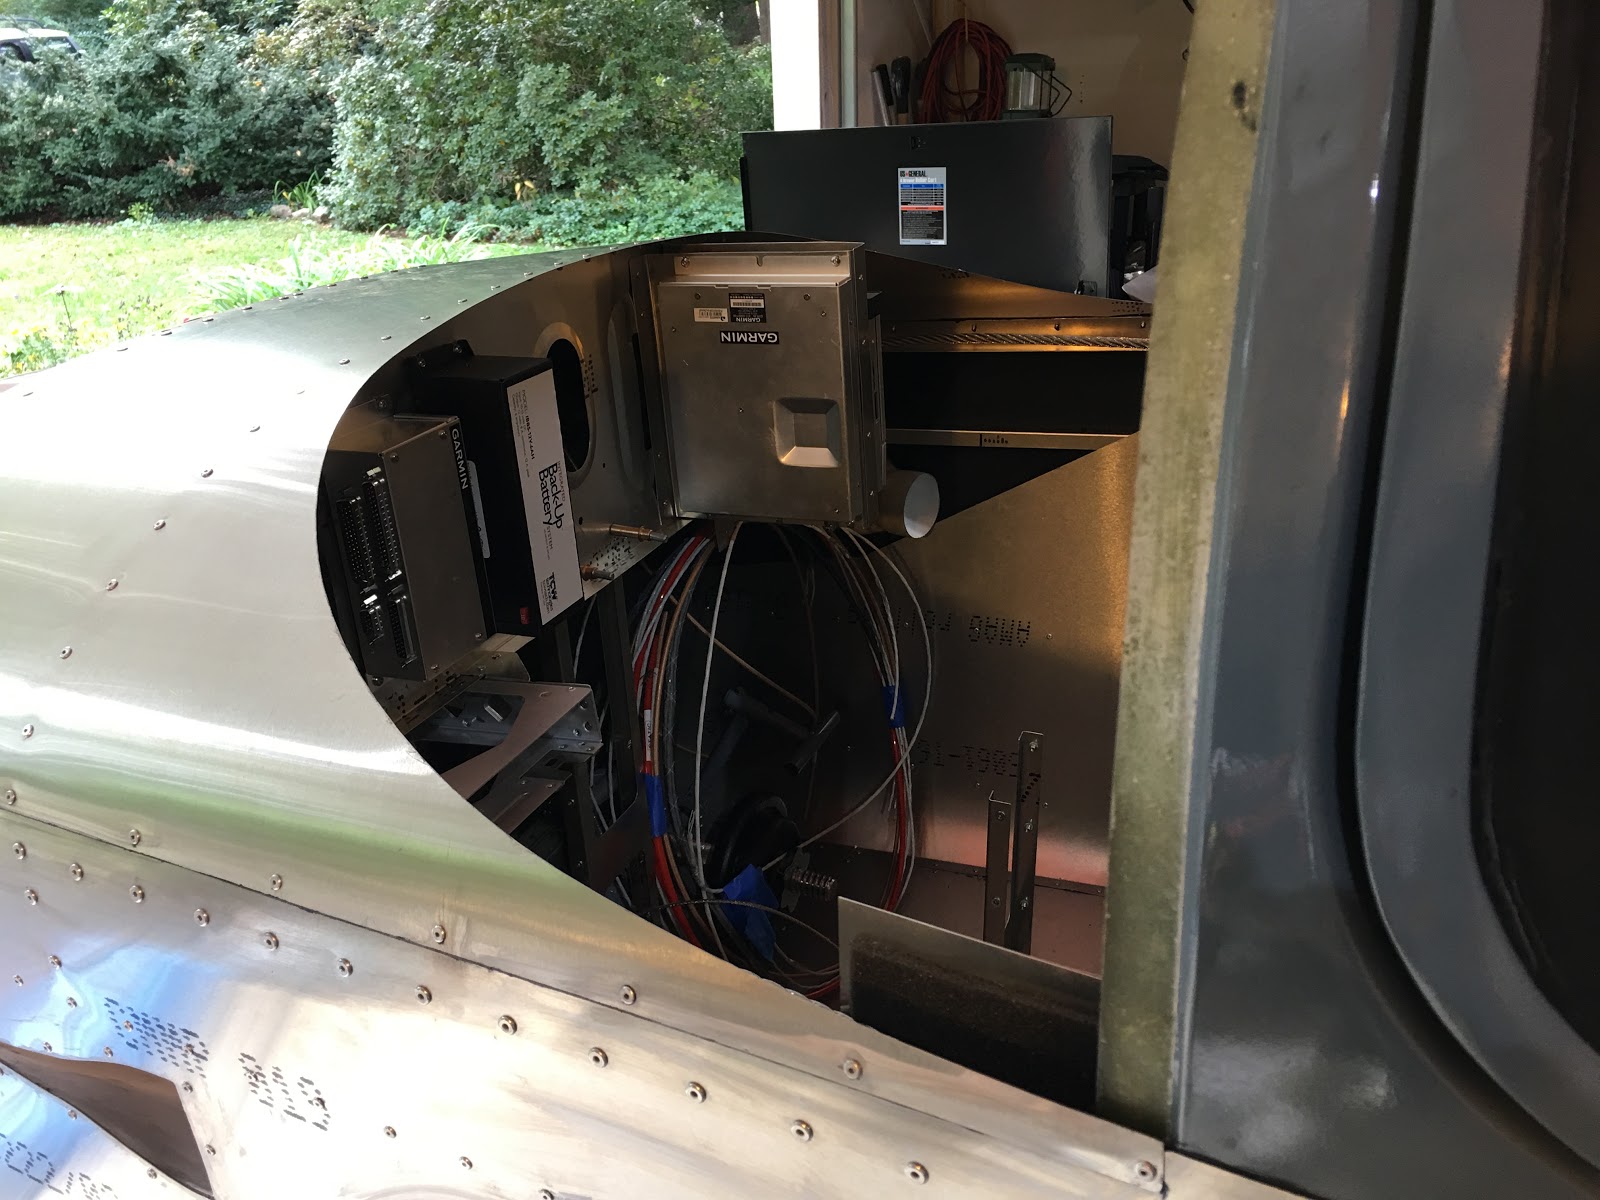
Quick half hour filling a gap in the front edge of the front top skin and test fitting the dash.
I noticed a couple of small gaps in my sealing of the front edge, so I did some touch-up.
Much better. You can get a sense from this photo of how many layers were being riveted there.
With that in place I figured why not do a test fit of the dash. I like it!
I'd certainly like to put this permanently in place, since that will enable me to install my panel, but want to make sure I have everything done behind there that can be done now (or would be very difficult later). Obviously I think it's time to rivet the sub-panel rib to the center support. I'll also put the transponder and VPX in their brackets before doing it (though those will be easily accessible after too). Anything else you can think of that should be done before riveting the dash in place?
The manual says to line up the top of the dash with the canopy front edge. I assume this is what that means?
Categories
ailerons
(16)
avionics
(141)
electrical
(180)
elevator
(23)
Empennage
(55)
firewall forward
(222)
flaps
(12)
fuel cells
(68)
fuselage
(596)
horizontal stabilizer
(14)
instructions
(3)
interior
(104)
paint
(36)
Painting Planes
(3)
panel
(67)
propeller
(3)
rudder
(16)
seats
(5)
ServiceBulletin
(1)
shop
(33)
Sling Central
(23)
tools
(41)
vertical stabilizer
(20)
video
(37)
welcome
(22)
wheels
(44)
wings
(147)
Monday, October 8, 2018
Saturday, October 6, 2018
4.5 hrs tightening the seat belt reel bolts and putting on the front top skin.
The bolt head of the seat belt reel. This view is from the boroscope I bought. I don't know how I'd do this without that useful tool.
And the wrench has docked! With help from a friend got both nuts torqued.
Time to put on the front top skin. Cleco'ing from underneath helped keep all 4 layers of metal lined up while working on this.
Working my way across.
Hmm... Pretty misaligned on the right side. I tried various cleco'ing patterns but it didn't make much difference - it was going to be off somewhere. So, I decided to upsize all these front holes to 4mm.
Getting the sub-panel rib cleco'ed wasn't too bad, but it did need encouragement.
All cleco'ed up and the front upsized.
Taping it off for the sealing.
Cleaned and primed.
The skin cleaned and primed. Note that I had already put on soundproofing material a while ago. Note that the primer is in a ceramic cup. This time I didn't make the mistake of putting it in a plastic cup, which it eats through in mere seconds.
I put a thin bead of the Sikaflex on the fuselage all the way around and re-cleco'ed the skin back on. Here it's all done! I neglected to put tape on the skin so it got on that in various places... And it dried pretty quick, so I couldn't just wipe it all off with paper towel. But, acetone cleaned it up no problem.
Inside view. Nice!
The bolt head of the seat belt reel. This view is from the boroscope I bought. I don't know how I'd do this without that useful tool.
And the wrench has docked! With help from a friend got both nuts torqued.
Time to put on the front top skin. Cleco'ing from underneath helped keep all 4 layers of metal lined up while working on this.
Working my way across.
Hmm... Pretty misaligned on the right side. I tried various cleco'ing patterns but it didn't make much difference - it was going to be off somewhere. So, I decided to upsize all these front holes to 4mm.
Getting the sub-panel rib cleco'ed wasn't too bad, but it did need encouragement.
All cleco'ed up and the front upsized.
Taping it off for the sealing.
Cleaned and primed.
The skin cleaned and primed. Note that I had already put on soundproofing material a while ago. Note that the primer is in a ceramic cup. This time I didn't make the mistake of putting it in a plastic cup, which it eats through in mere seconds.
I put a thin bead of the Sikaflex on the fuselage all the way around and re-cleco'ed the skin back on. Here it's all done! I neglected to put tape on the skin so it got on that in various places... And it dried pretty quick, so I couldn't just wipe it all off with paper towel. But, acetone cleaned it up no problem.
Inside view. Nice!
Friday, October 5, 2018
1 hr. looking through my remaining parts.
From the firewall forward kit... There's more on another table. Lots-o-parts...
Do these lights and misc. parts come with the canopy kit or the electrics kit? I don't have them (I didn't get the electrics kit, so maybe that's why?). Need to get them... Partly because I want to route the wires down the side channels so that I'll be closer to being able to install the rear interior side skin. How many cores of wire need to go down there?
From the firewall forward kit... There's more on another table. Lots-o-parts...
Do these lights and misc. parts come with the canopy kit or the electrics kit? I don't have them (I didn't get the electrics kit, so maybe that's why?). Need to get them... Partly because I want to route the wires down the side channels so that I'll be closer to being able to install the rear interior side skin. How many cores of wire need to go down there?
Thursday, October 4, 2018
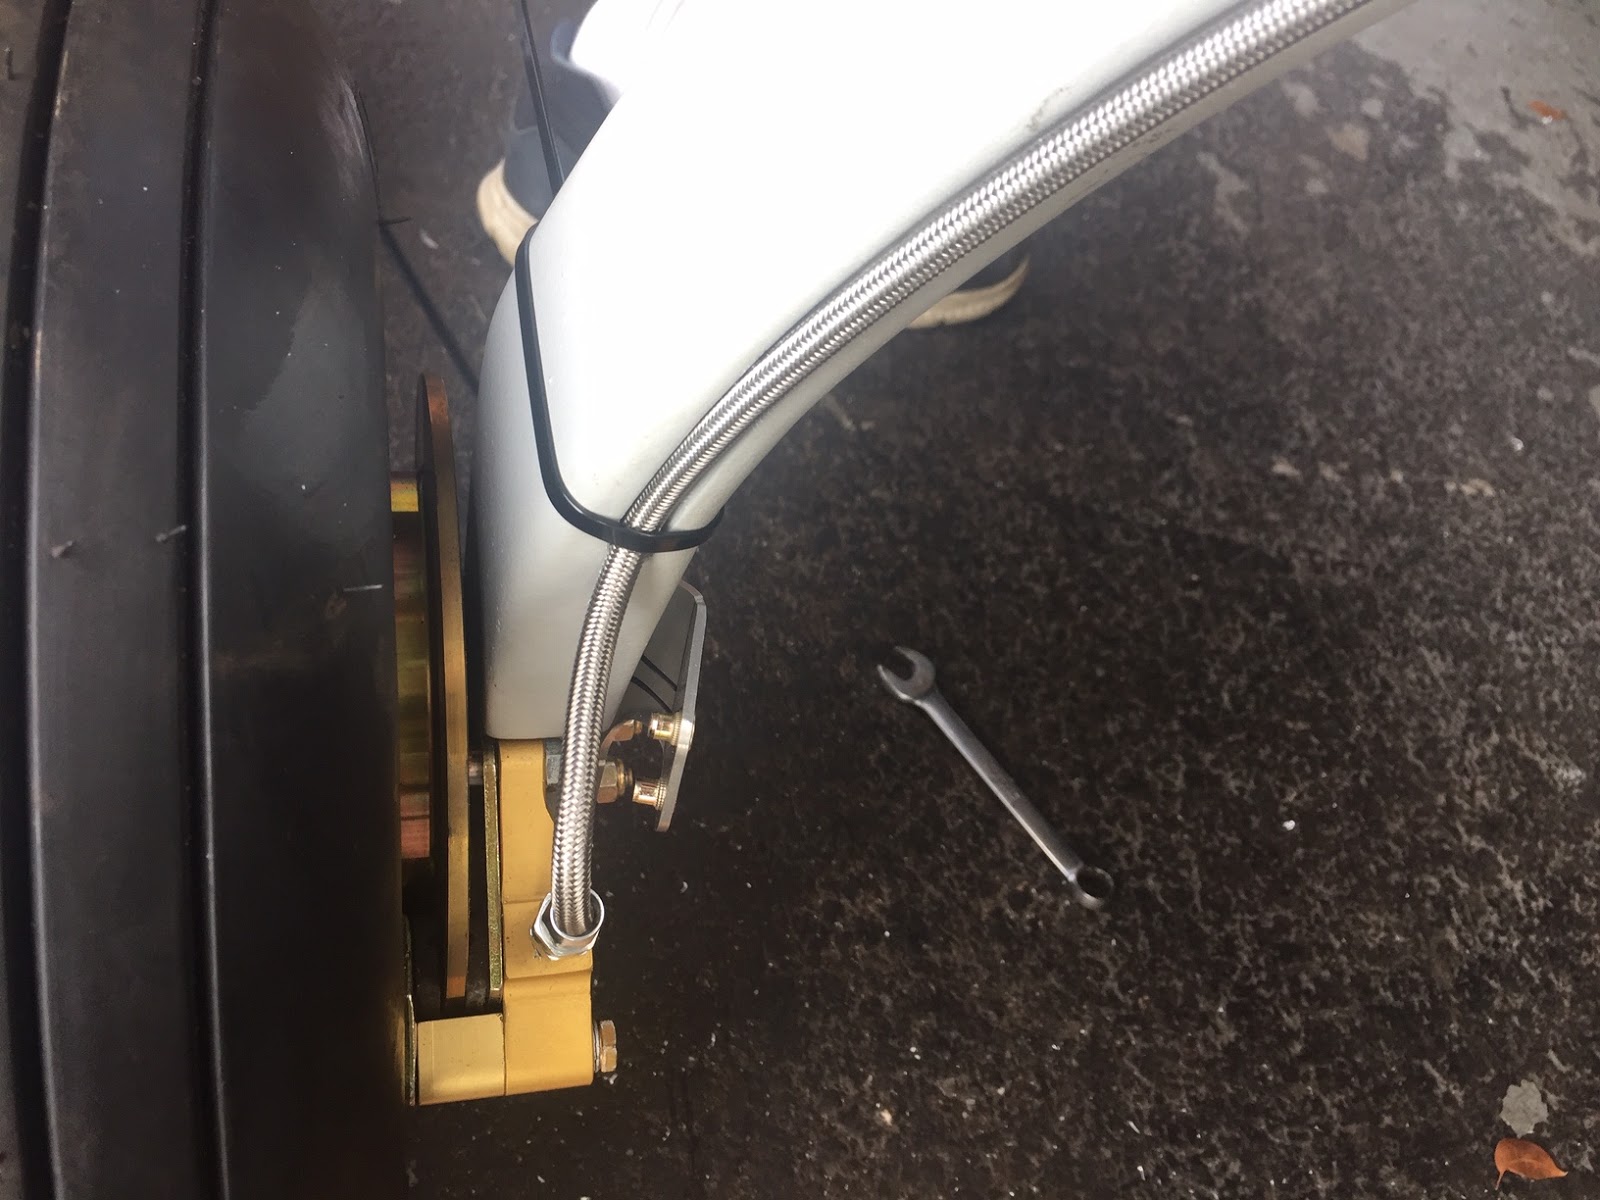
After discussing with BobZ (and seeing what others have done) I decided I'm going to use braided stainless steel hose for the external portion of the brake lines. Just makes more sense.
Here are pictures from what Bob did.
Now I just need to figure out how to route the plastic tubing through the center console area - it's very tight through there. I'll ask the factory if they have photos of that area and the routing.
Here are pictures from what Bob did.
Now I just need to figure out how to route the plastic tubing through the center console area - it's very tight through there. I'll ask the factory if they have photos of that area and the routing.
Tuesday, October 2, 2018
I didn't really do anything, but I was in the garage so I'll record it for the half hour I was in there. Just contemplating next moves really.
Looking at the tubing for the brake lines I did a quick guesstimate about how much I'll need and it doesn't look like I have enough. I'll look into buying some more. It's stiffer than I thought, so routing it through the fuselage to the brakes ought to be fun... :-O
I also heard from TAF SA that the factory did a mod to the end of the line where it connects to the brake caliper to ensure the plastic isn't too close the heat of the brakes. They fashioned a steel tube for the final few inches. I don't have that tube, so I'll look into fab'ing it myself.
Here are the drawings sent to me:
Looking at the tubing for the brake lines I did a quick guesstimate about how much I'll need and it doesn't look like I have enough. I'll look into buying some more. It's stiffer than I thought, so routing it through the fuselage to the brakes ought to be fun... :-O
I also heard from TAF SA that the factory did a mod to the end of the line where it connects to the brake caliper to ensure the plastic isn't too close the heat of the brakes. They fashioned a steel tube for the final few inches. I don't have that tube, so I'll look into fab'ing it myself.
Here are the drawings sent to me:
Monday, October 1, 2018
1 hr. not accomplishing much tonight.
I did find out a few of things from the factory:
My custom light saber in place to spot the locations for the screw holes. But, after turning out the lights I couldn't see the lights through the fiberglass (maybe a bit thicker than the other cover?). I'll try again another time.
I did find out a few of things from the factory:
- The hole and grommet shown on top of the main spats is not needed. This was mandated in South Africa by the regulators for brake pad inspection, but nobody uses it (I suppose if you really want to look at the brakes, you'd take off the cover). One less thing to do. ;-)
- The factory does not double the number of the holes for the front top skin, so I won't do that.
- The factory added a metal sleeve for where the brake line meets the brakes (still getting the details), so I will do that too.
This shot is from my boroscope to try and put a wrench on the seat belt reel bolt. Despite my good visibility it was hard to reach in from the outside (particularly with my short arms ;-)), so I'll need an assist with tightening those nuts.
My custom light saber in place to spot the locations for the screw holes. But, after turning out the lights I couldn't see the lights through the fiberglass (maybe a bit thicker than the other cover?). I'll try again another time.
Some good advice in this new video:
Also, this brand new book looks excellent (it's on my nightstand waiting to be read). Mike Busch is a real engine expert.
Subscribe to:
Posts (Atom)