


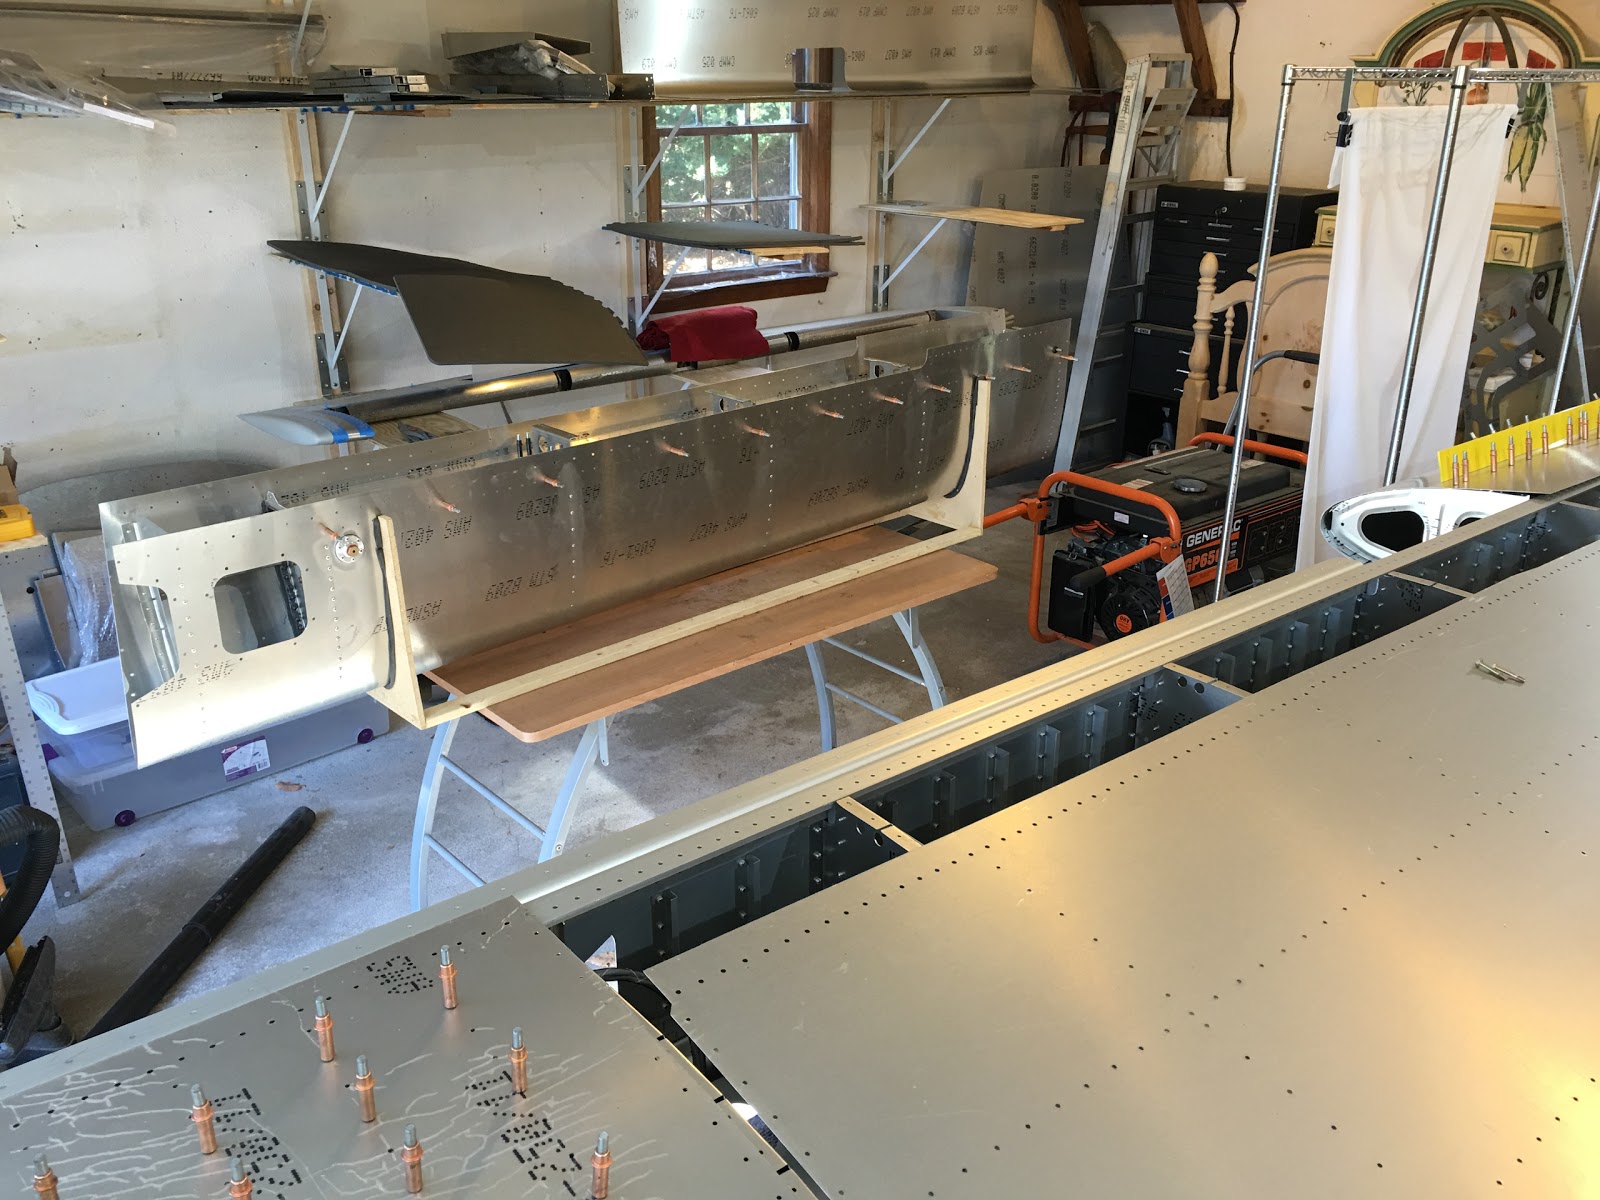
I've spent several hours over the last week finishing up the new shelving. For the smaller fuselage skins I put them in a large plastic bin.

All the fuselage parts are out of the box and on the shelves! I put them so that I can see the package labeling. Lots of parts, so I want to be able to find things reasonably quickly.

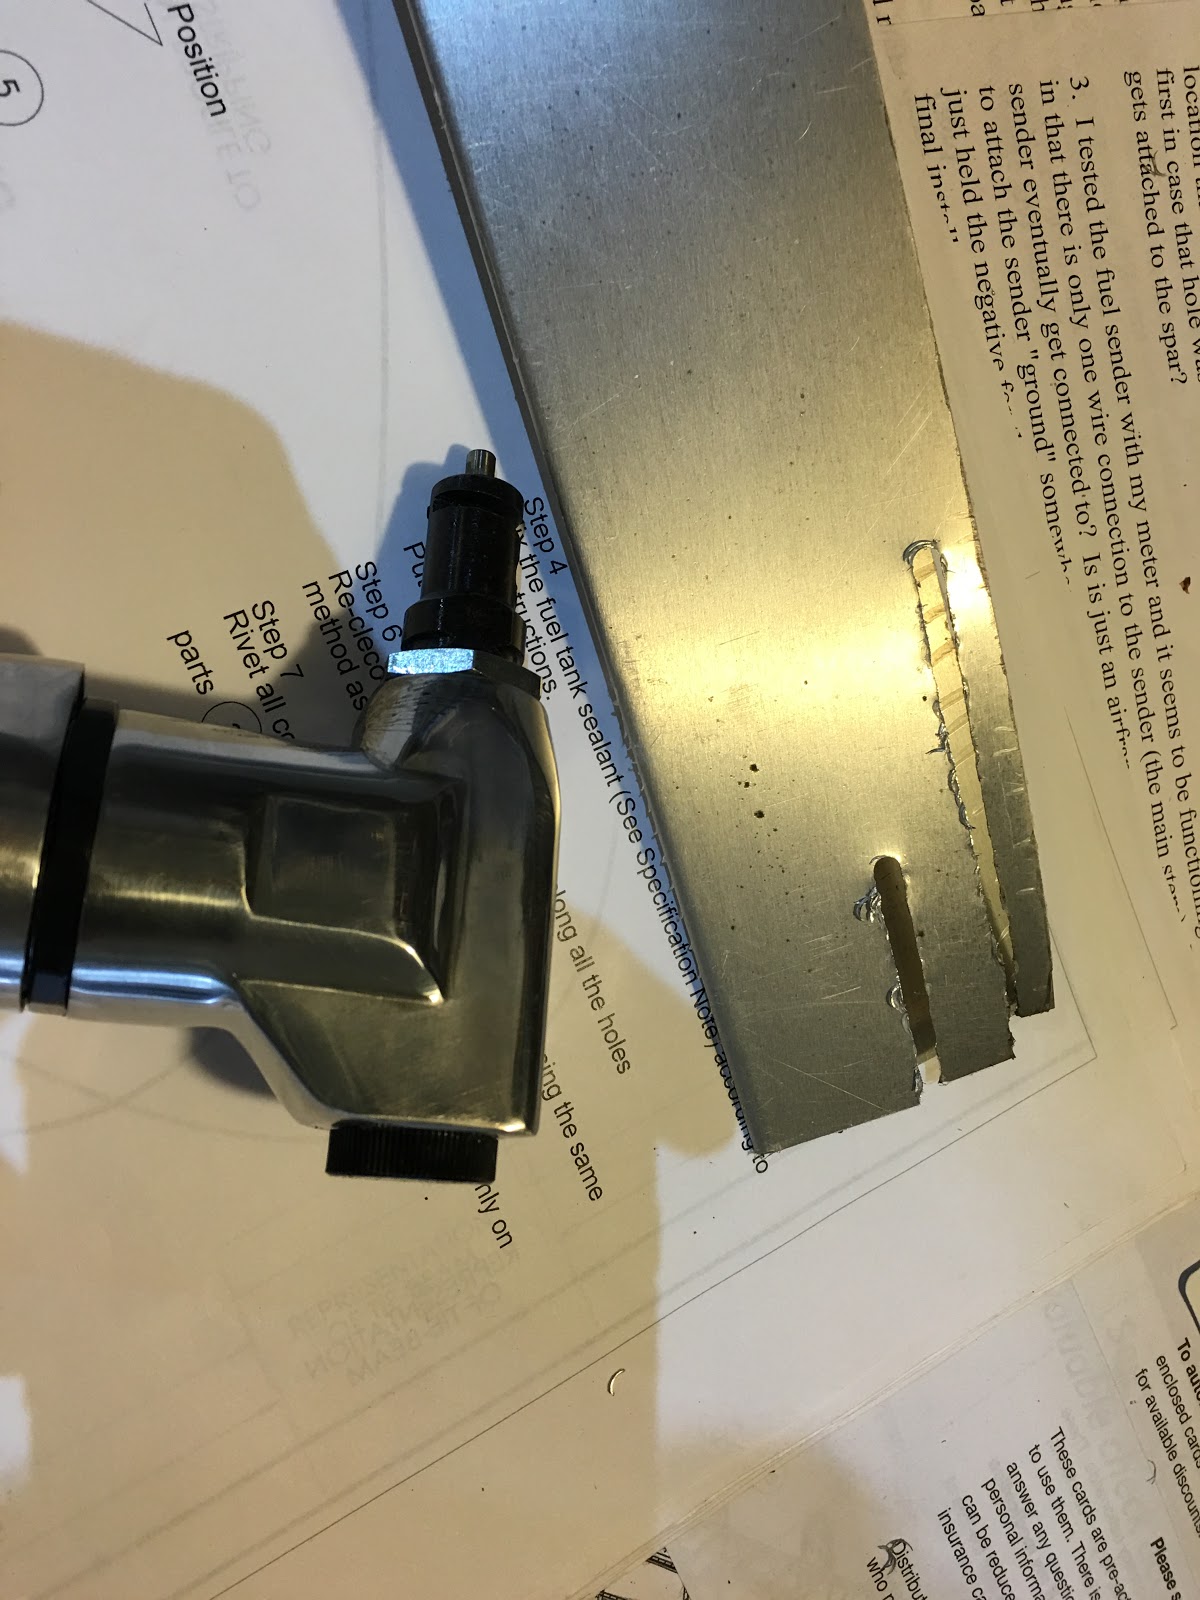
I bought this back when I was first ordering tools and I have no idea what it is! Thoughts?

Close up. Seems to have two functions. I think the one of the right side makes can create a jog in sheet metal. The left side?

Testing out my new nibbler. Works well! With a clamped-down straight edge I should be able to get a very nice straight cut. Will use it for trimming the fuel tank and enlarging the holes for the landing lights I use (PAR-36 standard lights). That may be what I do tomorrow.
Fuel tank off!
I marked all the z-brackets so that when I'm ready to put them on with sealant I wont have to re-figure out how they're oriented.

Taped up so that no sealant will get on the wings when I hang the tank.

All the z-brackets sealed and riveted on with sealed rivets (except the end ribs which do not require sealed rivets). Also the back channel has the sealant applied where it contacts the fuel tank skin.

And that's it! The tank is, at least theoretically, sealed! It needs to hang on the wing, per the instructions, for 3 days, to set up the sealant.

NEXT SESSION:
- Do some test trimming with nibbler along straight edge.
- Do some test trimming with nibbler for landing light plates.
No comments:
Post a Comment