I'm away again for work until Friday, so a few days away.
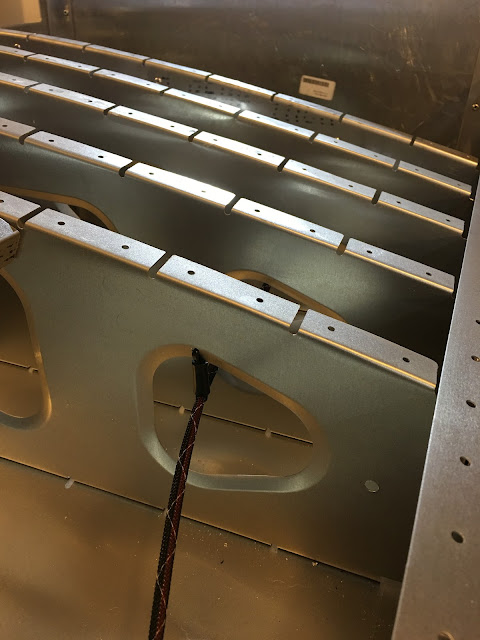
Drilled small holes in some ribs so that I could put a standoff style of cable tie to hold the pitot heat wire harness away from the edges. Here looking toward the root.
Looking the other way.
Put one standoff on the lighting harness to make sure it doesn't move.
Two of the wires from the pitot heat were supposed to have bands to mark the ground, but one of them came off and now I'm not certain which is the ground. I measured the resistance and I think I know, but I want to ask Garmin support to confirm it before I start soldering wires.
Pulling the plastic off the leading edge. Should have done it before putting it on...
And it's on!
Found this excellent detailed video on proper flaring of tubing for aircraft. I think I did the pitot tubing properly, but I'm going to double check it.
NEXT TASKS:
- Double check the pitot tubing flares.
- Test fit the fuel tank.
- Fitting and final sealing of left wing fuel tank. Tank off and test for seal.
- Fuel tank on. Just bolted at this point.
- Top skins riveted on (STRINGERS!). Top skins of left wing need priming. Fill rivets with Bondo.
- Leading edge riveted on (STRINGER!). Fill rivets with Bondo.
- Rivet fuel tank on. Fill rivets with Bondo.
- Wing tip assembly and light installation.
- Finish sanding of left wing bottom rivet heads.
- Finish right wing (4,5,6,7,8).
- Finally finish one of the composite tips of the elevator.
- Fill rivets of elevator with Bondo.
- START ON FUSELAGE!


No comments:
Post a Comment