


Here you can see some light coming through the dimple of the nose wheel spat. You can see it's a bit off from the rivnut, so I will drill through where it's lined up. Using a very small drill bit I can incrementally enlarge it so that it's perfectly lined up.

First small hole drilled and this is better lined up.


The manual says M5x12 for the 4 holes, but this one (and the other side) it's better to use x20's to span that gap.

All done with the drilling.
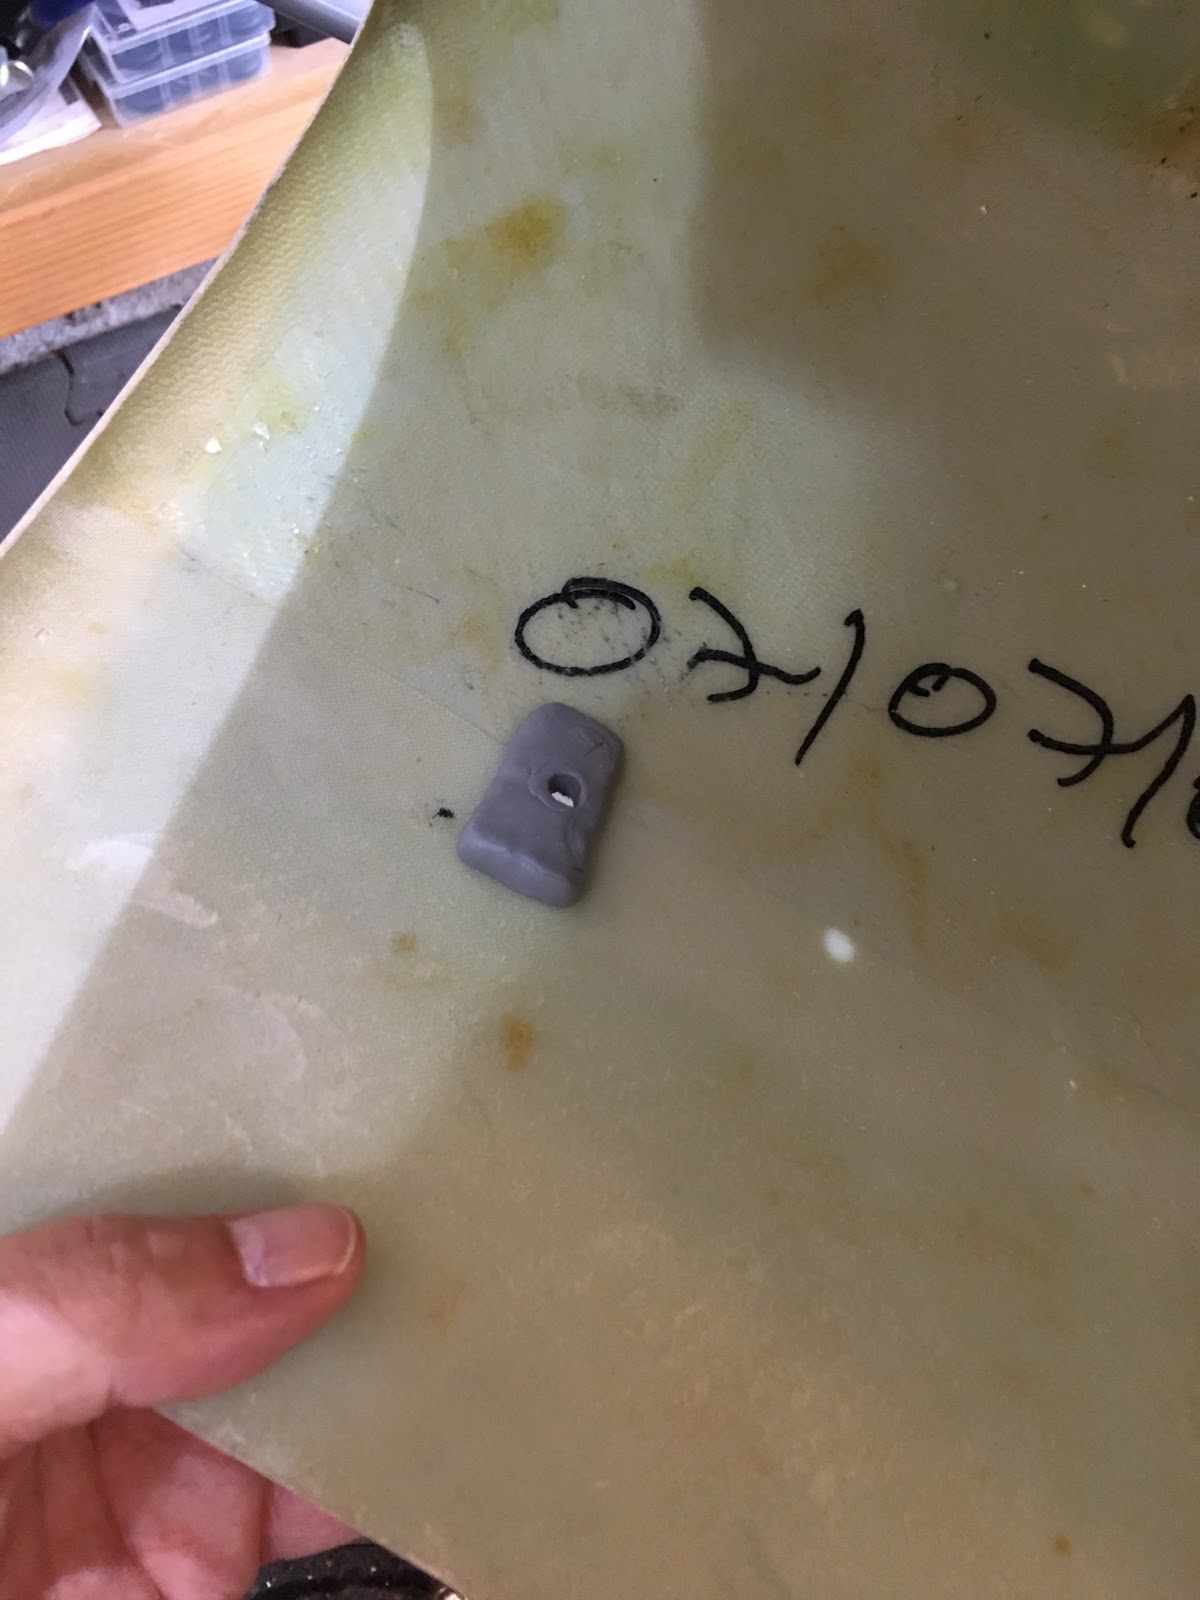
Molding the sugru I mentioned in the last post to span that gap (I measured the gap to see how thick to make it. And it's not a constant thickness as it tapers down). I need to let this dry overnight and see how it'll work. I'm not certain it'll stick to the fiberglass so I may need to glue it.
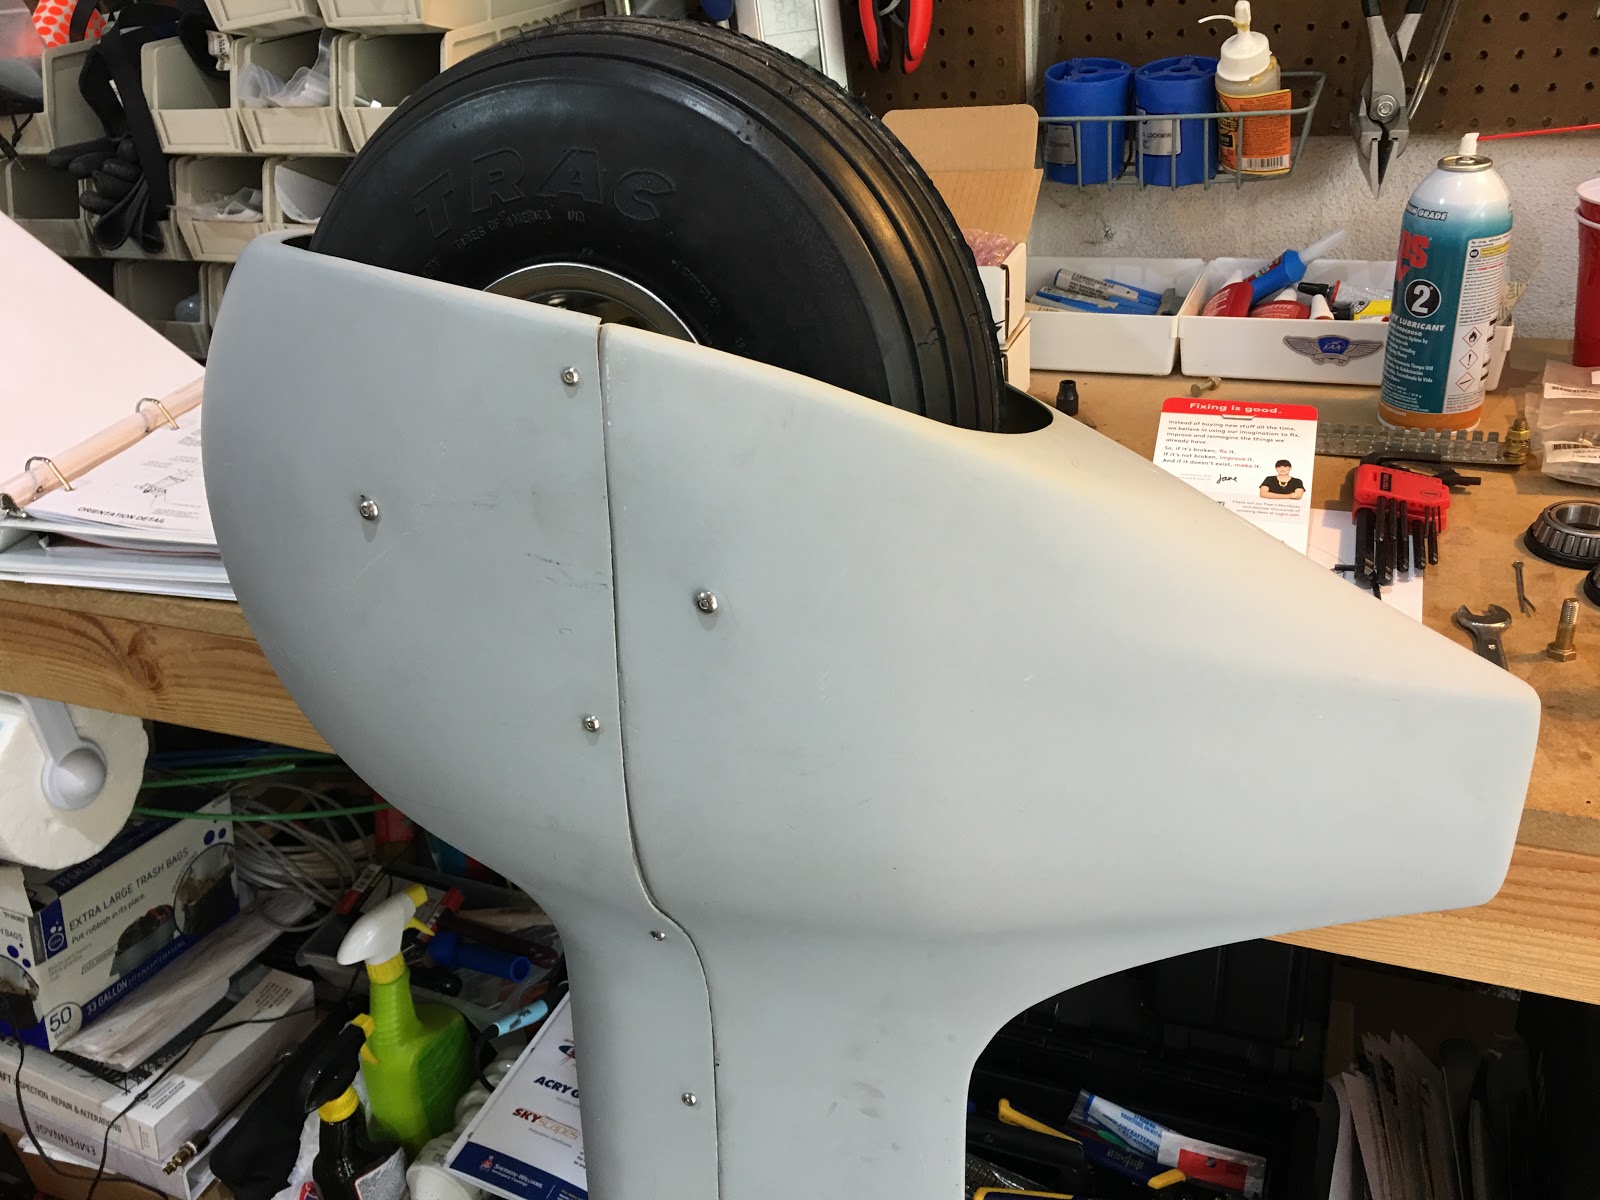
While that's drying I worked on the main wheel assemblies. I got the AN4-22A bolts from Aircraft Spruce, so I swapped them in and those fit as expected. Here they're in and torqued properly.

Hmm.. The right side all lined up, but the left side had one bolt that didn't line up. I trimmed the spat bracket hole to allow the bolt to pass through.

Half of the brake assembly tapped into place.

And the other side too.

No comments:
Post a Comment