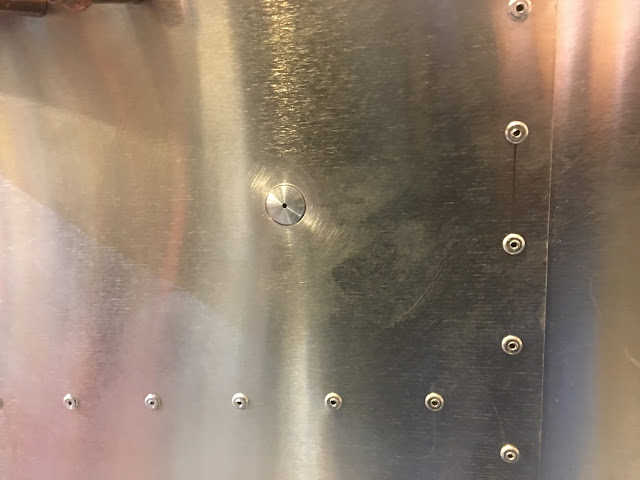
2 hrs. yesterday working on the static port and some other misc. stuff.
I'll be extensively updating my Task List tonight. Using that list is super helpful to me to be efficient and organized. Without it I'd always feel like I'm not sure what to do next (that could just be me!). You may think you just follow the manual order and that's often OK, but you almost always end up doing many things in a different order for various reasons (missing parts, instructions not totally correct, better order suggested by other builders, your preferences, etc.).
Locating where the static port goes (1 on each side). 70mm forward from the vertical seam (rivet line) and 70mm down from the horizontal seam (rivet line).
Marked off.
Taping off my step drill bit so I don't go past the 1/2 in step.
Using a punch I locate the spot to do a pilot hole.
Pilot hole drilled.
Used my reamer to make it bigger a couple of sizes.
Then I used the step drill to take it to 1/2 in. The step drill (at least mine) makes an ugly non-round hole, so I used round file and sandpaper to smooth it out a bit. Don't over-enlarge it!
Test fit. Looks good. Scuffed it up a bit with some fine sandpaper (it's the inside that really matter since that's where it will get glued in place) and cleaned it with Extreme Simple Green.
My jig to hold it in place while it cures. You can see both sides here.
Works well.
This is the adhesive I used. This or Pro-Seal is what's recommended by the company that sells the static port kit (bought it from Cleveland Aircraft Tool: This kit). I chose this (I hate using Pro-Seal! ;-)). It says it cures totally in 24 hours, but I'll give it 2 days.
Some other random work. These strengthening support channels (31) for the rear floor. I don't think these are shown in the manual.
This is where those panels go.


No comments:
Post a Comment