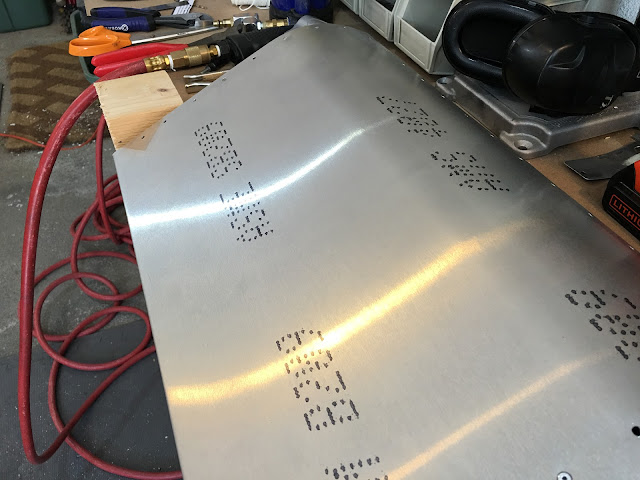
De-riveting the entire leading edge of the aileron is the only way to get the warp right (thanks PeterC for the extra push!)... After I did that I clamped down the right edge. When you move the left trailing edge up you can see how the holes move.
Moved the left trailing edge up and riveted a middle hole (after drilling and reaming it) on the leading edge. Rechecked against the wing tip... And I had over-done it by 3 or 4mm.... Ugh. I removed that rivet, clamped down the left edge as that seemed to be how much I was off now and re-riveted a nearby hole (again, after drilling and reaming it). Bottom line, it seemed impossible to precisely calculate how much to twist it. I estimated, that was over, so I estimated again (just using 1 rivet installed). Trial and Error...
And the result: Absolute perfection! Not even a millimeter off. :-}
Another view of the beauty. Now I just need to do the epoxy filler on the tip and leading edge/fuel tank seam and then it's DONE. On to the shelf and let's finish off the right wing. I'm hoping that moves much quicker.
Bonus photo: Found this photo of me in the left seat, around age 14, in 1974 at Spring Valley Airport, now a strip mall..
NEXT TASKS:
- Composite filler for join between wing tip and skins. Perhaps other seams can use some filler?
- Rivet the one on the step rib that needs special handling. OK, I've been putting this off..
- Finish right wing.
- Finally finish one of the composite tips of the elevator.
- Fill rivets of elevator with Bondo.
- START ON FUSELAGE!


No comments:
Post a Comment