1 hr. on interior.
Getting a rough sense of how the pieces fit together around the parachute box.
Is that rib covered with something or do I need to paint it?
The ceiling piece fits well (just a test fit for now as I'll be putting insulation under it).
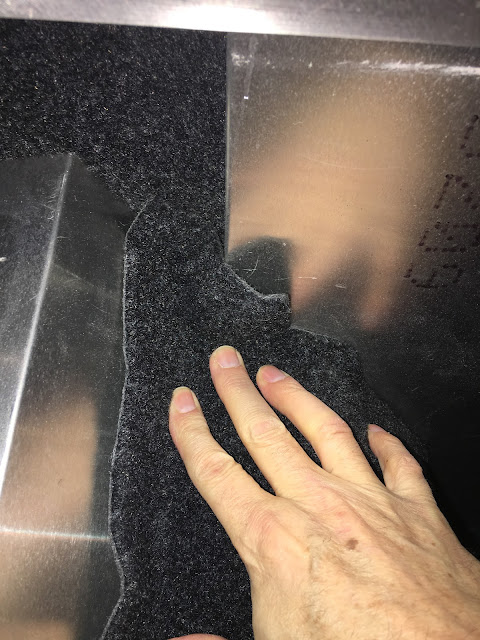
The left side piece needs trimming...
One advantage of being on the shorter side - I can literally sit in the luggage area (I was really good at hide-n-seek when I was a kid! 😁).
Doesn't sit flat against the back so some trimming is required there.
Cut the angle and slide it back is the plan. Don't take more than necessary off as there's no extra material to make it around that side of the box.
Perfect. Don't have more pictures of the necessary trimming but more was needed around the front and top.
Glue on!
And it's in! The piece that goes around the front will cover that small gap at the bottom.


Just stumbled across your build blog. It looks great! I'm currently in the 'dreaming of one day owning/building' phase, so seeing stuff like your site helps with the dreaming :) Good luck with the rest of the build!
ReplyDeleteThanks! Glad you enjoy the blog.
DeleteI'm exactly the same. Even though I'm nowhere near building a plane myself (I don't even fly yet) I love following this build.
DeleteThanks, Craig, for sharing your build.
Thanks! I do enjoy writing the blog, so I'm glad it's read. :-)
Delete